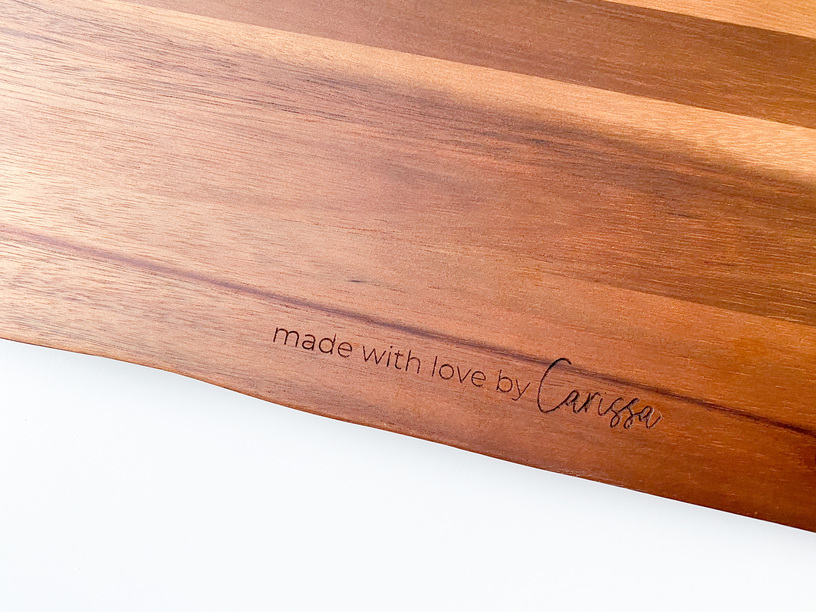
I did it! Thrilled with the results. I wrote out the instructions below for people like me who like clear instructions, and so I will remember what I did the next time I want to create this again!
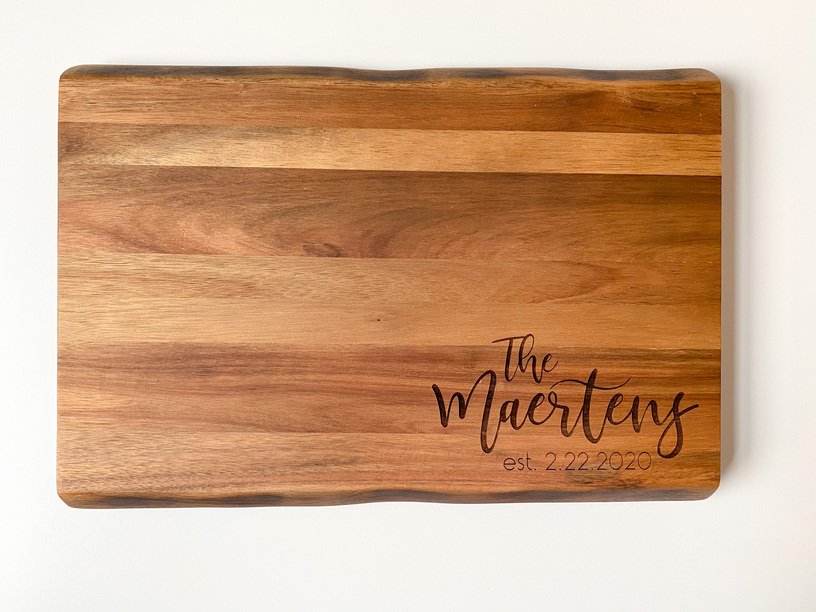
Cutting Board Directions
Remove crumb tray from Glowforge.
I used 3 thick draftboards and 1 medium draftboards as my base.
Remove feet from cutting board.
Apply masking tape using a T Square ruler to make sure it is straight (this will serve as a guide for placing artwork straight on project).
Place cutting board in Glowforge.
Upload artwork.
Set focus over printing area in Glowforge app.
Set focus prior to placing artwork permanently as the dimensions may change when focus is set.
I used the following settings
1000 speed
70 power
340 lines per inch
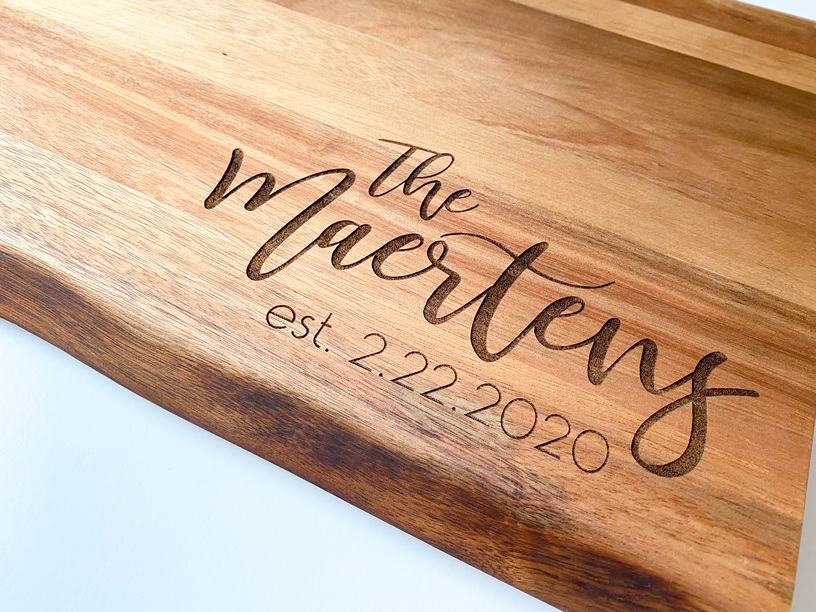
And in the engrave settings I put auto on the material depth (for my rasterized images I chose vary power instead of convert to dots or pattern).
Place artwork making sure it is straight on cutting board surface. I used the edge of the masking tape as a guide. Since I placed it with a T square Ruler, the tape edge was a good level marker.
Click print in the Glowforge app and click the magic button in the screen.
Watch the magic happen.