So, I have it opened up.
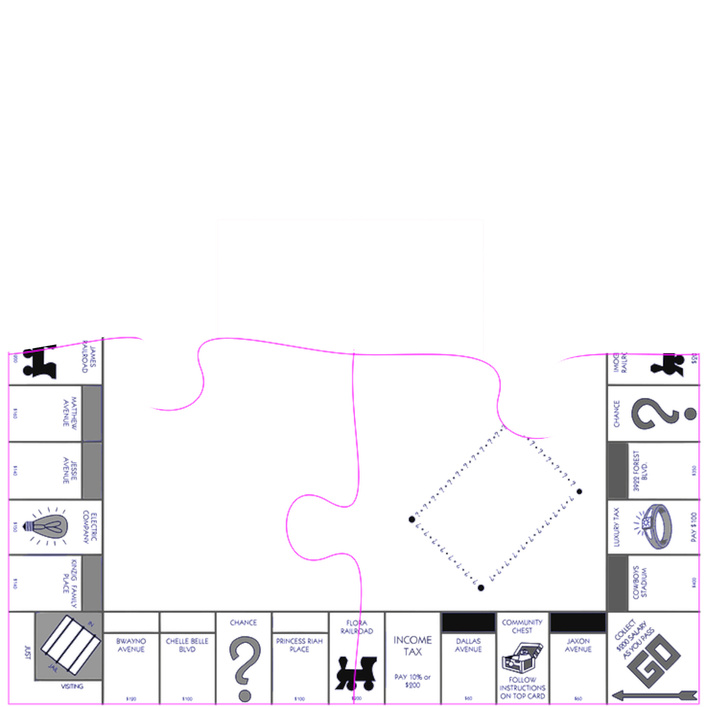
It opened as 24x24" for me. I know you want to do this yourself, so I’ll hold off on doing anything to the file.
But, I’ll throw a few things out there at ya.
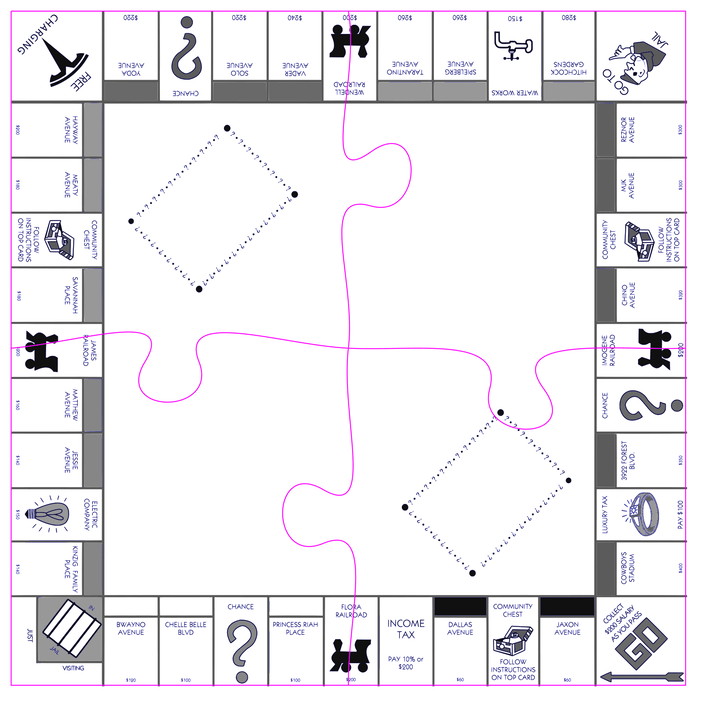
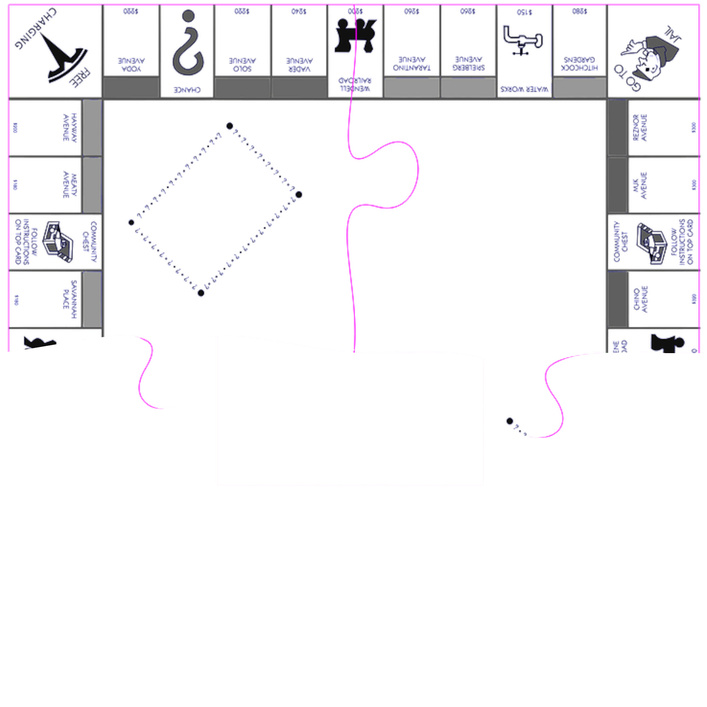
First thing, the right interlock going across, you’ll need to resize that a bit smaller, or move it up. It measures about 11.2" from a hair below the bottom of that interlock up to the top of the board, so you’ll need to resize, or move it so it goes below the 10.95" threshold. You could maybe leave it like it is, and then rotate the elements to fit the bed when you’re done. Up to you, those are the two options though.
The other pieces look like they’ll fit OK the way that they are.
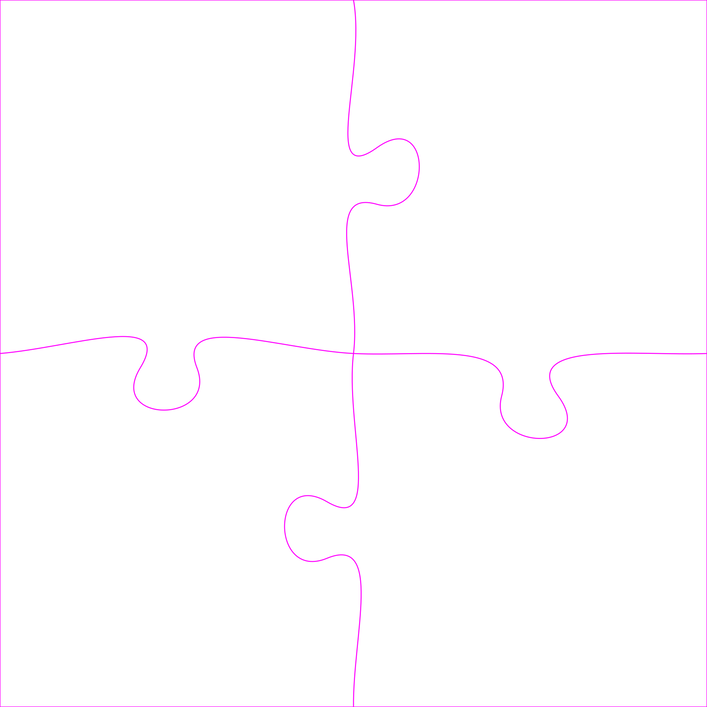
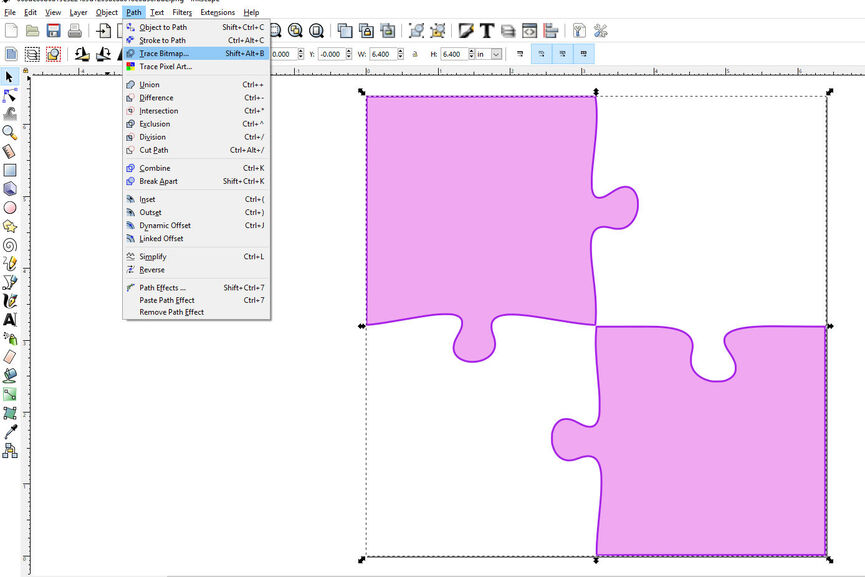
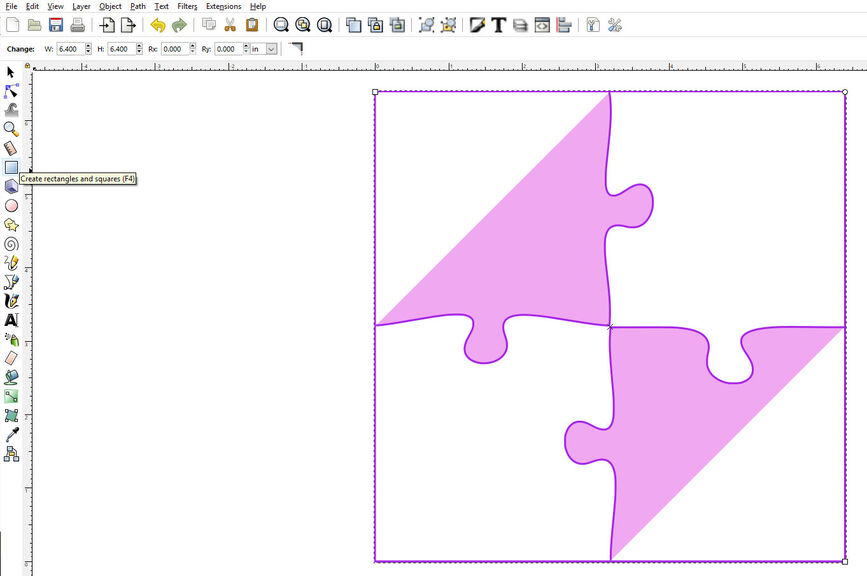
Then, I’d hide the puzzle paths themselves, which leaves you with just the monopoly board design. The best thing here, would be to rasterize it, I believe. Especially, because somewhere in there are 7 open paths, and if you go to engrave those, it could ruin the entire project (trying to engrave open paths can lead to funky results).
Select everything that’s left of the board, and rasterize it (At least 300DPI). That leaves you with one game board sized image.
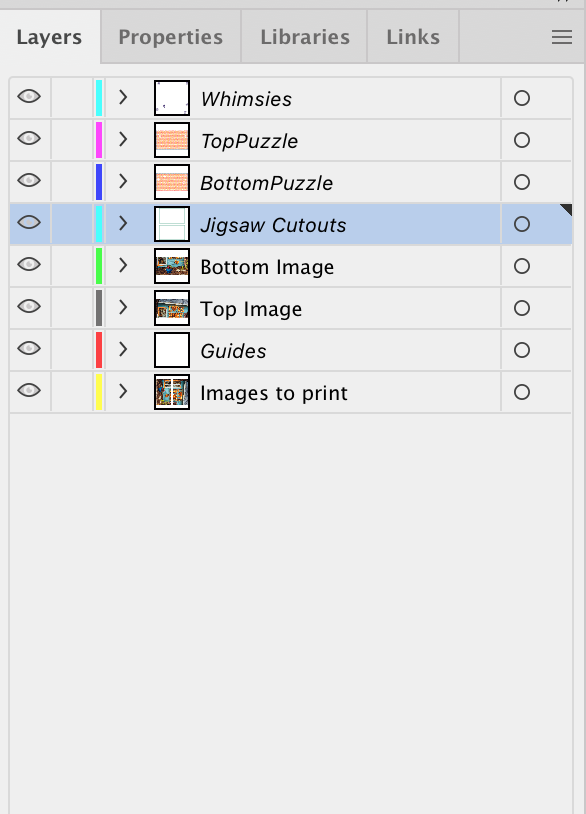
Start creating some new layers for organization. I’d probably do something like:
Guides
TL Image
TR Image
BL Image
BR Image
TL Puzzle
TR Puzzle
BL Puzzle
BR Puzzle
FWIW, here is how I organize my puzzles for the most part:
A little different than I told you, but I have some extra stuff in there that you don’t need for your puzzle.
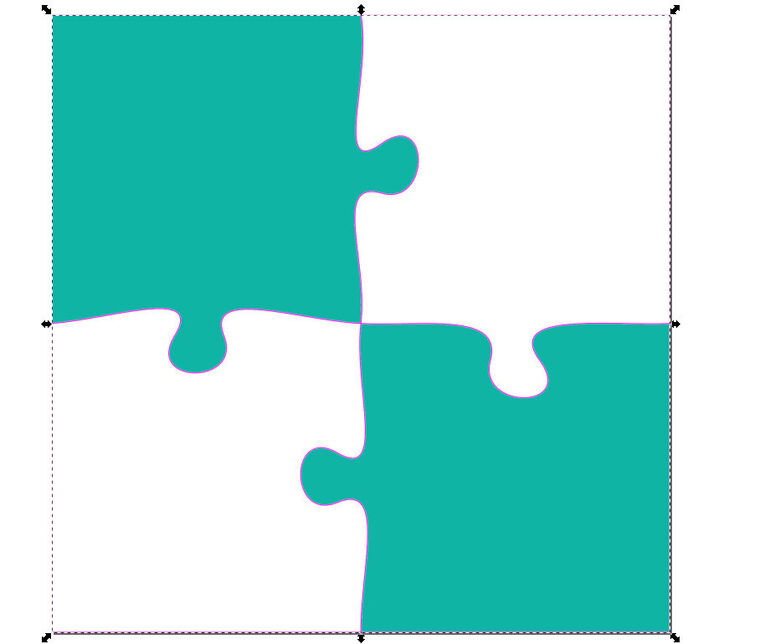
Select the image and duplicate it in place 3 times (leaving you 4 copies). Move one copy to each Image layer.
Unhide your puzzle pieces and duplicate those 3 times (again 4 copies). Move one copy to each Puzzle layer.
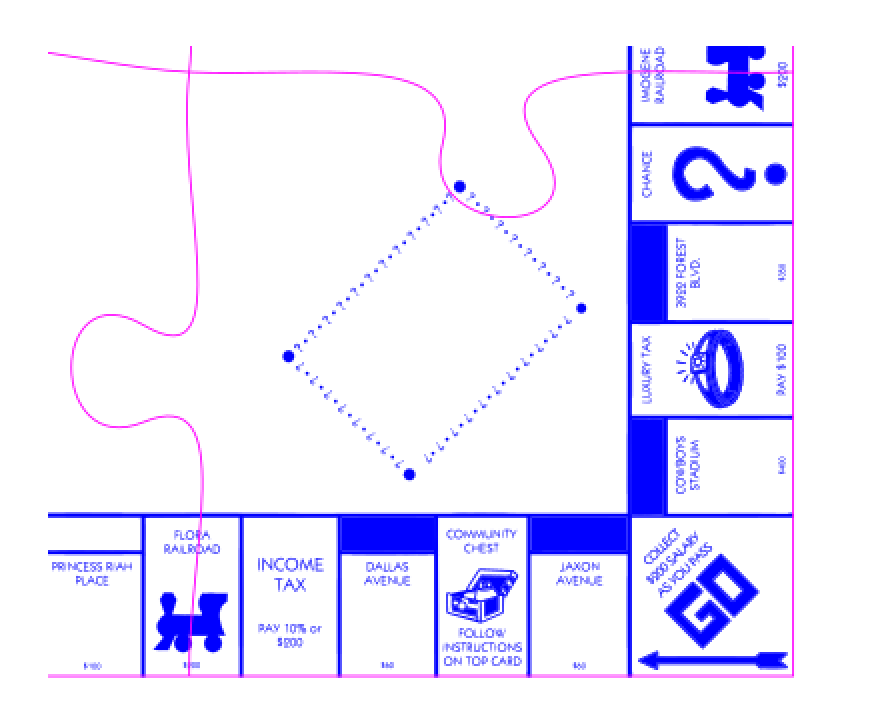
I like working with guides when cropping the puzzle images. One of the big reasons is so that I can use the measure tool and make sure that where I’m planning on cropping will actually fit into the bed space. That’s how I noticed that your right interlock wasn’t going to fit into the y-space.
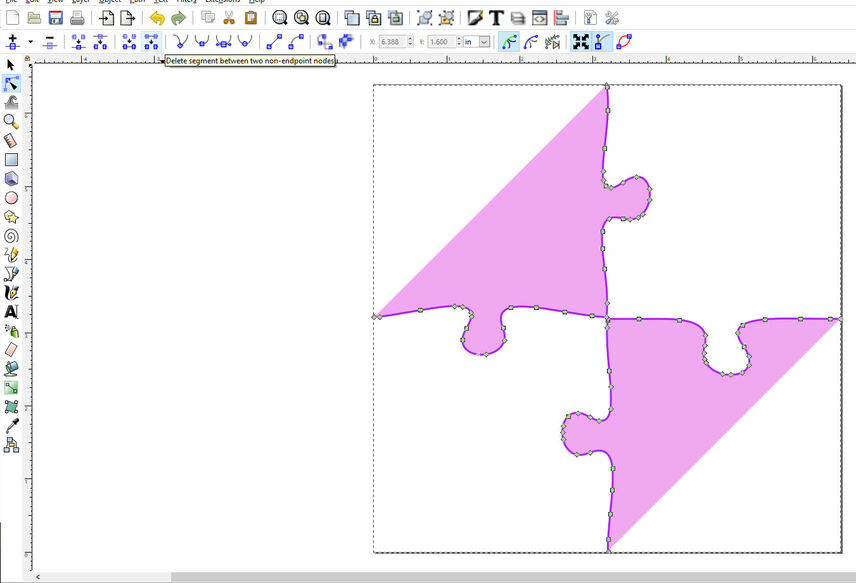
From there, I guess you’ll need to use the Inkscape method of cropping, however that goes. You’ll need to crop the 4 pieces of the puzzle to their respective guides. If this involves clipping masks, you’ll have to rasterize the clipping mask.
Once you rasterize the 4 pieces of the board, you can break apart you puzzle pieces. I use a plugin in Illustrator that makes it really easy, but for just 4 pieces, it won’t be too bad for you. Just break the path at the respective guides, and delete what you don’t want to remain.
You’ll have 4 different pieces now. Just select, for example, TR Image and TR Puzzle, and drag those off to the side. I use separate artboards in Illustrator but I’m not sure if that is an option in Inkscape. Perhaps create a new document and paste them in there. You’ll need to upload 4 different files to do the engraves/cuts anyways (easier this way, I promise).
One thing here, is that you could do this in just two pieces if you wanted, rather than 4, I believe. If you slow down the engrave just a bit from full speed (1000 down to 800-900), you should be able to fit the 18" engrave into the workspace. I would personally do it this way. Maybe there is something I’m not seeing that is stopping you from doing it?
Does that make sense? I’m not much of a tutorial writer (my mind jumps around too much, so I go back to insert something, but I forget to delete something and end up with a mess, ha!).