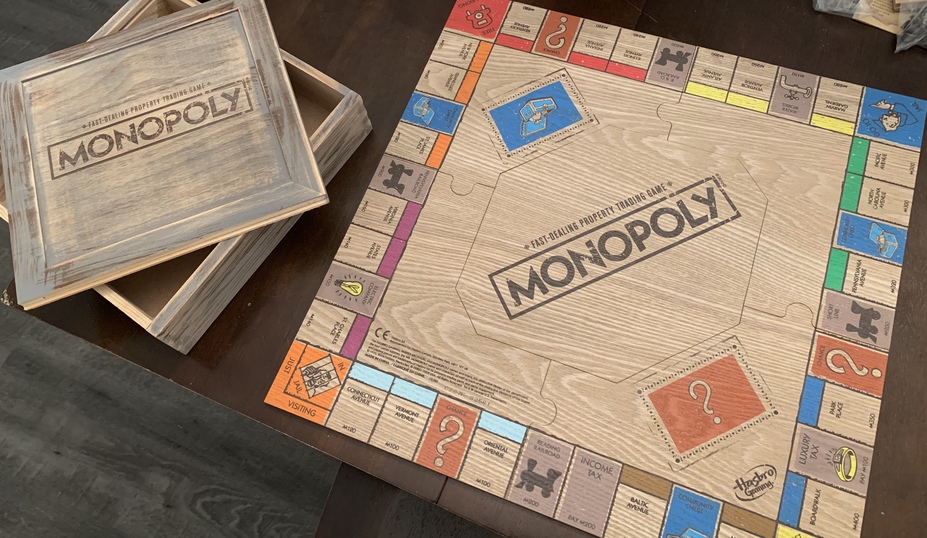
My reasoning was for storage…I was hoping to make a square box to store the finished game inside rather than a long 20". Hasbro actually sells my exact idea which made me bummed when I saw it in the store because I have had this idea for a super long time, just thought it may be a little too ambitious for my skillset (which it feels like I may have been right all along ![]() )
)
Can’t say thanks enough to all of you who have offered up your advice, knowledge, and suggestions…I went to bed frustrated with this project last night and just woke up to all the posts and am gonna give it another try.
5 Likes
Don’t give up on it just yet…another idea just happened. Give me some time this morning to play with it a bit. (One of the main advantages to Illustrator is different methods of tackling a problem.)
2 Likes
Yeah, don’t give up… you’re pretty close.
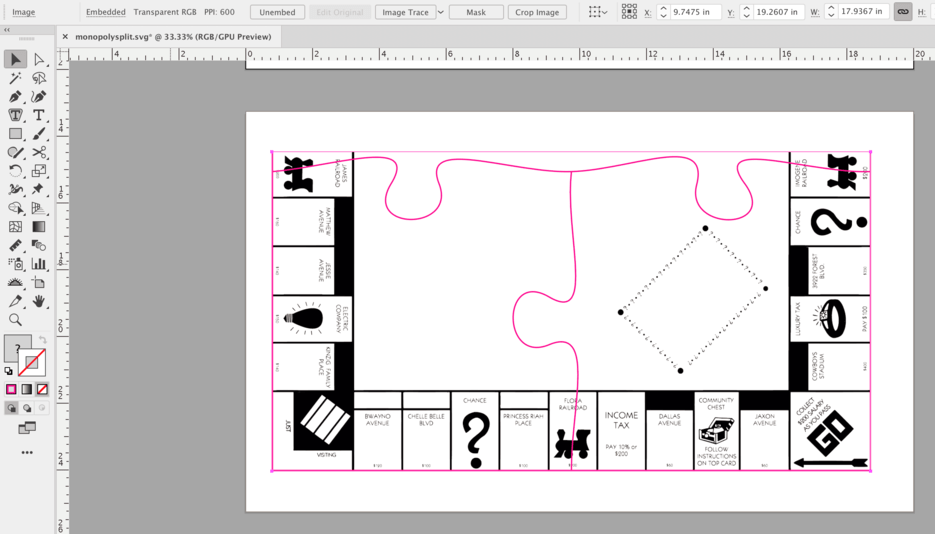
As for doing it in two jobs versus four, it will still be 4 pieces in the end. You’re thinking of individual pieces, when it doesn’t necessarily need to be done as individual pieces. The puzzle is being cut anyways, so just split the puzzle into two jobs, cut the puzzle pieces, and you still end up with 4 pieces.
Here’s an example:
Monopoly_split.zip (1.1 MB)
4 Likes
You guys are amazing…
So Jb, you are a genius!
I just loaded up your two images into the GF and they look like they will totally work as is!
I am going to give it a shot using your cropped files…
So to clarify, you used Illustrator to crop?
I have the adobe CS because I do a lot of video editing, and I tried in Illustrator and I know this is going to sound stupid, but I can’t for the life of me find the “crop image” button I have seen in 20 different tutorials. In the tutorials I’ve found they just say select your image and click on the “crop image” button on the toolbar, but I swear its not there, and I am on the latest version 2019…any tips on that?
2 Likes
The crop should be there when you have an image selected. If you are clicking on it to select, you have to make sure to click on an actual filled part of the image (for example, the image in your monopoly board, I rasterized it with a transparent background - clicking on a transparent part won’t select the image).
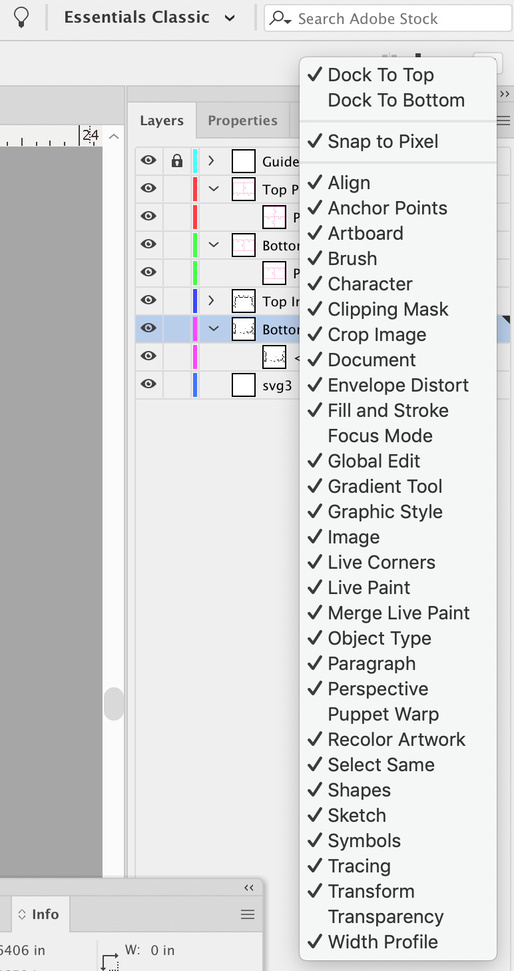
With an image selected, it should show up here (the top of the screenshot):
If it doesn’t, that’s OK. It just means it likely isn’t set up for the toolbar. You can click the little hamburger menu on the far right side of the toolbar and it gives you a list of things that can be on the toolbar. It’s a contextual toolbar, so the things present there will change depending on what is currently selected/tool being used.
For the one I sent you, you’ll have to slow the engrave speed down to around 800-900. I think it’s just a bit too wide for a full speed engrave.
1 Like
Well, as usual, I’m about an hour late to catch up to JB and his Mac. 
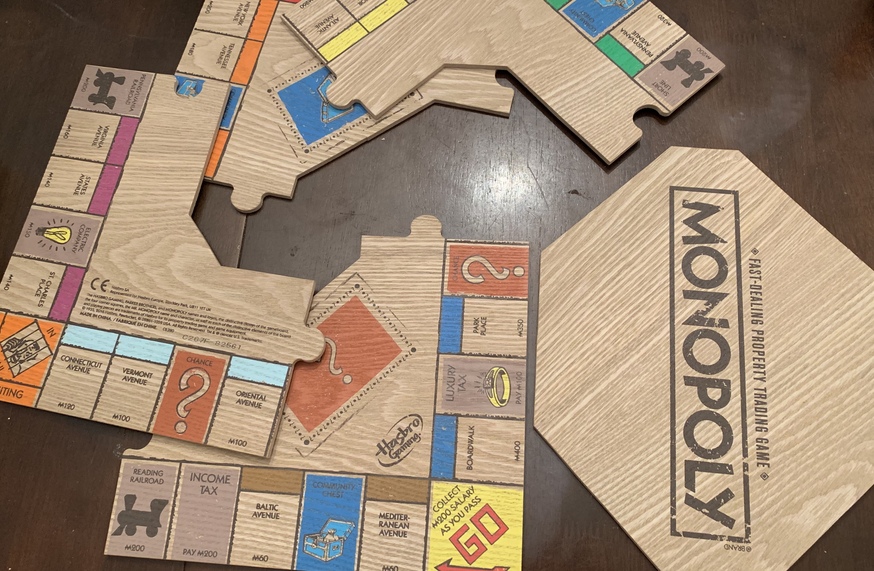
I did go a slightly different direction with it, turned it into four pieces so I could keep the resolution high and modified your cut lines to not split right through the middle of icons and words. (Just thought it would look better when it was actually cut, and reassembled.)
I’ll load it up anyway, since it’s already done. All four pieces have been checked and they fit.
Monopoly Pieces.zip (693.2 KB)
1 Like
I was literally about to hit the button on JB’s file when I saw this pop up…Jules that is such a better idea to move the cut lines to a more natural place like you did…what a great catch/idea!
For some reason today my GF started hanging up on the “preparing to print” step…like I let it sit for over 30 mins, but after 4-5 times cancelling and restarting it appears to be working now…I am finally engraving/cutting my first piece after hours and hours of work on my part and minutes of people that are actually GOOD at this’ work…
Thanks to everyone for all of your help…
I literally don’t think I would be able to do this project with you, especially you @Jules and @jbmanning5 !!! (PS - you two please check your private messages)
I will post some pictures as I make progress…
3 Likes
The larger the design, the longer processing can take, and then the longer it can take to download the motion plan. Going in 4 pieces can make the processing, etc. faster on an individual basis, at the cost of a bit more time in setting up the file (cropping 4 ways instead of 2, etc.)
Moving the cut lines is a good idea, I just didn’t want to mess too much with your file.  Avoiding things like words, icons, eyes (if you start making regular puzzles), etc. is a good idea and pretty quick/easy to tweak the paths.
It will become easier as you go: I’ve set up hundreds of files like this, so I’m good at it now. In the beginning, man, it was frustrating to get my head around, make sure everything was correct, etc. (and I’m fairly decent with Illustrator).
4 Likes
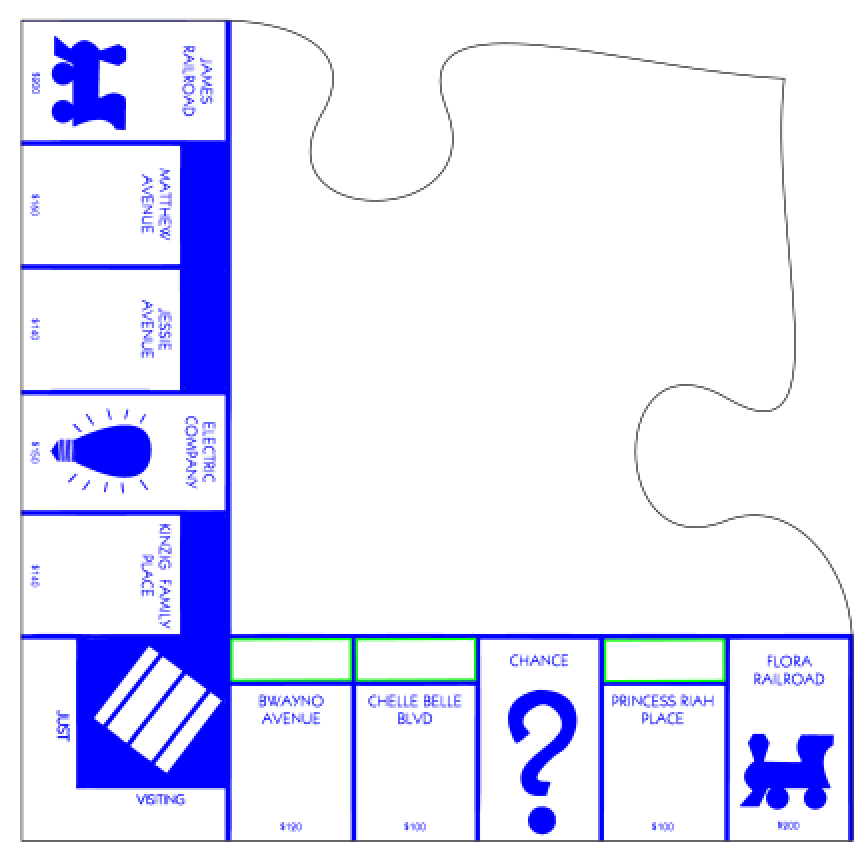
hey @Jules, quick question…I was adding rectangle score lines to each of the properties and noticed that file #3 has the section that needs to be colored in actually cut out which after doing a test cut and seeing how things look, is the direction I definitely wanna go rather than trying to paint over the engrave. Any tips on how I can accomplish that for the rest of the properties?
Here is what I am referring to:
Yep. you’ll need to add a separate vector engrave over the top of that image now…it’s been rasterized.
I mean I want to not engrave the inside of the boxes on the vertical ones (Kinzig Family Place) so that they look like the bottom row (Bwayno Avenue)
Oh. That’s going to be a little more difficult.
You can drag a pure white filled/no stroke rectangle over the top of the solid blue areas, leaving as much showing behind as you like, then you will have to rasterize it again. No other way to do it after it’s been rasterized. Be sure to use 300 dpi when you rasterize, that’s the setting I used to convert it the first time. (And don’t select the cutting line when you re-rasterize. Either lock it or hide it before you rasterize it.)
actually I think i figured it out…just opened in photoshop and created a rectangle and hit delete and it looks like it will do the trick!
That will work…just remember to re-embed the new PNG image in the SVG file.
(Delete the old one and resave the SVG with Embed image selected if you are using AI.)
I do feel rather silly as I posted the two halves that could be cut above using the Inkscape from above that. If you have Gimp I set everything up in layers that you can see here…
Monoply.zip (3.2 MB)
This topic was automatically closed 30 days after the last reply. New replies are no longer allowed.