Oh, YES! My granddaughter is, too. I made her a handful of pencils with her name on them for school. Open template file, throw in some text, convert to curves and merge it, duplicate and align across the 8 pencil slots (hmmm, gotta try cloned text in Inkscape and see if that could go even faster!), save and send to GF. Grab the cardboard template from where I hung it on the pegboard, toss it in the GF with a couple of magnets, insert pencils. Open file in GFUI, set material height, “ignore” template and snapmarks, select custom “Pencil” setting for engraving, click the magnet, wait for snap, click print.
Snapmarks plus custom material settings make for a really smooth flow!
I have an SVG I made pre-snapmarks, but in anticipation of getting them, I added them to it. It contains the pattern for my Floral Vase , which requires two-sided engraving, but also during one of my “too tired to do anything but too bored to just lie there” periods I designed a whole bunch of wooden flower parts and filled the sheet with them, like this:
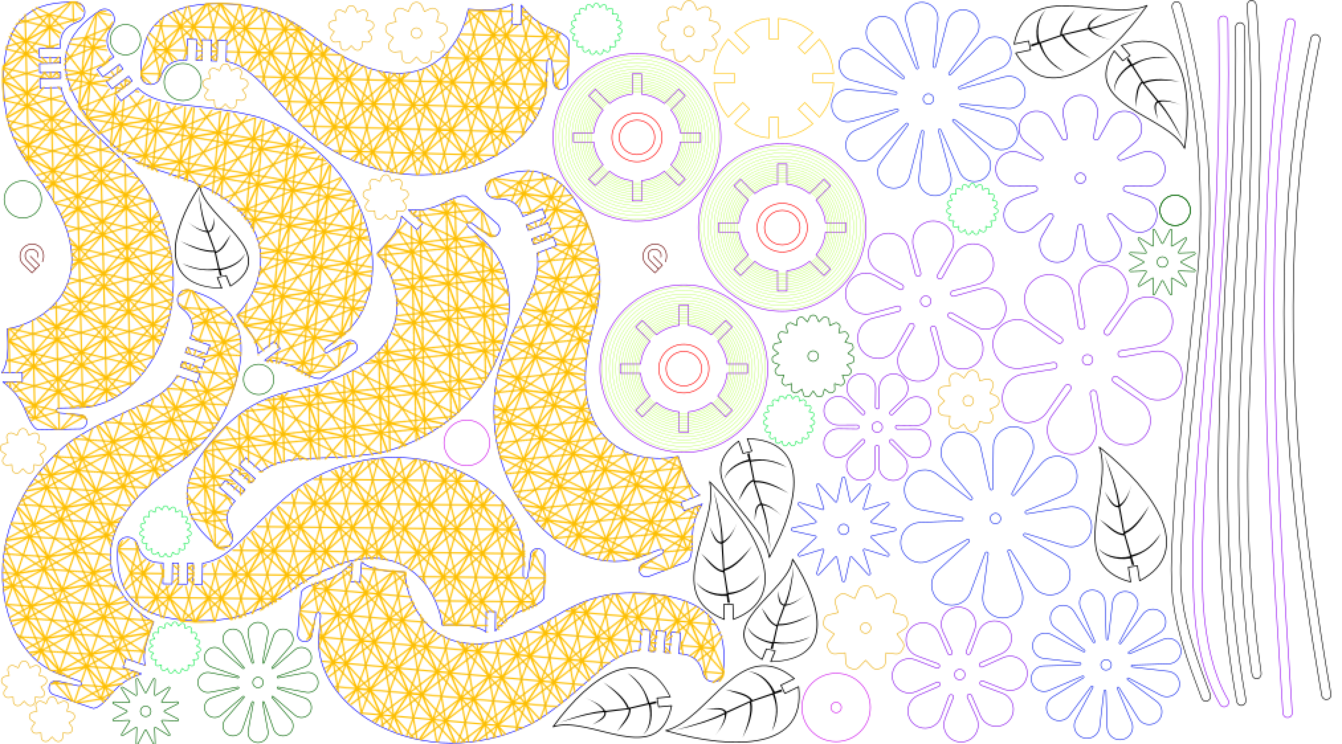
I cut the full sheet yesterday before my granddaughter came over for her usual Friday night sleepover, in case she wanted to paint some of the flowers. (She wanted to paint ONE, and then she wanted me to play Minecraft with her. ;P) So just as an experiment, before we headed back upstairs I put the remaining cutout board back in the GF, and when I got my laptop fired up for Minecraft I took a second to pop into the GFUI and tell it to snap. I really didn’t think it would work, because of all the small shapes cut out of the board that are similar in size to the snapmarks – BUT IT DID!!!
I am so excited.