This would make things soooooo much easier! I hope I get this sometime soon. 
I’d like to second (third?17th?) this sentiment. When it’s on, it’s just plain on.
The custom pencils I did: accurate to the edge of a hexagonal pencil side, no misalignment visible. The aluminum business cards the kid did: aligned, text and graphics where he put them. (And he worked the machine harder, because he had to take his jig out of the machine every time to work the next card into place. Changing the orientation of the jig didn’t change the alignment of the cut.)
I’ve already come to depend on the darn things.
10 Likes
Yes! Thanks for asking.
8 Likes
I’ve been using snapmark for a few weeks now, and again all night tonight to turn out batches of commissioned work. It is incredibly accurate and incredibly consistent. No standalone jig will ever be able to compete with its repeatability, just because of some of the innate properties of the glowforge. (Ok there’s one that might be AS accurate, but not better, and definitely not relevant here because no one has done it that I’m aware of).
Aside aside, snapmarks make batch production so much more pleasant and perfect and exactly what is needed to get the amount of precision out of the laser that I wanted.
The learning curve is incredibly small for this, and there will be things coming up to make it even less so. I would love to see it as a permanent fixture in the glowforge. Thanks for making this a reality @dan.
14 Likes
Okee-doke, here’s one example:
This is the little cart “Print & Cut” file that Dan showed up in the introduction:
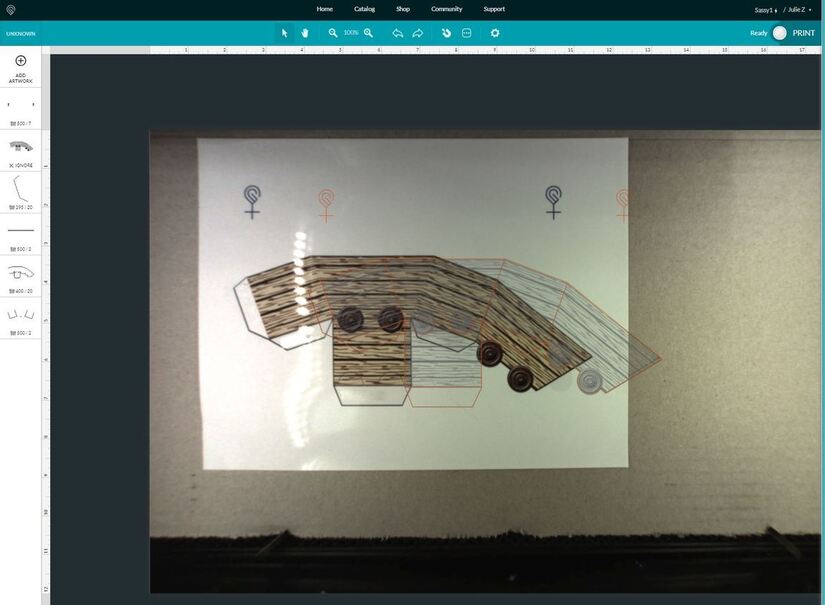
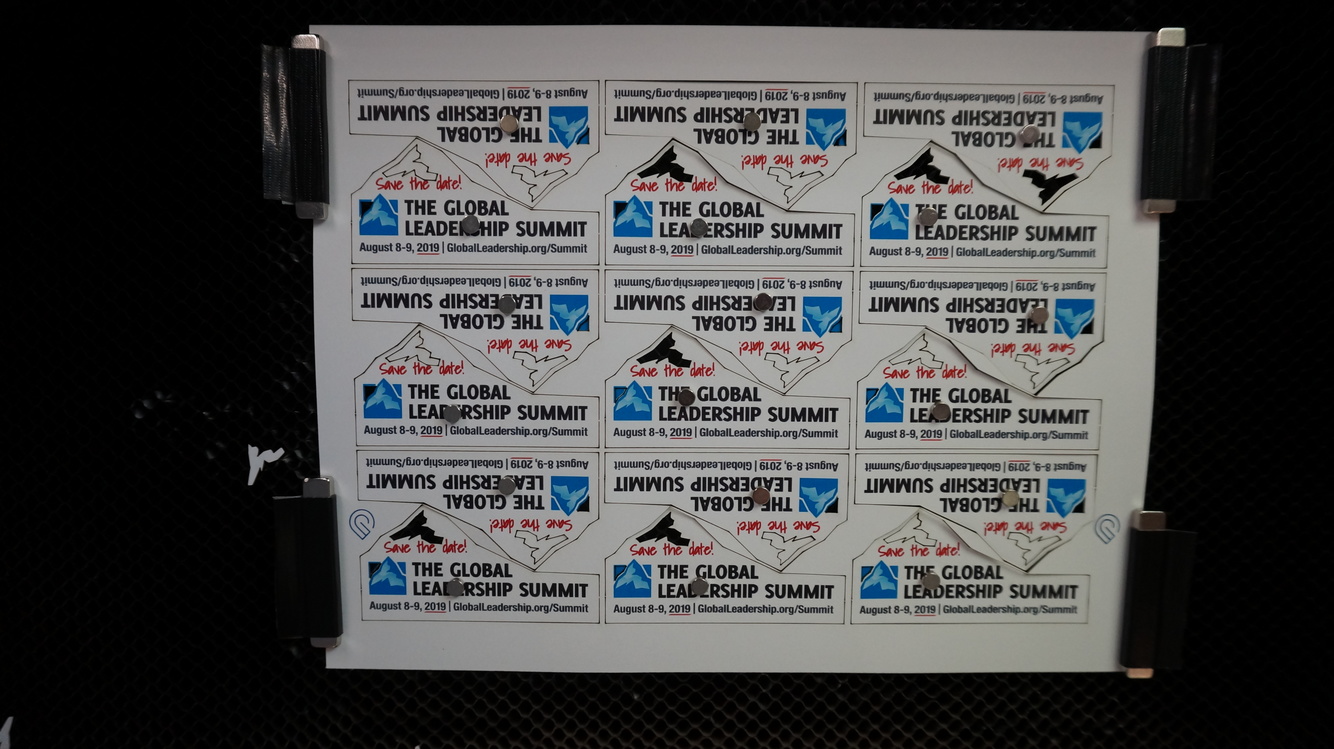
You basically create your file in your drawing software, (Illustrator, Inkscape, CorelDraw, AffinityDesigner, Silhouette Studio, and Sure-Cuts-A-Lot have been tested), include your cut lines in the file, and add a set of the Snapmarks to the file.
Print the image out using your inkjet printer, including the Snapmarks.
Load the printed sheet into the bed of the machine. (Stuck down so it doesn’t move.)
Open the SVG file in the Glowforge app.
Enter the correct thickness information. (If you don’t do it, you won’t get an accurate snap.)
Then press the Snapmarks magnet button:
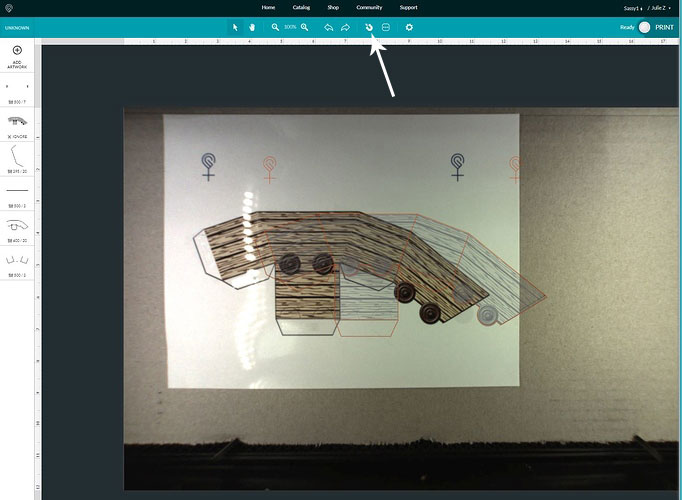
The Glowforge searches for the Snapmarks on the page, locates them, and then aligns everything relative to those marks. (I’m sorry, I don’t have a shot of the “after” alignment for this one, but you will see the difference if you are testing it.)
Then you send it to Print as usual. The alignment is perfect, it cuts exactly where the cutlines are.
This one has been cut:
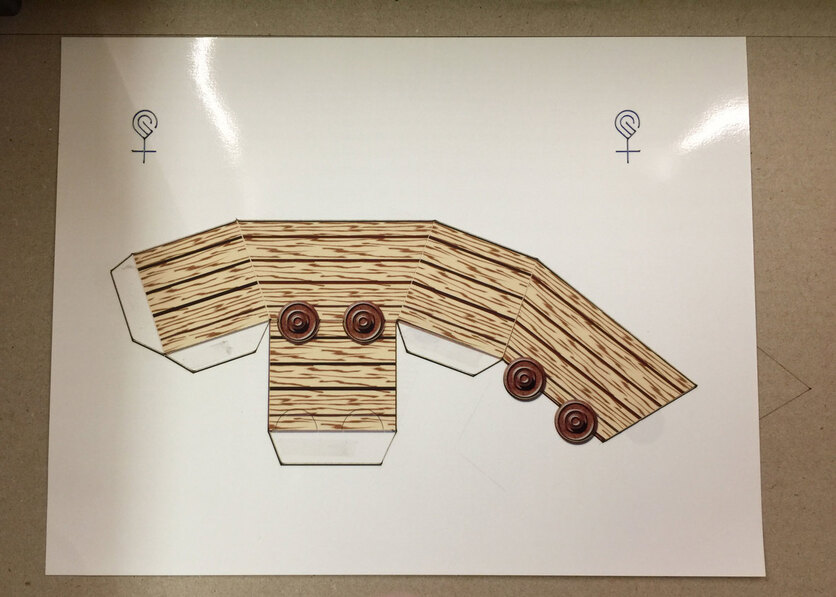
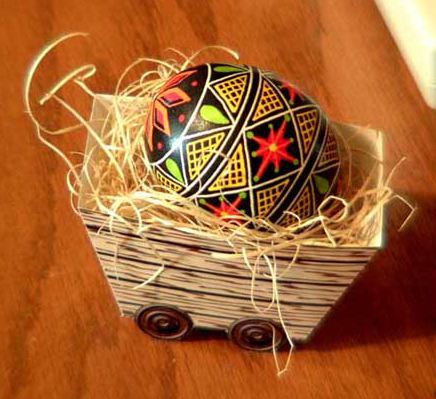
Then you peel it up and put it together. ![]()
That sounds easy enough, the strictures come from having to be a bit careful with inserting the Snapmarks into the file…you can’t resize them and they need to remain in vertical orientation. And the marks in your SVG file have to be placed exactly the same distance apart as the ones printed out. So you have to make sure to not resize to fit the page or anything with the printing. (This isn’t an issue if you are using it for jigs, you just save them in the jig file.)
I’ve been hitting 100% accuracy, there is no mm of difference. ![]()
Yeah, it’s exciting! ![]()
47 Likes
Ok, thank you! Makes MUCH more sense with the visual of the marks. (Had it figured, but wasn’t sure.)
My brain was already itchin’ with the quilting pantograph things… now this… Gah! LOL
Hope to see that magnet button this weekend when I get to mess with pews and zooms!
4 Likes
Thanks @Jules for the pics and method! @dan Please make this available. Even your Basic owners, like myself, having been itching for this near perfection of alignment. This does not seem too complex at all.
6 Likes
Another example, just to show what you can do with Print & Cut files, is Pepakura.
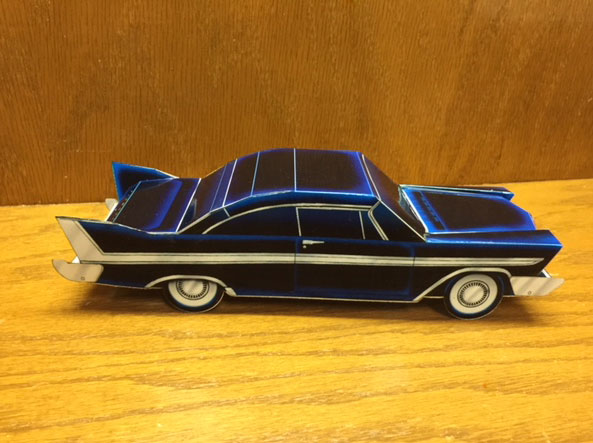
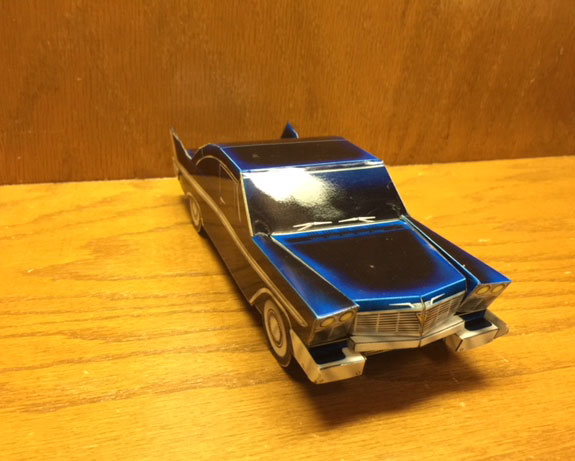
(This is a little more advanced, since you have a lot more cutlines to create in the file, but it really is completely accurate with the cutting - no wibble-wobbles from tired hands and tires that wind up looking flattened.)
26 Likes
This sounds AWESOME!!
1 Like
 And it’s so fast you’re going to squeal. (All the Print & Cut files I’ve got work great with minimal adjustments…and those are mainly trying to get the marks to fit on the page along with the design.)
4 Likes
I could tell by your write-up!!! So exciting!!
1 Like
@dan That seems to be a great feature! Would love to try it out and give some Feedback! Hope my unit is on the good side of your Data-Noise-Map 
1 Like
I’ve used Snapmarks to cut hundreds of tags for cookies and the alignment was spot on!
I also use it for personalizing items that I make batch and then can add a boat number and such, if desired.
I know have a stack of cardboard jigs for various items.
Love the feature!
17 Likes
Looks like a great feature. Given the current inaccuracy of visual alignment, it would be very disappointing if this was not made available to all uses (including Basic) free of charge.


15 Likes
Maybe a new crumb tray with a couple of these… what were they called again?.. “fiducials” printed on it could be made up? Then would it be possible to affix a permanent jig consisting of two perpendicular rails to this new, experimental crumb tray so those rare rectangular materials could be cut with sub-mm accuracy?
Whoa, it just hit me! OMG, the Glowforge could detect this tray automagically, maybe even each time the Glowforge is powered up or somethin’, and then this special crumb tray would be ready to use by default!
11 Likes
HEY! #RabbitHoleWarning PLEASE! Jeez! We have jobs that require not futzing our productivity!
8 Likes
Ok. So I’m going to be the one to ask the stupid question. You have a camera in the lid. You print the fiducial on paper. Input thickness. The lid camera system takes a picture of the paper identify the fiducial, then to align cuts to the fiducials on page. Multiple people say this works perfectly.
For those that don’t have this option yet, how is this different than the system that doesn’t work now? I can set the thickness, allow the camera to take a picture, then manually move my file to spot the exact spot I want to cut (zooming in as far as needed), and be 1/4" plus off especially in the corners.
Is the laser head now moving to the approximate position of the fiducial and making several small corrections (similar to homing the head with the GF symbol) then taking a better picture directly over the top of the fiducial to position correctly?
3 Likes
After the lid fisheye does its limited thing, the head comes out with its camera and does its thing. If all goes well, the pre-scored or printed image aligns with the file you have loaded in the GFUI and merges everything. When it works, ie. the files are right and you set the printed or scored material reasonably close to what you see in the GFUI, it works like a dream. I’ve never been able to measure any offset from what I had programmed.
7 Likes
it uses the head camera for more accurate placement since it only needs to look for the one image. The same way 3 registration circles work on other systems from trotec and epilog. They just use 3 to create a triangle.
3 Likes
Well… why is the description of what the Glowforge doing actually doing so poor? This is the first time someone actually said that the CAMERA in the head was being used to increase accuracy. Seems using a whole new feature of the machine would be worthy of a mention.
That said, why can’t they enable this new “feature” of using the head camera to take a picture without the fiducial? It goes like this:
- You enter material thickness
- Lid takes picture of bed
- Allow the user to drop a set of electronic “fiducial pins” on the screen near where you care about alignment of your drawing.
- The head goes out and takes scans of those “fiducial pin” spots, increasing the fidelity of these locations, creating an accurate high quality picture “square” of these spots, and then places the replaced “accurate” image square on the screen in these “fiducial pin” locations.
- You then move your electronic file to align visually with these more accurately scanned locations on your screen.
No special extra work required printing paper markers, kept vertical, special svg files with embedded fiducials?
You would just use visual cues (magnets, hand made mark, edge of material, etc) to position as you do now.
For those that want the extra accuracy of the printed fiducials and special files, I have no problem with them using this new feature. In fact, I love that they have something that is more accurate.
Feature request: please add using the camera IN THE HEAD to obtain a more accurate cut than what I have now…
7 Likes