i was going to try with my cricut heat press first. since they said steam, you think i ought to spritz with water before i press?
3 Likes
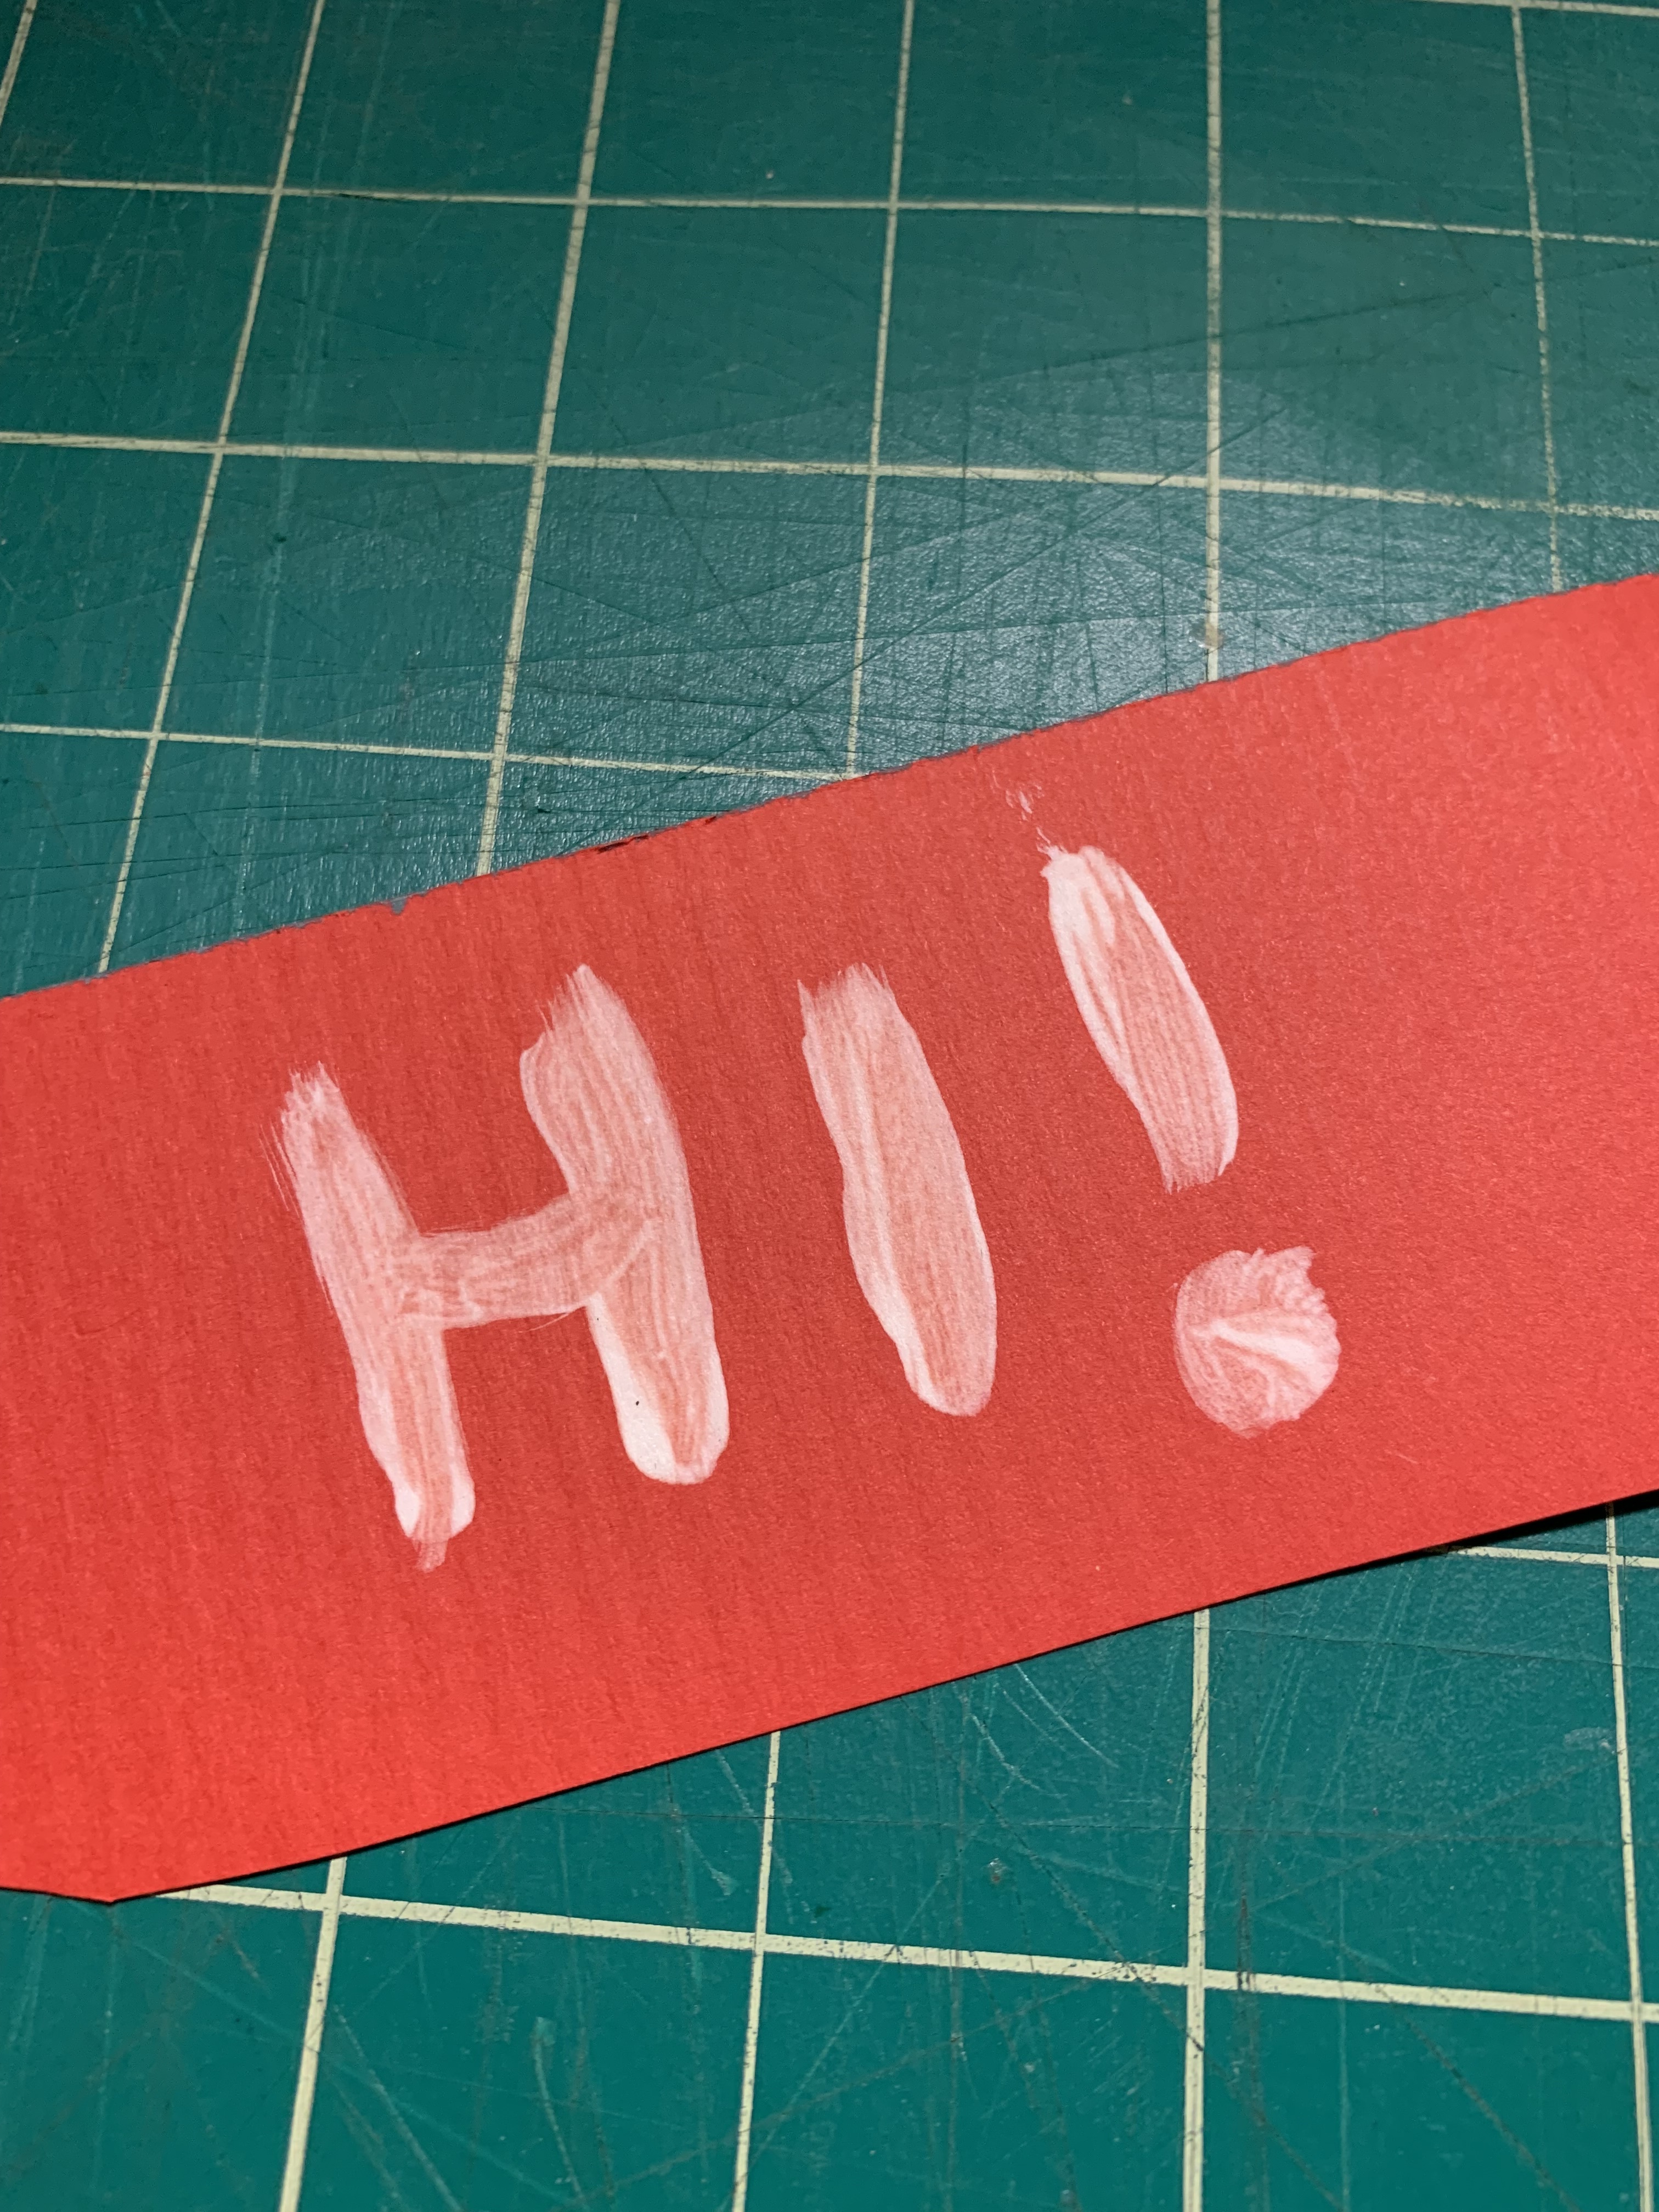
and by that, i mean a simple silly test where i drew on a piece of red cardstock with a brush. obviously the laser is next, the paper dried faster than the fabric. for paper, i’m thinking stencil or stamp and i can use the heat press. but this was a quick and dirty test for the heat press vs iron.
5 Likes
Probably a good idea. The reaction generates formaldehyde, which is worth avoiding in any concentration.
4 Likes
I get that. I’m in Naples and my GF overheats constantly. I got a portable AC unit just for it because we keep the house at 75F and I think it’s not enough.
4 Likes

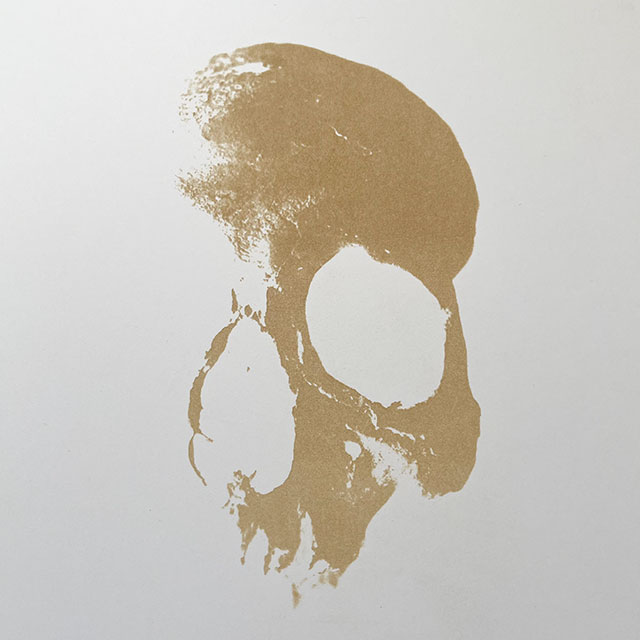
I decided to give this a try. In the spirit of the season, I used a photo I took in the catacombs under Paris.
Shockingly enough, despite years of Glowforging, this was my first photo engrave. The original image is pretty contrasty already but, I riffed off of JB Manning’s photo preparation tutorial to optimize it.
A test engrave on card stock looked good.
For the first attempt, I treated a rough rectangle with the dye removal paste and, let it dry overnight in a dark, cool room. The paste removed some of the dye even in the areas where it wasn’t layered. That may be a product of how long I left the paste in but, I assumed it was just going to do that.
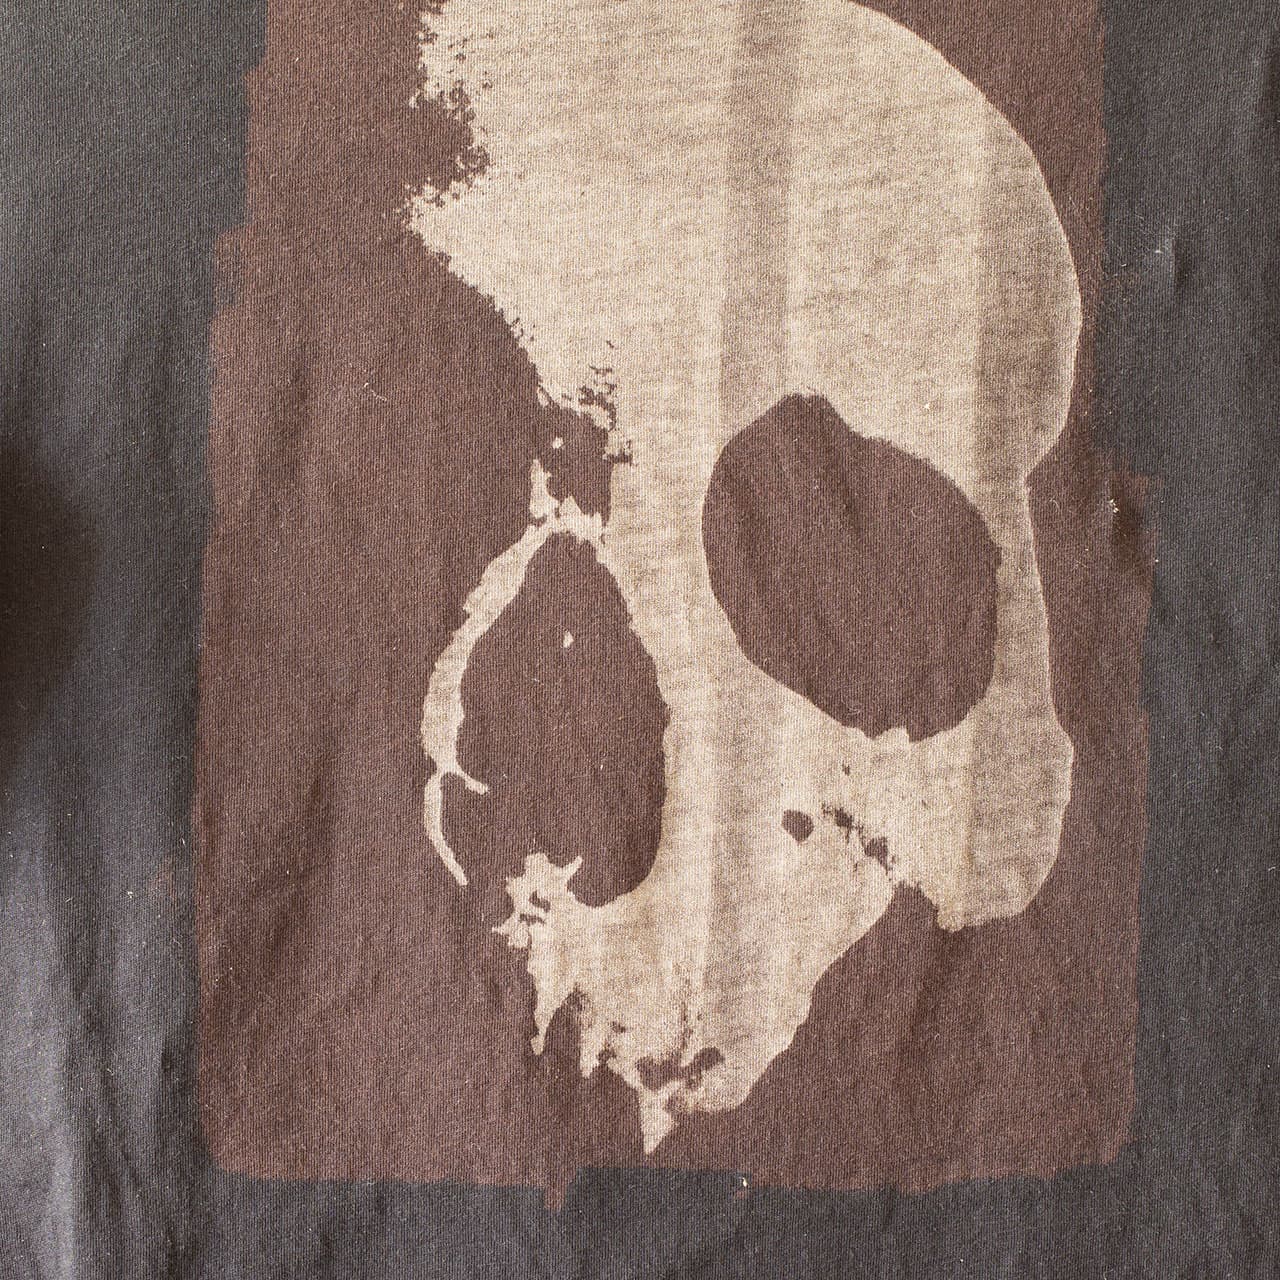
Thus, for the next attempt, I saturated the entire shirt in order to try to compensate for that. That took a lot of the paste. I noticed that one was dry within a couple hours and, finished lasering and wash-out promptly. It seems to have remained darker in the un-lasered areas. Comparing with a shirt that has only been washed, it is difficult to tell if there would still be a visible border if the whole shirt weren’t coated.

The maximum engrave speed I could set was 1400. Maybe the Pro has faster options than the Basic? Anyway, I did some quick mental math (realizing the power and speed scales are not entirely linear) and, guessed 10 power. That seems to have worked okay.
I assumed the stripes on the first print were a fluke or, because I failed to wash out sizing in the new shirts before I did this. I also cleaned the optics on the machine before doing the second one.
When the stripe started to appear in the second shirt, it occurred to me that it might be an artifact from resizing the image in the GFUI. I thought I saved the PNG image at 96 DPI but, it was oversized when imported and, I just set it to the correct size. In retrospect, I should have gone back and re-exported the image. I kind of like the stripe, though. So, I think I am done with this one for now.
This was a Bella+Canvas shirt from a wholesaler.
One-minute making-of short for your amusement:

12 Likes
This is so RAD. I don’t know why it didn’t occur to me to wash any of my shirts in the sink BEFORE putting them in the washer to get out some of the decolourant. I will have to try using more paste and letting it actually dry. Your skull/engrave came out a lot “whiter” than what I’ve gotten to date. PROGRESS! Love it! ![]()
8 Likes
I used to do a lot of resist dying stuff. So, a lot of the handling like sink wash-out is almost auto-pilot.
I’m not sure how much back staining you get with the sort of heat-set dyes used in commercial T-shirts but, the Synthrapol really helps when working with Procion dyes.
9 Likes
(necrogame)
For all those looking for a place where Aura (or spark) can shine more than the other machines here is a place where the lightest touch works best.
Following her links down the rabbit hole to
I was thinking even dyed basswood (or even hickory) could benefit from their products much less other products. As the temperatures are low, even black wet paper could work laid out on blue surfaces.
7 Likes