I’m trying to think of a way to visualize my workflow, bu the short answer is I do not save directly as an SVG. I think you CAN, but for some reason I decided a while ago it was better just to save as PNGs then convert and trace them in photoshop and Illustrator. Possibly because of control over sizing? I should look back into it.
PNGs also let you view the individual files on my work computer where I don’t have the imaging files (but do have the spare time to fool around with experimenting with the code between assignments).
I’d post the actual processing code but it’s probably inelegant and hard to understand what’s going on. The great thing is that once you get started in a direction you can change the shapes, variable, etc. really easily. And you can add bits to help you with your workflow.
For instance, I have it set up with a “preview” mode so I can get a really basic idea of what the finished, layered work will look like. (And when the sketch is run the layers will be be added 1 at a time so it’s more clear than this.)
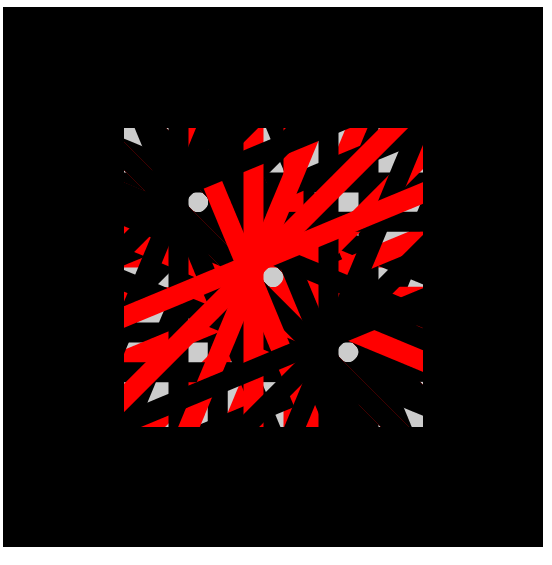
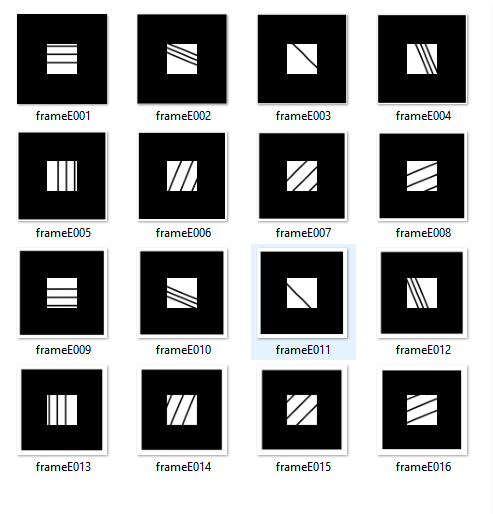
And here are thumbnails of the individual frames for that sketch (the red section would be the middle line in each frame. I only made it red to clarify the parts enough to see the structure):
You can also make other scripts that will do some of the work of preparing them to cut. For instance, once the individual layers are created, you can have another preocessing sketch that automatically resizes them and arrays them next to each other into sheets the size of the paper you’ll be cutting (so at 4" x 4" I can fit 4 of these on a single 12 x 9 sheet of paper) so I only have to trace 4 images in illustrator to cut everything. It also allows me to taper the edges of each frame, which is an effect I like.
All told, it’s a really efficient process after you chug through the initial stage of coding (all these designs have been relatively slight variations in a single concept. Plot a line/ellipse/wavy line, rotate it). The possibilities are really endless and the designs are soooo clean. In the past I’ve also used the Glowforge to engrave wood blocks that I’ve used to print using a hand cranked press which is another way to get a physical object out of the generative code.
There’s a javascript version of processing, so they work well together. I think the adobe suite also uses JS to run macros, so you may be able to kill a bunch of birds with relatively few stones if you go that route. It isn’t the mode I’ve used though.