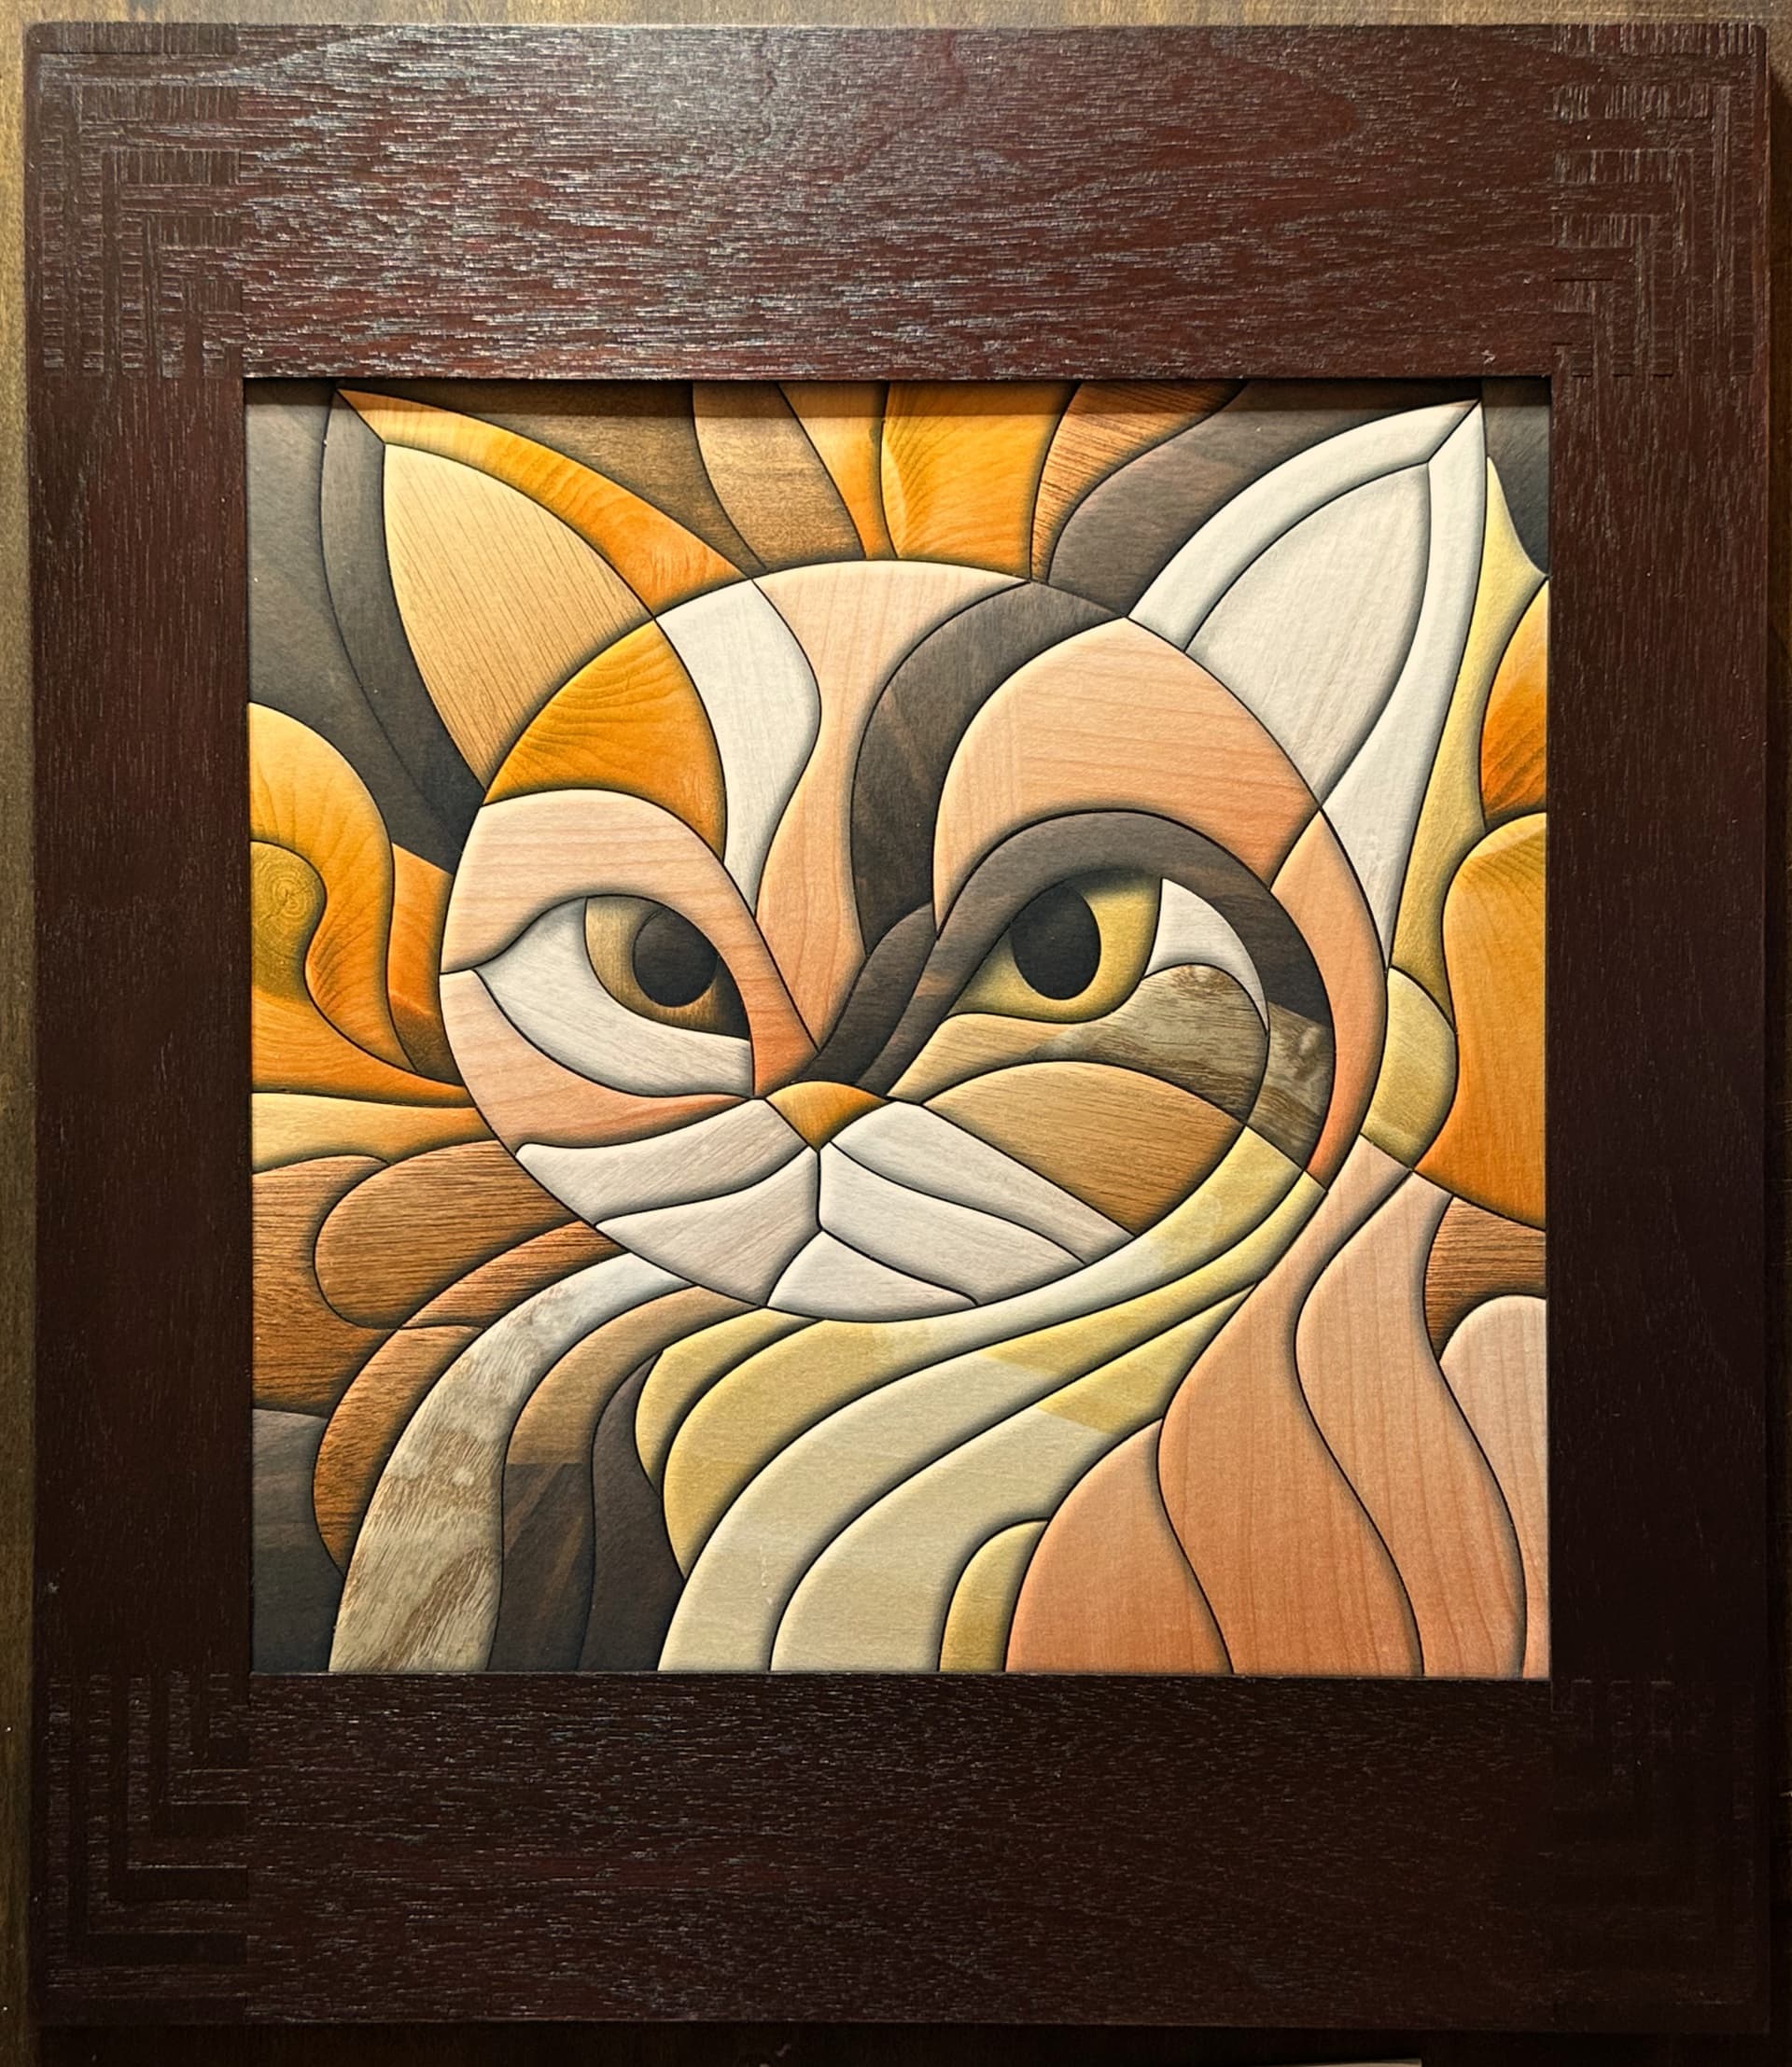
I’m generally disappointed by laser-cut mosaics that are just flat, 2-dimensional. They lack some life.
What about some intarsia-style shaping of the pieces, making them a little more 3-dimensional, with rounded edges? It’s a small detail, but it makes a big difference:
(A) Cut the pieces from solid wood, then shape and sand the edges before staining and finishing. A very solid piece of art, so to speak!
(B) Cheat. Mock up the wooden pieces in Affinity Designer, apply a 3-D shading effect, mount the image on plywood, and then cut out the pieces (your basic jigsaw puzzle construction).
I’ll let you guess which method I used!
If you want to display the mosaic while keeping the puzzle pieces unglued for future jigsaw-puzzle fun, simply stick the pieces firmly onto a sheet of high-tack transfer paper and display it in a picture frame. Alternatively, layer a sheet of acrylic on top to hold the pieces in place.
So it seems to me that applying a faux radius via shading would turn into a real radius when you engrave with vary power. How much depth was actually there?
This is cool and subtle.
Also I’m assuming you didn’t try to flip me this because you have way too many edges that join the corners. So I’m guessing that you did it all cut side up, of course, because of the engraving portion… if I’m right, do you think that the natural gaps between the pieces from keystoning helped the effect?
(Laughing) You underestimate my laziness! Your method would indeed be cool and subtle. My actual method was to apply shading effects to the image, print it out, and slice it up. It’s really just an ordinary flat jigsaw puzzle / mosaic. (That said, I do actually want to make a real one at some point.)
The only modestly cool thing about it is that I used actual photos of different types of wood, and was meticulous about color reproduction, so it’s actually difficult to tell it’s not real unless you look very closely.
I did actually consider the engraving method, but I imagined it wouldn’t save very much time, because hand-sanding would still be required to smooth it.
Pretty cool way to make us think about different ways to accomplish something. As usual, you build the community knowledge base with your techniques. Thank you!