It is 0.976" diameter.
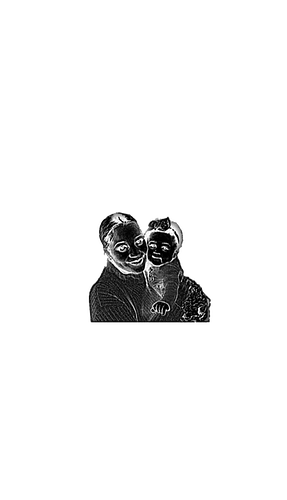
Did you have to invert the image for the detail? I am currently trying to do 3D photo engravings in the thick acrylic but the whole image seems to be completely white. I have tried it with color, black and white and with inverting the image.
There is a pretty comprehensive information on how engraving works in the tutorials section:
The heavier the engrave, the closer to black you need those areas of the image to be.
Wow. old thread for a first post. Welcome,
If you have an image for 3D it will be White where you want no cutting and black where you want the deepest cutting. if you are coming in from the back side you will want that reversed so inverting the depth would be in order, You do need a special sort of image with the different depths sorted out that will not look like a normal photograph. Everything that is cut at all will be white.
If you want it in color after that then you need to shine a colored light on it,
If what you have is a photograph then you need to do a dithered dot cut that will work the same no matter what as the dots will be close together in darker areas and farther apart in the lighter areas
That image will not do well in 3d at all.
Think about what you are looking at, with the part in the hair in a deep hole along with their eyes nose and lips? Imagine each shade of gray as a plane with each darker being lower than the lighter one above. When you invert the image and cutting from the back it is just a double reverse. so what was white will be higher looking inside the acrylic. Where there is a sharp distinction from black to white there will be a sort of cliff or hole, or else a butte where white is surrounded by black.
It would be better to go back to your original image and maybe flip it right to left and do a dithered dot pattern with the masking left on. Then you could spray paint the back black, and let it dry well before removing the masking (and search weeding for instructions of difficult cases). You will need to cut back a bit on the darkest areas as you don’t want the dots overlapping and you might still have to do a few tries to get it right,
Thank you so much
