Hello Everyone, first time posting here, got our pro model about 2 weeks ago, really enjoying the level of freedom to express creativity with this wonderful machine.
So after the first couple of prints like the ruler or the trial from the manual, we quickly wanted to try out other, non-proofgrade materials and realized that there were not many instructions about how to manipulate Speed, Power and Line Density, so we had to do a lot of experiments and collecting of experience. So naturally putting your smart phone under a 40W laser when you have no idea how to set it up or whats gonna happen, we had to wait a bit.
But today we just stopped being whimps and we engraved some phones. And its surprisingly easy and safe.
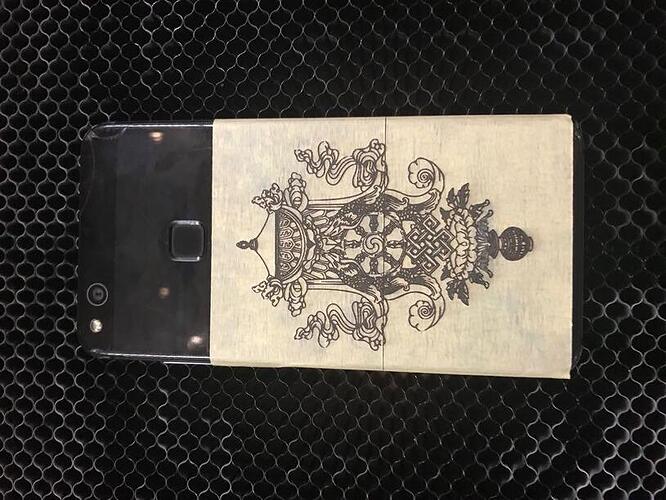
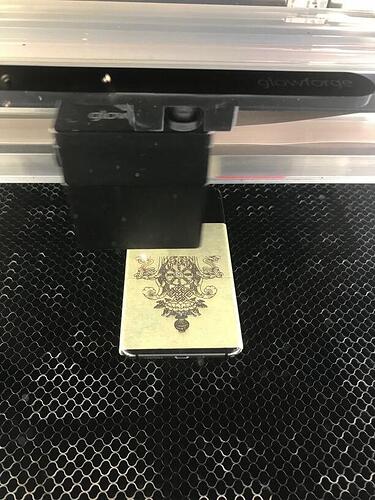
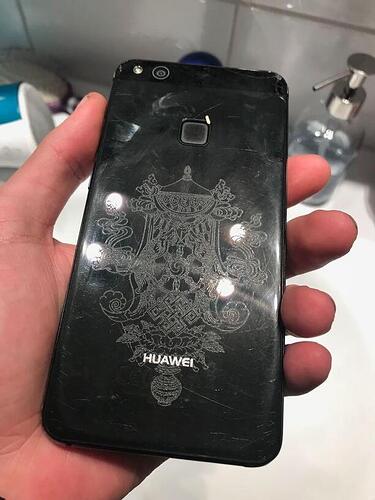
The first one we did was this intricate image on the Glass back of a Huawei P10lite. Engraving glass is really simple, we set the Speed to 1000, Power to 90 and Line Density to 270. The outcome is great.
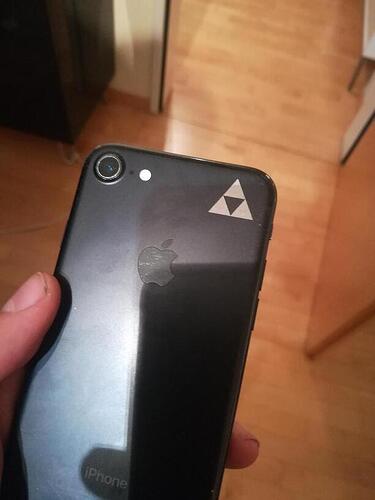
We also did some testing with a Triforce on an iPhone 7 with Speed at 1000, Power at 65 (although we think 80 would be more suitable) and Line Density at 270.
Simply using ordinary masking tape worked out fine.
Check out the pics for the results.
We thought we wanted to share these results, because up to now there has not been much information on how to engrave smart phones to feel reasonably confident that you wouldn’t mess up your phone and Glowforge does not yet recognize any phones.
So, PEOPLE START TO ENGRAVE YOUR SMART PHONEs, its simple, quick and safe.
just one more note, as some might already have noticed the image of the bed, nor the preview show exactelly where the design will be edged, Glowforge should fix this, but you should figure out how accurate your positioning in the webapp really is
stay safe, have fun and laser on piu piu piuuu


