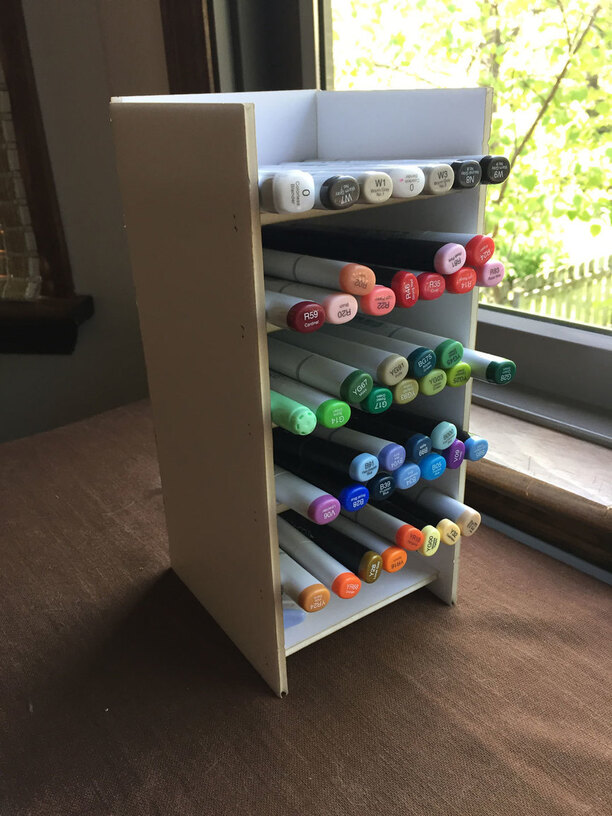
Here’s an item I actually made by hand with ruler and craft knife before I got my GF pre-release, and decided to do another in Fome-Cor (paper-backed foam board) before possibly doing it in acrylic. The idea is to have a place to keep my Copic markers on a shelf at eye level so I can just grab the one I want quickly. There is a slight tilt to each shelf so the markers will stay in place. (Note: this design is not unique–I’ve seen similar ones in Pinterest, but I did do the Illustrator work on this particular one).
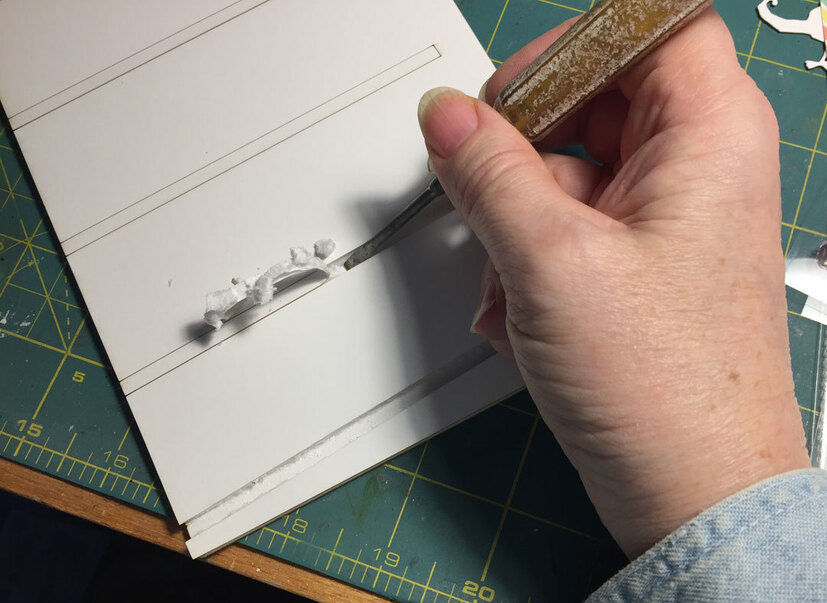
The features of this design that are unique to Fome-Cor is to create channels in the sides for the shelves, by scoring the paper on one side, then using a narrow screwdriver to chip out the channel:
That way you have the paper on the outside to hold it all together and look neat. The shelves just slide into the channels. The back also has a lengthwise channel on either side, to glue the sides into.
After sliding the shelves in place with a little tacky glue in each channel, the back was hot glued in place, to give me a multi-shelf marker organizer:
I had actually intended to just do this one as a prototype and then create a more permanent one in acrylic. But I might just keep and use this one instead. It’s pretty sturdy. If I was going to move on to acrylic, I would redesign the whole thing in F360 so I could make the material thickness parametric. Maybe the shelf tilt as well. Also, I would just cut through instead of scoring the sides, and glue the acrylic in place with acrylic glue.
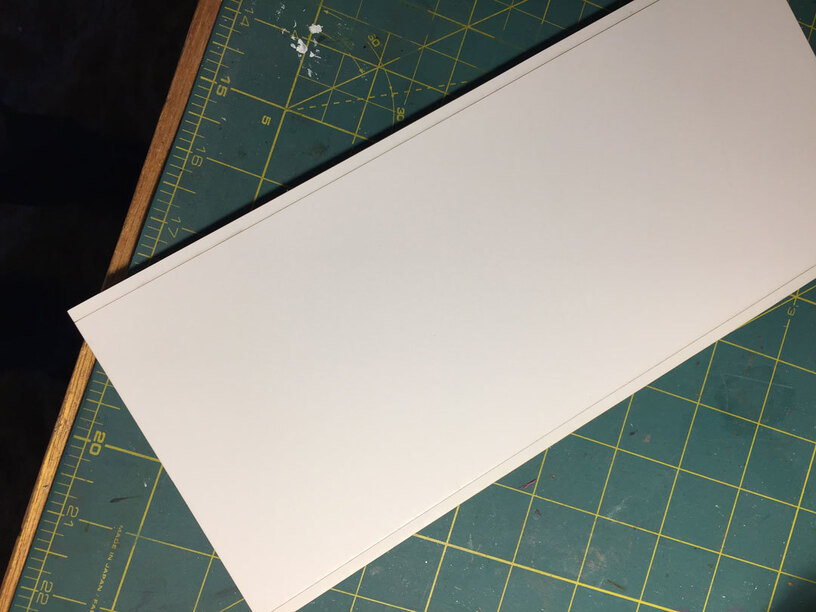
Yes, those lines you see in the photos were score lines from the laser. I did them at 1/197 at the 0.175" depth of the material. The score only went all the way through the paper on the other side where the corners were. No masking. There is a little flame damage on one corner where it actually caught fire and burned gently. Eventually the air assist blew it out. (I was standing by with my wet rag but didn’t need it).
I use a similar one building RC aircraft out of DTFB (Dollar Tree Foam Board) to make 90° corners that still have the paper on the outside corner. Here’s a video with Josh Bixler (of Flite Test fame) showing an easy way to clear the channel, but only if it extends across the entire piece…
Not totally in agreement.
I would add “being able to see what you’re trying to do” as being up there as well.
This is where those magnifying head band thingies are so brilliant.
I think it was the standard 1/4” or thereabouts. The whole piece was cut through on the laser, except for the scores where I didn’t want it to go all the way through.