Glowforge Owners Forum
Quick black-and-white cleanup with Photoshop
Glowforge Tips and Tricks
marmak3261
July 20, 2017, 3:29pm
15
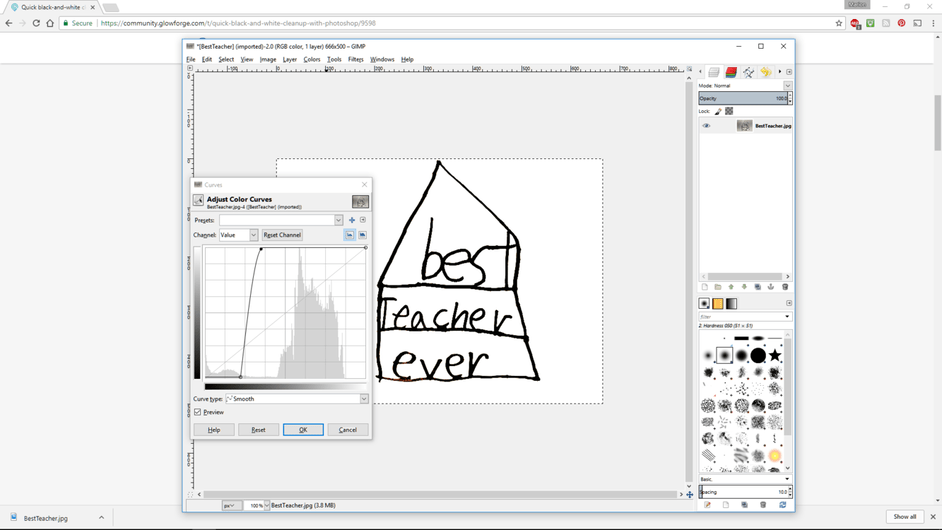
Yes. Same process.
942×530 55.9 KB
It’s how I sharpened the heirloom recipes for the cutting boards.
9 Likes
Trying to copy moms recipe but how do I just get the text on lined paper
show post in topic