I had been using this concept successfully and really loving it, until the last experiments.
I was trying a stained glass look with acrylics and using a wooden frame.
It seemed to really help with a no glue press fit, but then I noticed it was straining the wood and causing cracks. Sometimes right away, sometimes the next day.
Tried a few placement changes and finally abandoned this and went for a tighter kerf standardization. (yikes mathz)
.
Fact is that the wood will give but the acrylic will not, therefore the wood loses any pushing contest.
If it was all acrylic it may have worked better.
I wonder if putting them on the acrylic might have worked. Part of me thinks it would have the same outcome, and part of me thinks having acrylic teeth poking into the wood would work better than having wood teeth getting smashed by acrylic.
Why do these things always come up when I’m not near my GF to experiment?
Thank you, thank you, thank you! You ARE an Inkscape Jedi Master. I feel kind of dumb admitting that I did not know to “look down” after selecting something. Great tip!
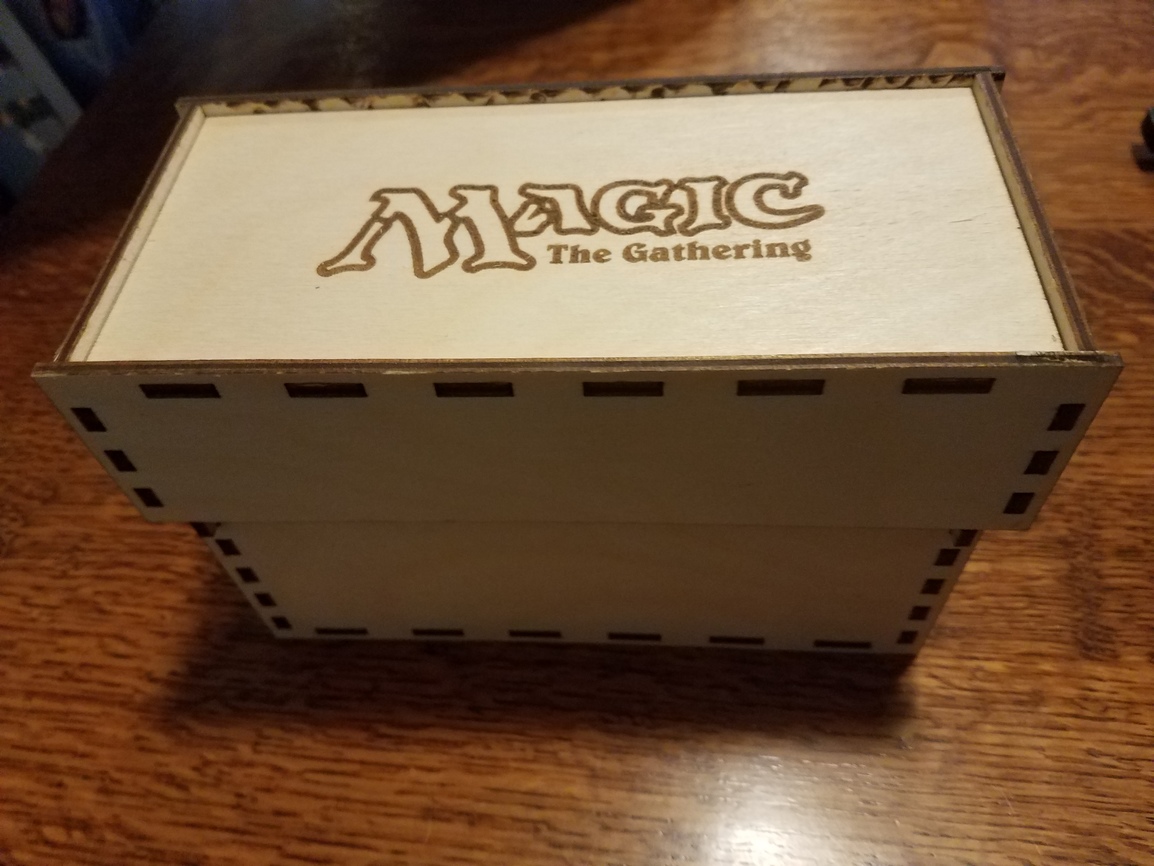
I tried these out on a Magic Deck box. They worked really well. If I pull hard enough they come apart but it takes quite a bit. Attached is the svg if anyone wants to make one.
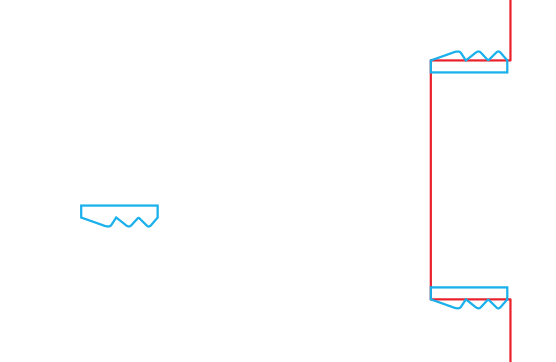
First time designing anything with serrated tabs, and I’m curious – do you put the teeny tiny serrations all along both edges of the tab, or only in one spot? i.e. lots of tiny serrations per tab or 6 max?
Yep, read it pretty thoroughly trying to figure this out. That box with the example tab serrations is probably 0.1" in size, so not exactly the best test or example to go off Call me lazy for not just testing putting in 20 serrations on the sides of the tabs vs 3, but I thought I might could ask what those who have made a serrated tab project have done while I took a mental break from designing a display box.
Thanks for your experience! After looking at it again, I just remembered that my wood is 4.5m, not the 3mm/ 1/8th inch that this was made for. And that comparing the teefs to one side of a box is obviously going to make them appear teeny tiny Blame it on the fact that I have been working on this tabbed display all day and my brain is burnt out!


 Call me lazy for not just testing putting in 20 serrations on the sides of the tabs vs 3, but I thought I might could ask what those who have made a serrated tab project have done while I took a mental break from designing a display box.