What, and use my real camera?!
No, you are quite right. Although with a box of sorts as well I can control what is being reflected to a certain point.
Funny, now that you mention it, the last time I went to a 3D movie I kept the glasses and broke the lenses out to have a pair of filters for my phone.
I wonder what I did with them?
8 Likes
I have seen some incredible work done with different aggregate sized blast media, enables shading.
Not like it’s that easy to replace the sand and graduate, just sayin’.
70 Grit looks as rough as I would envision. Nice addition to the arsenal!
Absolute cleaning is a welcome ability. You will find it very useful. Careful with thin metal, you can distort it easily.
4 Likes
Tempered glass is another thing. You don’t cut tempered glass, good chance it will explode. Most of the strength of tempered glass is the surface tension. You can blast both sides of tempered glass and crumble it in your hands.
3 Likes
You dont have to use a polarized lens filter with an actual camera, you can hold it up over the phone optics just as well.
Do you have any polarized sunglasses? Aside from the added tinting, it will work the same way.
Just hold the lens/filter in front of the phone’s camera and rotate the lens until you get the desired affect.
With a piece of round glass, you’ll never be able to kill 100% of the glare because just a tiny sliver will align perfectly with the pattern in the polarizer and make its way through, but it will be a huge improvement.
With a flat piece of glass, say you’re outside of a building and want to photograph through a window to the inside, a polarizer will kill all the glare reflecting off the window and make it appear like it’s not even there!
5 Likes
Here we go, iPhone camera plus a Canon polarizer, pretty good difference between the two. The filter even killed the little bit of glare on the LCD screen in the background, and the glass jar in the background too.


19 Likes
I love the stuff you create. Original, cool looking, fantastic!
3 Likes
Ditto! 
1 Like
Really nice sand blasting cabinet once you fixed it up.
You may also find a finer grit blasting material works better on glass. I love blasting designs into glass and it looks like you’re off to a great start in this area as well.
6 Likes

Maaaan… thats incredible looking! Well done!
21 Likes
What are you blasting with? (looks like a larger grit) Are you using aluminum oxide or silicon carbide? That last glass almost looks like using the glass beads (leaves a nice dimpled" effect. Al oxide is cheaper but silicon carbide is so much nicer finish (and no static - and it gets sharper as it’s used)
3 Likes
So far all I have been using is 70 grit aluminum oxide. Someone also told me I should try something called Black Beauty. I’ve seen blast media at Harbor Freight and at Tractor Supply here in town. Do you have any good sandblasting resource/website/forum that you use?
1 Like
I have been doing glass, but I am using an artist’s airbrush compressor and one of those little Paasche “air eraser” tools. It’s fine for small jobs and light etching but I am interested in stepping up to the big leagues. Can any of you blasters recommend a decent compressor that will drive a more professional tool?
I’m using a Husky 120v 30gal 1.7hp 175 (max) psi, and it is definitely working harder (running more often) than I would like, but it is getting the job done. I was recommended to buy a 60-gal 240v compressor, but I just wasn’t ready to drop that kind of investment (would have needed to add a 240 circuit as well as purchase the big compressor).
2 Likes
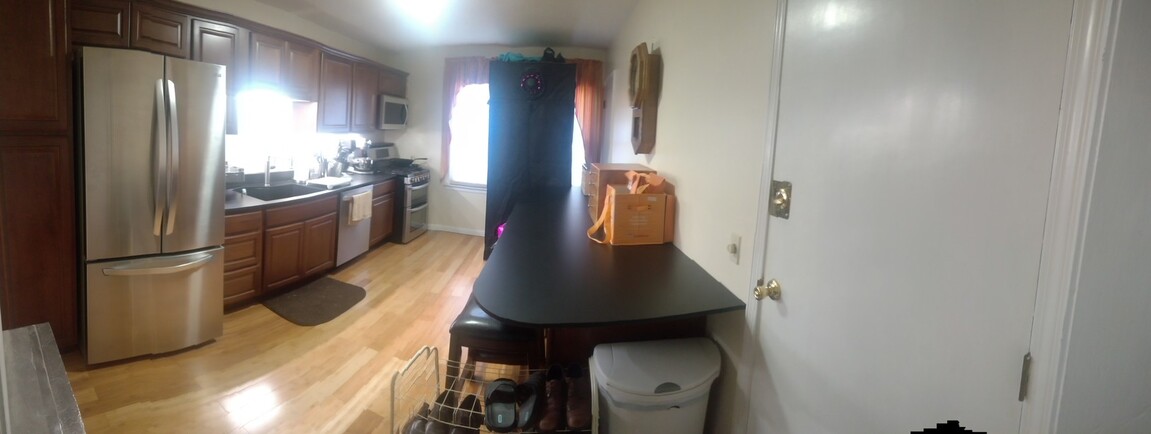
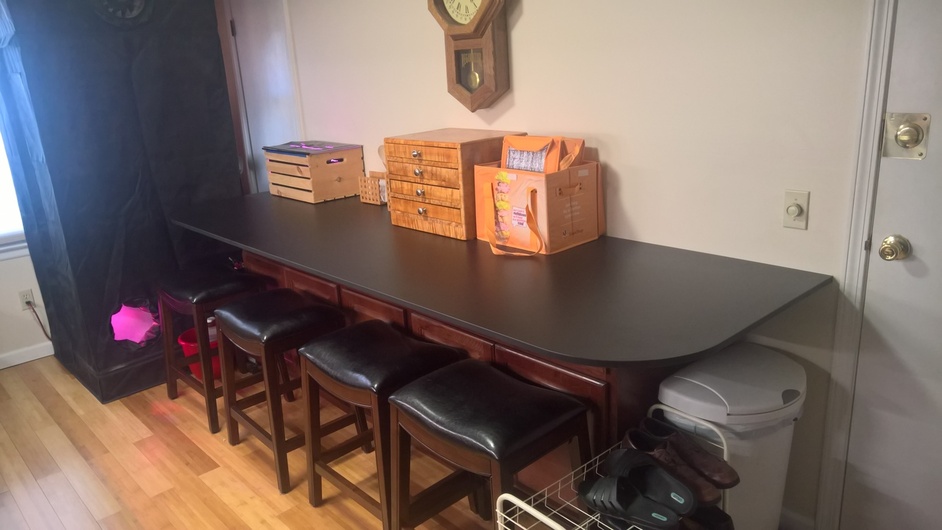
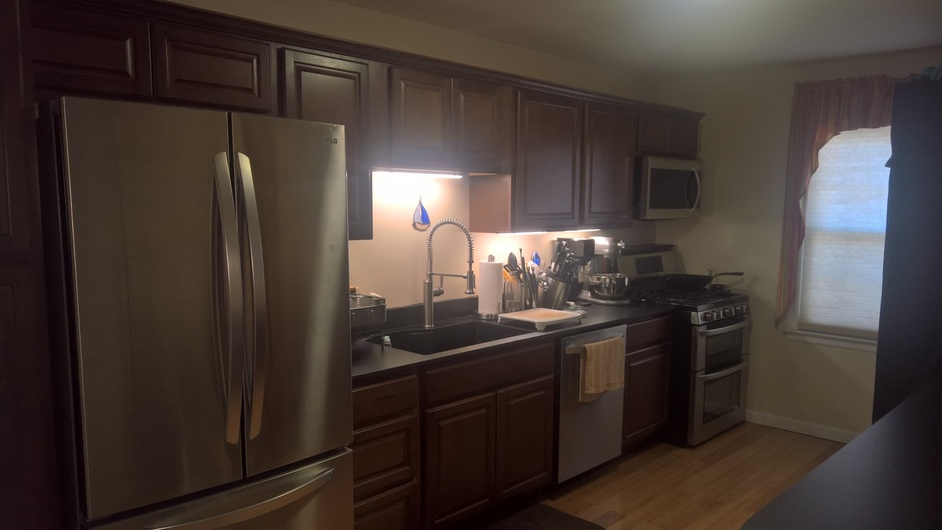
There is nothing quite so satisfying as doing a good kitchen remodel. I’ve gotten entirely too good at them over the last 10 years and 2 houses 
6 Likes
Looks awesome and that’s quite the transformation
3 Likes
Well done! What a great transformation.
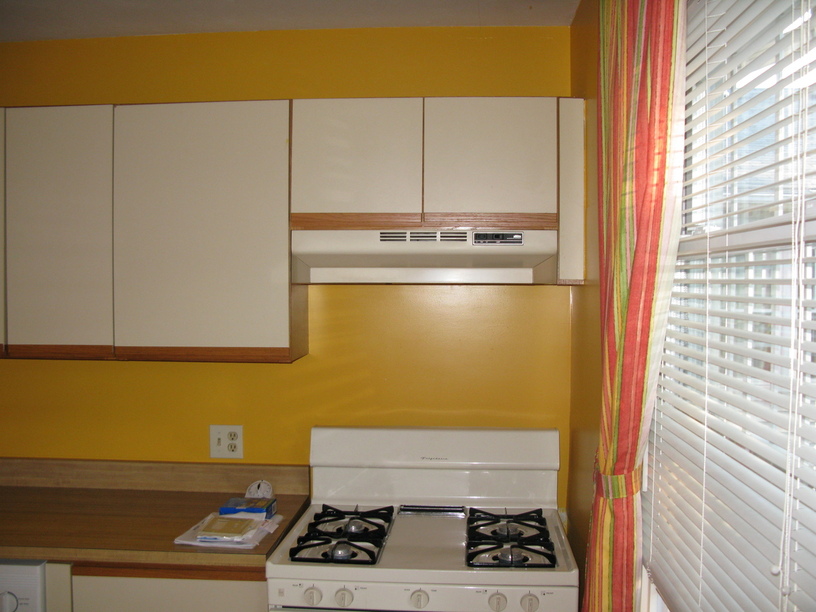
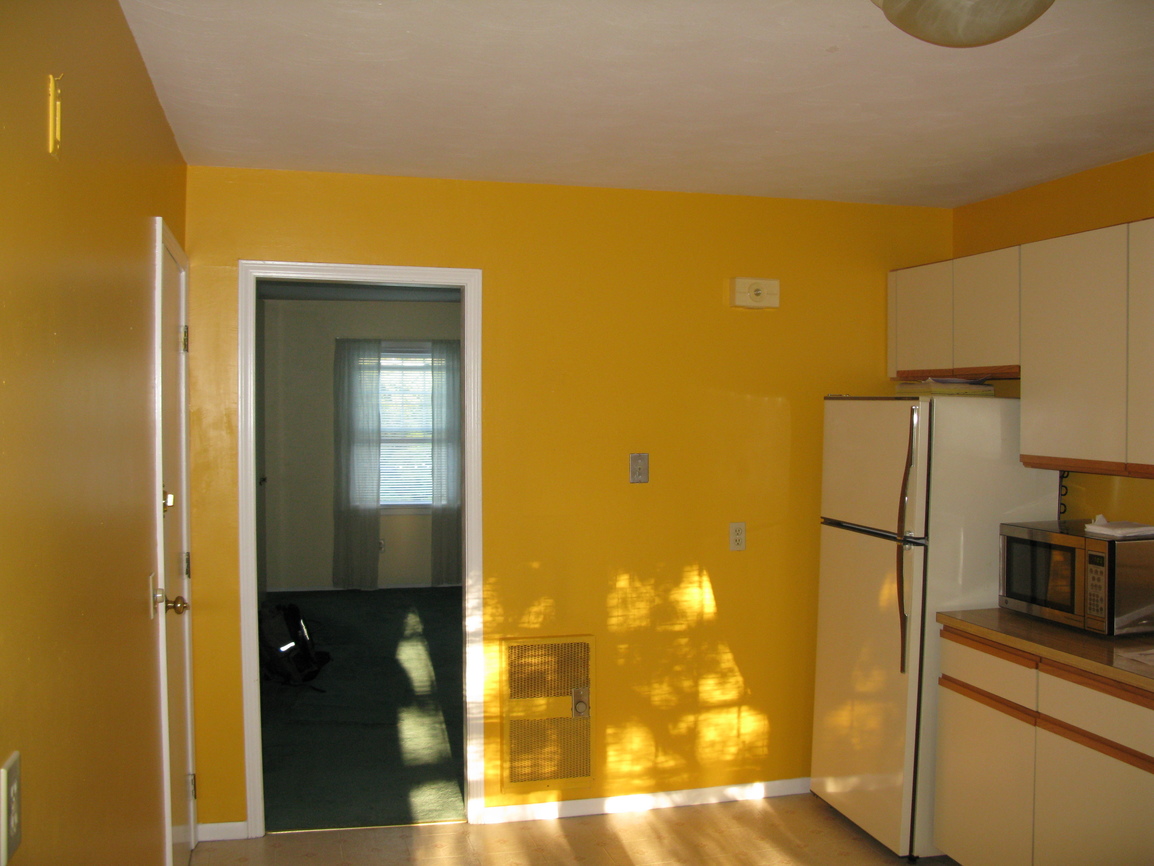
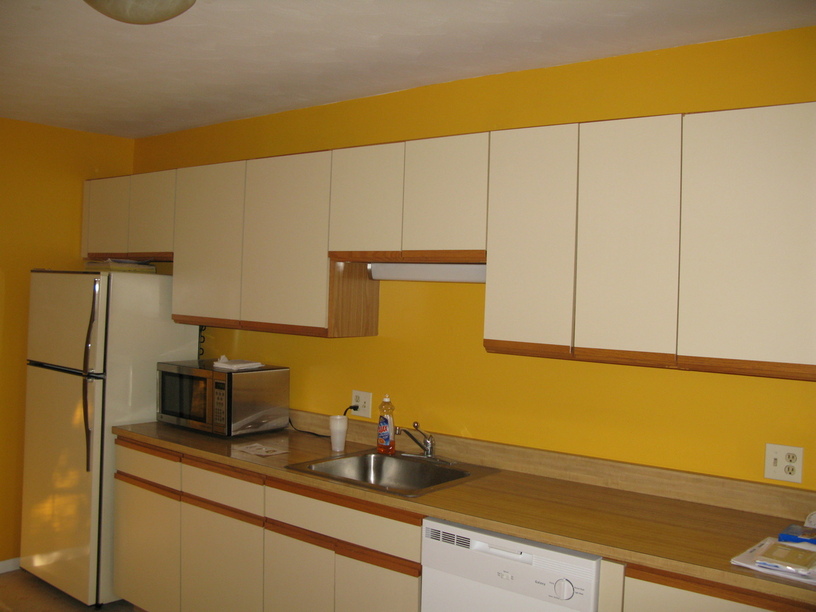
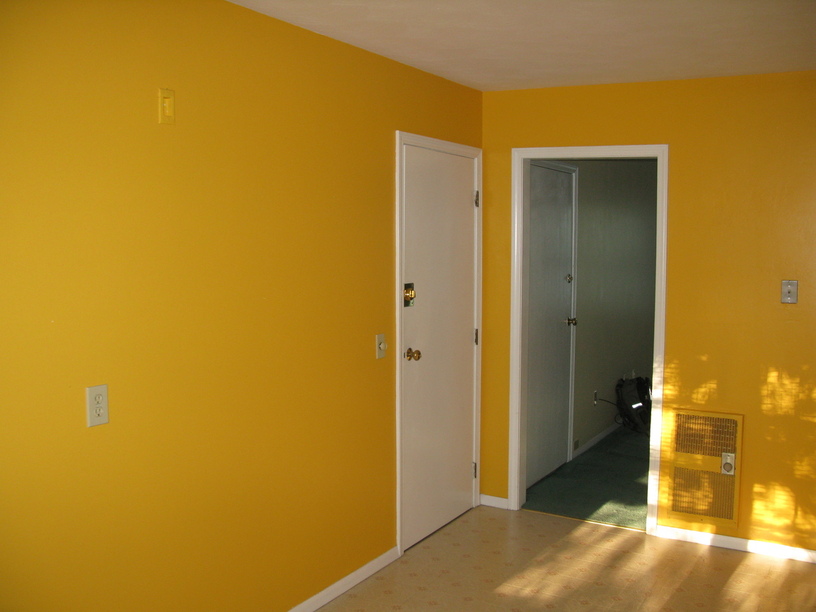
I just redid my ca 1950’s kitchen back in October.
Before:
http://imgur.com/ddgRovk
http://imgur.com/BopTs1y
http://imgur.com/CVH9kqf
http://imgur.com/fQ284uo
After:
http://imgur.com/dxXuE4K
http://imgur.com/GBw3rEc
http://imgur.com/oaSdFud
http://imgur.com/qi4yk19
Was a lot of work - had to be demo’d down to studs. I had contractors to do the demo, framing, drywall, tile, and plumbing, but I did the electrical, lighting, cabinets, and appliance installation. It’s finally enjoyable to cook!
26 Likes
Wow! That is an absolutely stunning transformation!
6 Likes
And another one! It’s amazing the difference a little updating can make!
4 Likes
Huge task to redo a kitchen. Heart of a home, but the result makes living in a construction zone for a while worth it!
I never have the presence of mind to take ‘before’ pics, my head full of visions of the goal and blinders on.
Well done job on both, thanks for sharing the results!
5 Likes