This sucks (well now it does)

As I re entry upgraded the z-axis of my x-carve to the CNC4NEWBIE ball-screw/linear guide upgrade I discovered my home made (Glowforge) dust shoe no longer fit in the back where the ball screw comes down. Given how hard it is to get proofgrade thick acrylic, I decided to try and cut the old one on the Glowforge. Now the biggest problem is that it is 2-layer sandwiched 1/4” proofgrade clear. The laser can’t chew through 0.5”, so I had to do it in stages. In hindsight this might have been a better project on the x-carve. But my idea, was cut a layer, crack it off with a screwdriver and cut the next. The registration was not perfect, but that’s not super important.

The first problem I rand into was the brush border got in the way of the laser (ugh), do then I had drippy nylon and a thin spot on my brush. Later I taped it down, like a blue tape hairband.

Picking the focus point was strategic as the model came apart.

Next I ran into the annoying dialog placement when drawing shapes in premium…, sure be nice if you could drag the dialog…

In the end the upgrade was a success, and required more parts that anticipated (new x-axis, now the new wide makerslide), and soon 9mm 3gt3 belts and 269oz-on steppers.

13 Likes

For support purposes this is chrome running on a chrome box.

So you can’t drag the dialog box, but you can drag your entire screen… image

3 Likes

Does the dialog not drag along with it?

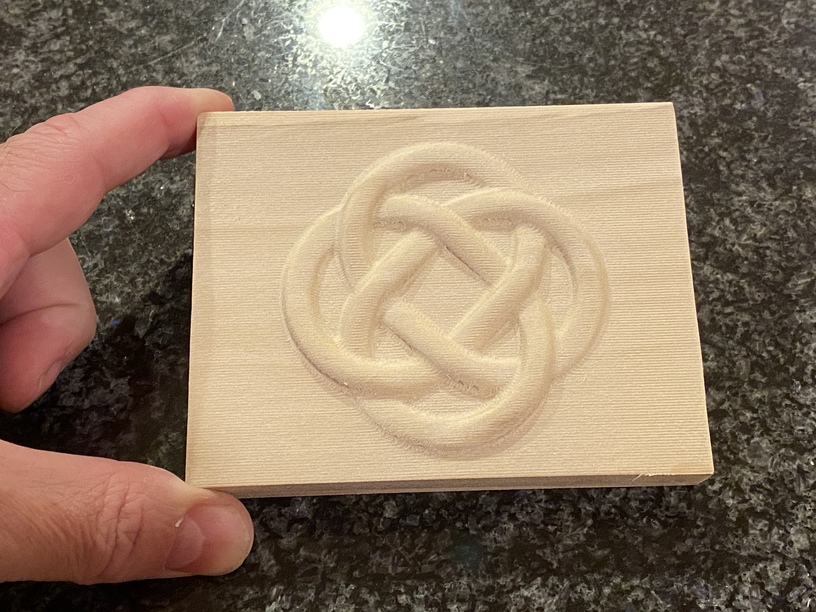
After getting the dust boot attached had to do a test carve. Finally got my first 3D carve accomplished via v-carve pro. It’s a bit confusing about z-probing the ball-nose finishing pass. Since you no longer have the material’s top surface where you set the top height. So I guess you need to leave a smidge available for probing. I’ve done this kind of carving (in metal) many times on my tormach but the tool offset is in the machine rather than each time you change tools you reprobe. (This is the same as the Glowforge set focus operation, except with an electronic probe)

After switching to the CNC4NEWBIE z-axis I had to remake my entire dust boot assembly as above along with new mounts and brackets. Then of course found that the 2015 x-rails twisted with that much weight so changed out to the wide makerslide. Now I’m going to do a combined project in purple heart and maple ply on the Glowforge for a friend.

8 Likes

For those who are curious, this is not a depth map like on the Glowforge but a “real” 3D model. You can spin it around it space. You can use a depth map, STL, OBJ or their proprietary model format. Annoyingly doesn’t import step files… this is one of the built in models (under the “weaves” category).

It doesn’t on Chrome…