He mentioned in another post theyre still dialing in the optical functionality. I hope they get it down because placing everything in the center to get best optical alignment would be a bit of a pain
4 Likes
From what I’ve seen and read lately on these forums and the world outside, there seems to be a desire for some drawing features that are found in other apps.
A quick summary:
-
Basic Drawing tools: line, arc, circle, oval, eclipse, spline.
-
Cutting tools: fold/perforation options and adjustability.
-
Transformation: scale (1 and 2 axis), copy-paste (associative would be a nice option too, for modifying several copies at once)
-
Extras: duplicate along curve/line, Boolean operations (add, subtract, divide, intersect).
-
Etching: images
-
Depth cut control: some way to define depth of cut/etching
Did I miss anything? Oh, offsets of course (just added).
Anything else to add to the hopper?
I think most designers couldn’t care less about the trace feature, which is frustrating because it seems to be the focus most often in these videos and posts. It’s a cool gimmick and great for selling, but most people buying a laser are buying it to realize designs they’re making elsewhere. For me personally the questions I have haven’t been answered since I started asking them a year ago.
-
How does two sided engraving/cutting work? We’ve heard that this is a feature over and over and haven’t gotten even a basic explanation of how it works
-
Is there any way to align your cuts/engraves besides the camera? The camera is great for the gimmick features, for most of us we want to use it to do good, accurate cuts and engraves. Eyeballing isn’t an acceptable solution.
4 Likes
Borders/outlines around cuts defined in mm/in.
I like the end of the video with @Dan surrounded by glowforges, he forgot to mention it but mine is the one with the lid up 
5 Likes
I remember seeing Dan give a description of how the process for two-sided engraving and cutting works in another thread somewhere…
Basically, the double sided alignment will be flipped across the long axis. That’s going to make it work well for rectangular edge cases, but might be tough for circular designs.
And you are correct, it is not going to be dead-on accurate for alignment in those cases. If I were cutting a circular coaster, I would cut and engrave one side, leave the excess board in place to use as a jig, and just flip over the coaster to engrave the back.
Or we might need to create jigs for double sided engraving.
Something like this where you designed a small nub into your coaster that would be quick to cut off afterwards with an exacto (or the laser), but could help with alignment, might work pretty well.
Don’t know yet.
But they are working on it - I’ve seen it discussed. ![]()
3 Likes
Thank you @dan and @karaelena! That was so awesome to see!!!
So easy! Can’t wait to see it live at MakerFaire, and of course…AT MY HOUSE!
2 Likes
Not sure what is built in, but I register in different ways depending upon my needs with respect to the part I am making.
- If you can cut and engrave along with an entire peripheral cut then your alignment will always be perfect. The camera will be plenty accurate for rough alignment of the raw part.
- If you are engraving on an existing part and not making any cuts and the camera registration is not accurate enough, you will probably need to create a cradle or nest to lay your part in. This can be laser cut depending upon the part. Kind of like of animation cells are put on a pegged fixture to make sure they are lined up.
My main point is that this might not be a function of the Glowforge but the ingenuity of the person using it.
At least that is what we find on our lasers, routers, mills, at work and I don’t see this laser as any different.
2 Likes
Absolutely. I can’t count the number of index tables and inserts I’ve made to make sure my lasered parts align. That said, I have fixed hard stops in a trotec and where I fire the laser is where it goes. It seems that, at least so far demonstrated, GF isn’t doing that.
1 Like
I get what you are saying, but at the same time there are cases where I have less than a mm of material left over after after a cut, and poor optical alignment could cause it to cut outside the material essentially wasting that piece. This is one of the things I want to avoid.
The other issue I see is engraving something that is already in it’s final shape. Currently I use a piece of paper or cardboard to test the cut before dropping the object on the bed. If optical alignment isn’t perfect I’ll have to keep doin this, which is a couple of extra steps I’d like to not have to do.
3 Likes
Dan’s sharpies should say ‘Shapiro’ on them…
7 Likes
I agree, if the Glowforge does not have hard (physical) stops, I will probably add my own.
That’s what I do today. The last part of the 2nd side engrave is to cut off the indexing nub.
4 Likes
Oh brilliant - you two just explained something that I have been trying to puzzle out! 
2 Likes
“Sharpiro”. 
4 Likes
Hi @dan & GF team!
Love the insight into the software, can’t wait to get our hands on it, probably like everybody else.
What somebody else already mentioned is the idea to see the size of the object when moving or resizing it. It is a feature in my 3D software I use a lot to get a feel of what I’m doing, or sometimes exactly know what my final altered dimensions will be to fit my 3D printers.
Here’s a screenshot of what I mean:
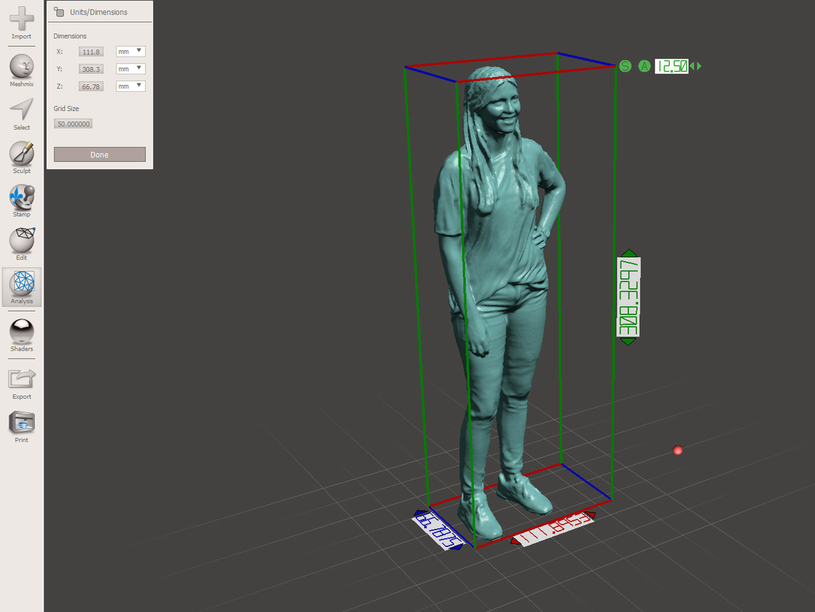
I can imagine that this could be a great feature to add in the GUI! Could look something like this:
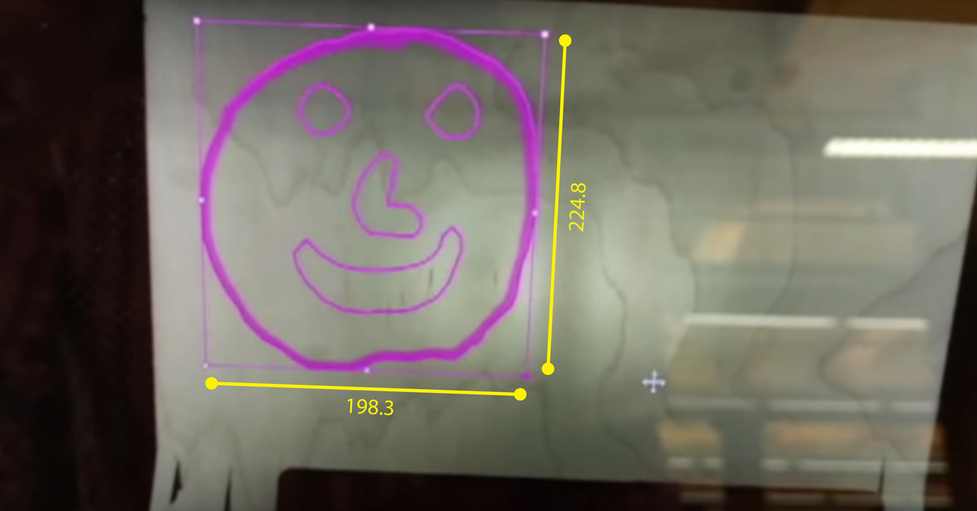
Sorry for the blurry screencapture from the video, idea is clear right?
Good luck with the work on our tool for the future!
Greetings from The Netherlands,
Elwin
19 Likes
This was calling out to me:

Sorry for the potential nightmares.
34 Likes
Mommy? I looked into the darkness and I think it looked back…
12 Likes
I knew the laser resolution was good, but… 
8 Likes
+1 on that!
1 Like