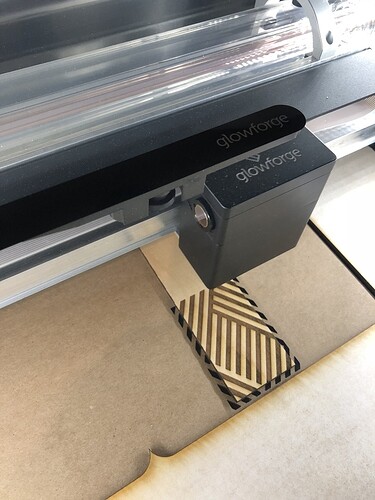
Cool! I wonder how hard it would be to make a depth map for little finger pull.
That’s what I did on mine. It is still in the original file.
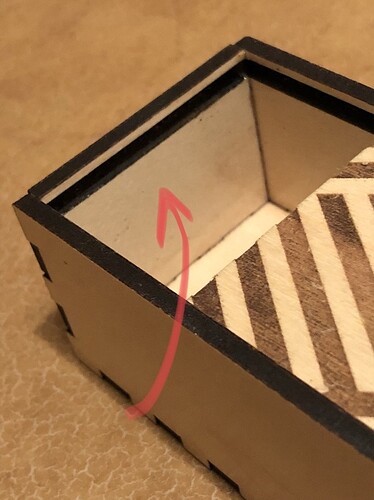
It worked pretty good. But I think next time I will cut a hole. Just so the print time would go quicker.
Just a little bump for this really nice file from @bwente .
I made four of the boxes and a little case to hold them all as a present for my nephew.
The handles are made out of some rubber cord I had around, so if you use this file you might need to customize that part.
Way to take it to the next level X 4!
I think I will cut the finger hole for the top next time, should be faster.
I m curious if the recent changes in the engraving settings affected the depth.
It’s pretty simple! I made one for you set this to 3d engrave.
When you say you adjusted the engrave, does that mean you do a first pass and then establish an new intended material thickness focal point before running the channel engrave a second time?
Yes. I might have tweaked the speed a bit too. What really helped was running a bit of scrap thought the groove to square it up.
I was looking around for something like this exactly…sweet. good job!!
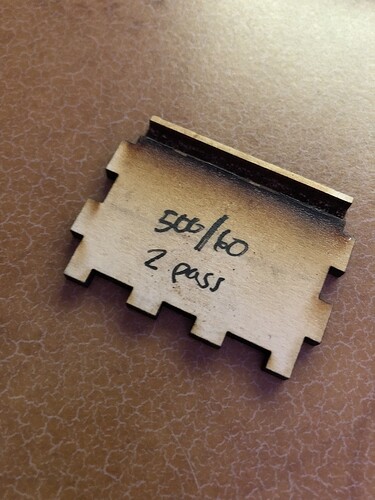
Here is a test piece I used to dial in the settings.
But this was for draftboard. Depth and cutting power would be different depending on the material.
Is that blackened “ledge” in the back of the piece your engrave depth? Or each of the edge slots? I’m a little confused which part of the piece shows what you achieved at those engrave settings (which are nice of you to share BTW).
I think it’s the angle of the photo. It makes the bit above the groove look as though it’s much taller or deeper than the rest. It confused me for a moment too, despite the fact that I’ve actually made this style of box before! ![]()
I can see it now. Oy.
I want to try this so bad. I’m new and I’m little confused. which is the top??? Thank you
The top is the piece without tabs or fingers.
I would love to do this. Can you share the svg file?
Check out this post… it has an attached svg that illustrates this technique and you can download and cut on the ![]()
I encourage you to try makercase or festi. You can create a box with your own dimensions.
Can this engraving of the groove be used on 1/8" material?
Wade


