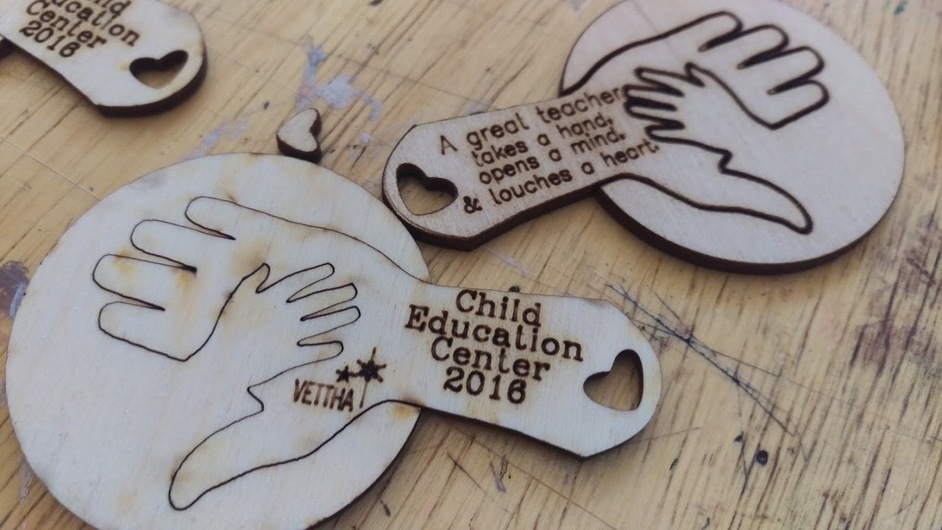
The hands are going to the teachers at Griffin’s school. The circles with hand negatives I cut because hands can’t get stuck in the scrap wood that’s getting thrown out. Someone will do something with hand disks, I just know it.
Amazed there are no responses to this one. Took me a while to find the time for reading new threads at all. At least you got a bunch of likes
I do love these. I wish we could see one with the disc negative removed, since it sounds like you mean to present them in that manner. I rather like them as pictured though.
How DID you align the engrave on the back? No symmetry for individual flips, so you had a jig for the bulk sheet, or you did the first side with a reflective cut, and trimmed that off on the second side? Actually even easier would be an outline square which is cut from side A, then cut the final shape on side B…
And I totally allowed it to be imperfect.
I cut the green to engrave and the purple through on the lower section, then turned the board over and reset purple in AutoCAD to high speed/low power so that I could only send that color through to the cutter and take some swings at lining up the board. It turned out my alignment of hatches was off, but I worked it out.
And then I did our usual surface cut- blue; full cut- red. With extras in the corners because I keep trying not to waste wood.
Likes are okay. I really love this forum for all the things I’m learning.
It’s a really cool design. And I really appreciate the input of the current laser users like you who share their processes. I think it will really help when I get my Glowforge.
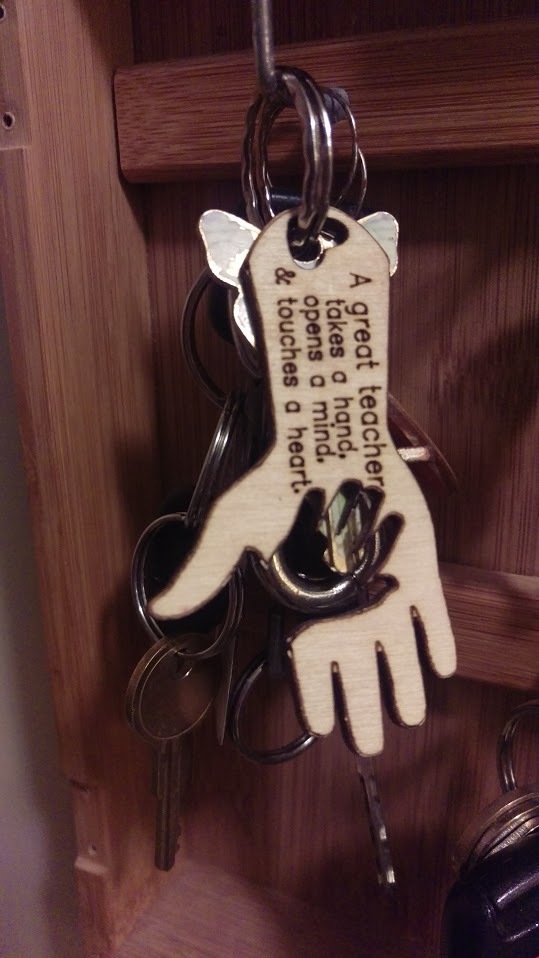
Lever moment of force It’s the thinnest part and fairly far from the supported portion. The heart/ring area is generally not subject to unsupported force because it’s laying against other things (and because subconsciously maybe you’re more careful when flipping the hand around up there). The end is subject to things catching the fingers and tugging on them with the force vector going into that thing part. It’s just physics
Also, @jamesdhatch, yes. I just had a pretty major key-snag the other day that ripped a toy lightning bolt apart. I imagine the hands took some impact there as well.