Continuing the discussion from Manual 3D Engrave Settings - ProofGrade Thick Clear Acrylic:
I didn’t want to step on mpipes post where he did all the hard work and dialed in the settings for this, but wanted to share what I learned in case it could help someone.
I used the settings mpipes recommended of 80/295/.07/340 lpi and two passes on the first two engraves. I didn’t have PG thick acrylic so used some from Inventables. It has a masking on it similar to PG, but is obviously slightly different.
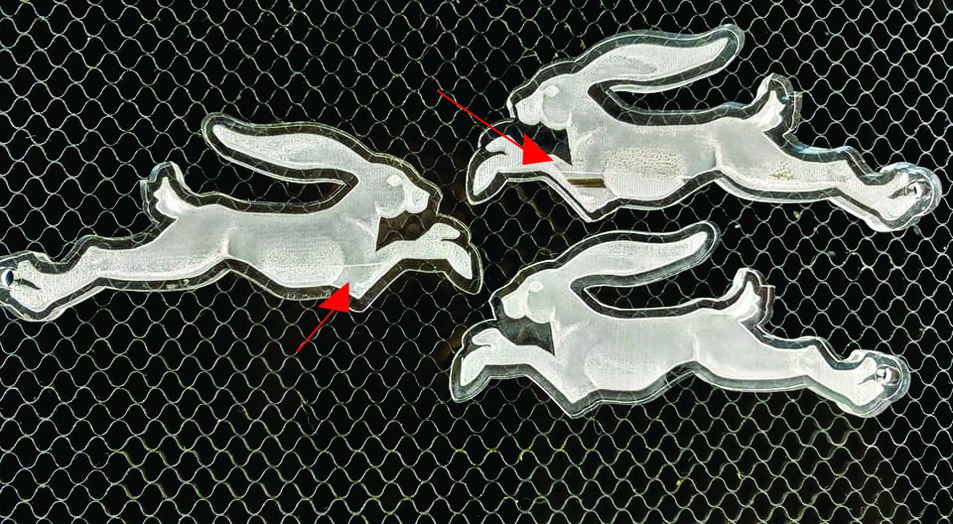
TOP engrave: Masking on and ran both passes consecutively w/out stopping. Good start, but lots of lines/graininess.
MIDDLE engrave: Masking on. Ran first pass, then brushed off any ash before making 2nd pass. It helped and this one is good except for one weird line and some fainter lines throughout. Very acceptable overall though.
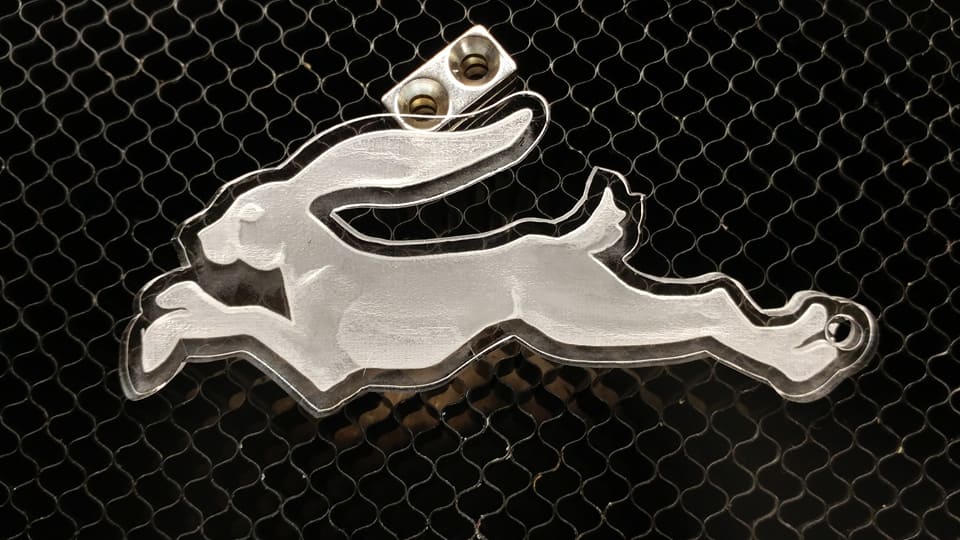
BOTTOM engrave: NO masking on top. Ran 1st pass at 80/500/.07. Brushed off all the acrylic dust gathered in the crevices and ran 2nd pass at 80/350/.07. Came out smooth as silk ![]()
Here’s what I learned
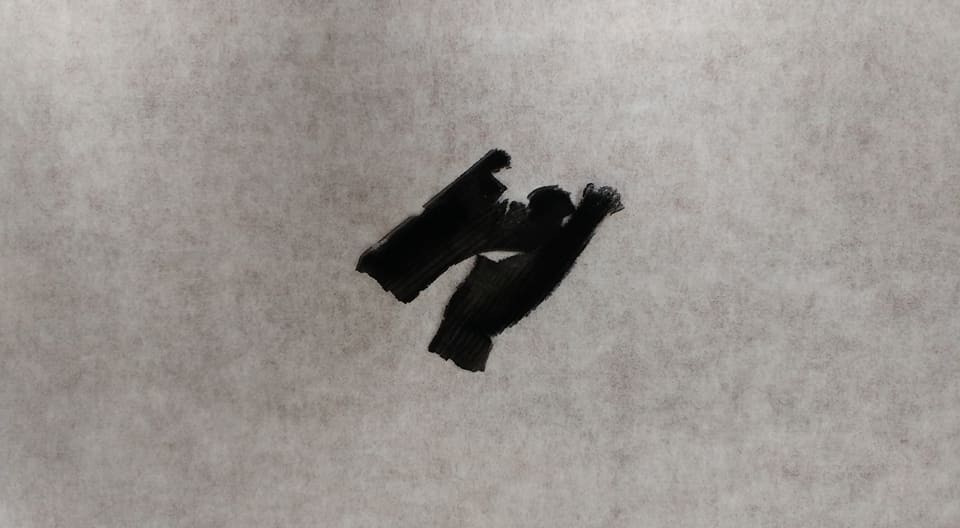
DEBRIS CAN MATTER: It took me four tries to really get a smooth engrave and I discovered it was partly due to the masking on the material and settled acrylic dust. You can see in the top engrave there is a weird clear spot on the elbow. That was where a piece of burnt masking a was stuck after the first pass. That tiny bit of ash had a huge effect on the engrave!
Also notice there is still some graininess on the second engrave (facing right.) It’s better, but still there. Some of that graininess is from dust/debris left after the first engrave.
FILE MATTERS: Some of the grainy issues were with my file which was hand-colored/ blended and not a smooth gradient fill. Some of the larger areas that weren’t smooth in the engrave were blending issues in the file. I made improvements to each file as I went, but started with my raw image to have a reference point just to learn what would give the best result. The GUI picks up some pretty subtle greyscale differences. Doing some adaptive blurring of the image fixed a lot of the graininess I saw in the first engrave.
? LINES: You can see the same engraving line above the elbow on the top two engraves. At first I thought is was more ash causing it, but then I noticed it on all the engraves, so now I don’t think so. It’s nothing on the file either so I’m not sure what they camr from.