I see sharing “my first weeks with the glowforge” is a thing. What a grand idea! Here’s mine.
My machine, which I named Glowforgeous Splendifferus, arrived October 3. It took me a week to turn it on - I needed help moving it, and moving it again, and a quiet few hours to set it up. But October 9th I finally got to it.
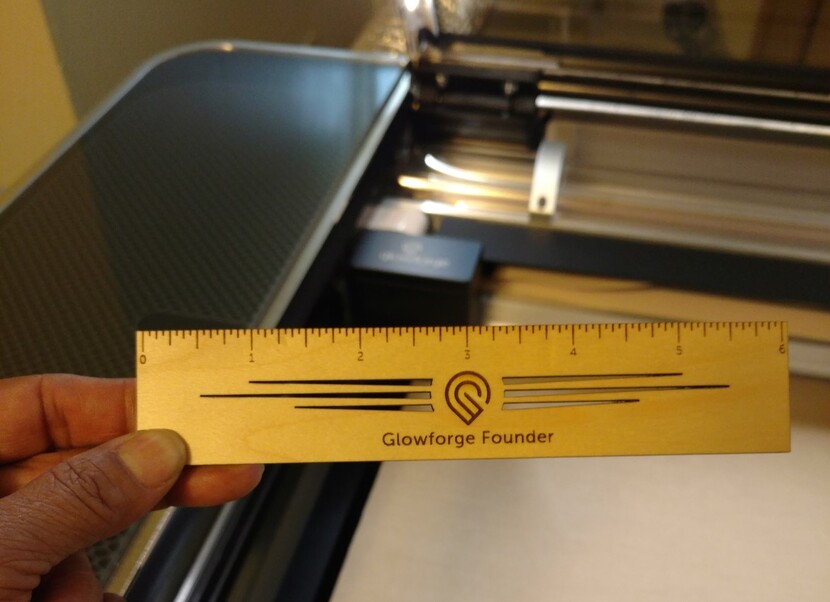
First cut, the obligatory founders ruler:
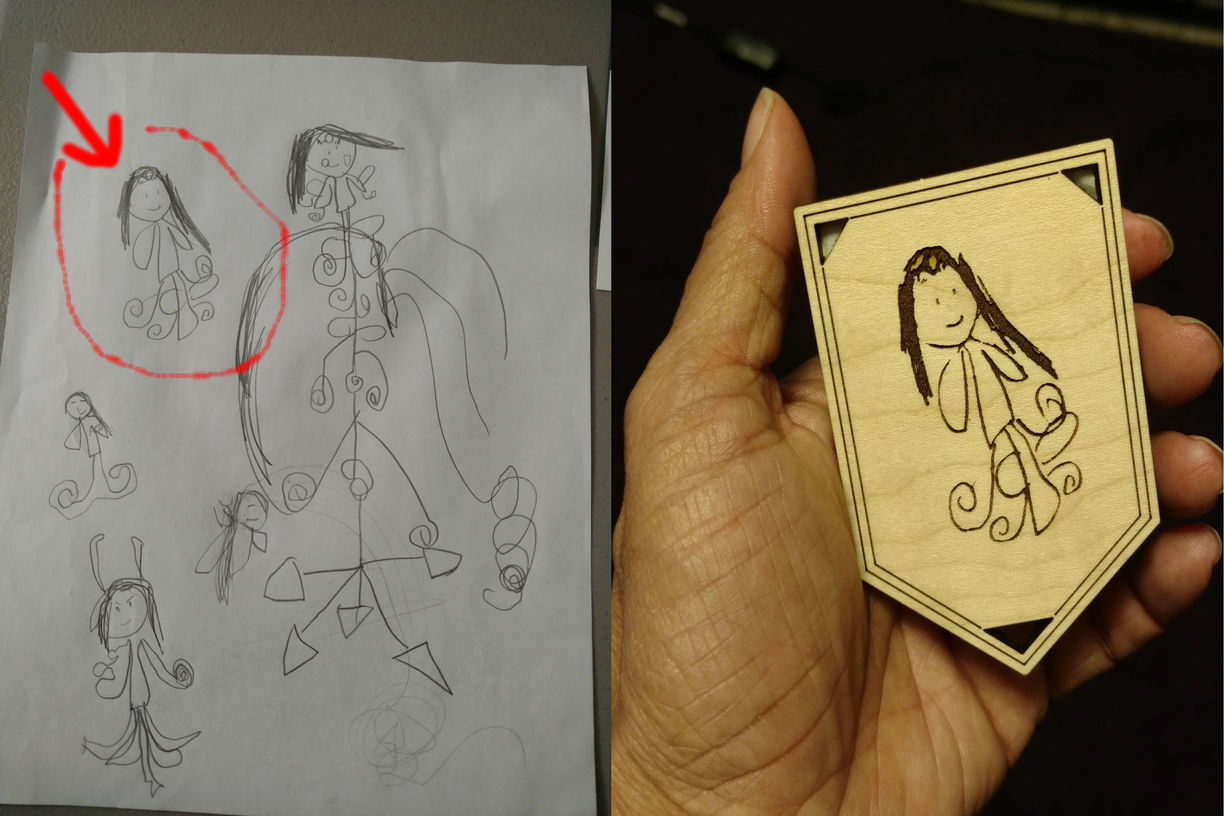
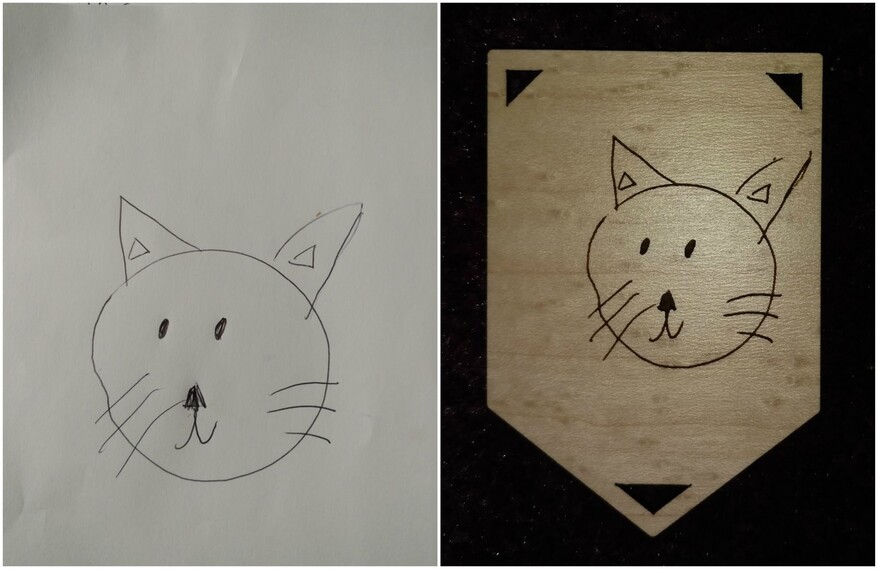
As apparently is not uncommon, I didn’t have a backlog of plans for things to laser. So I started to look around for designs. I have a 6 year old. She draws like a 6 year old. So I scanned one of her designs and made my second project, the plaque.
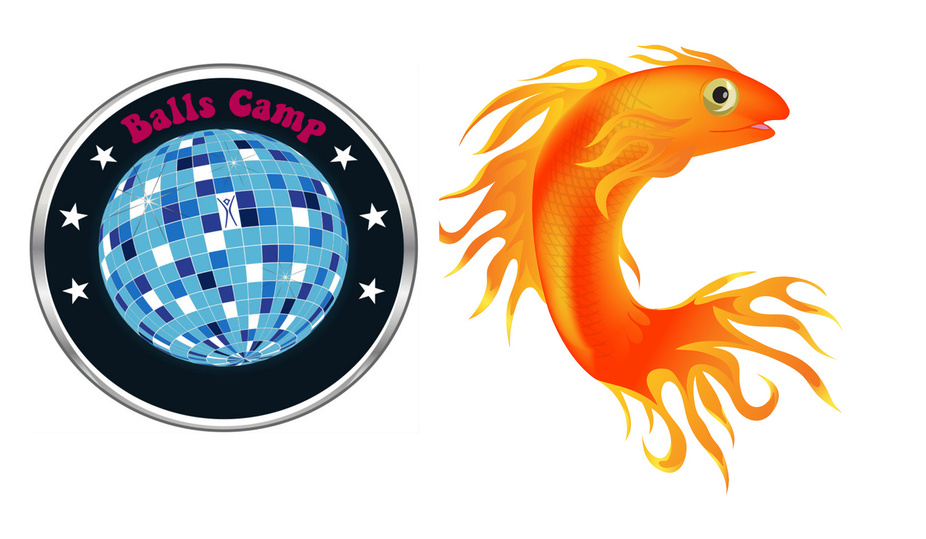
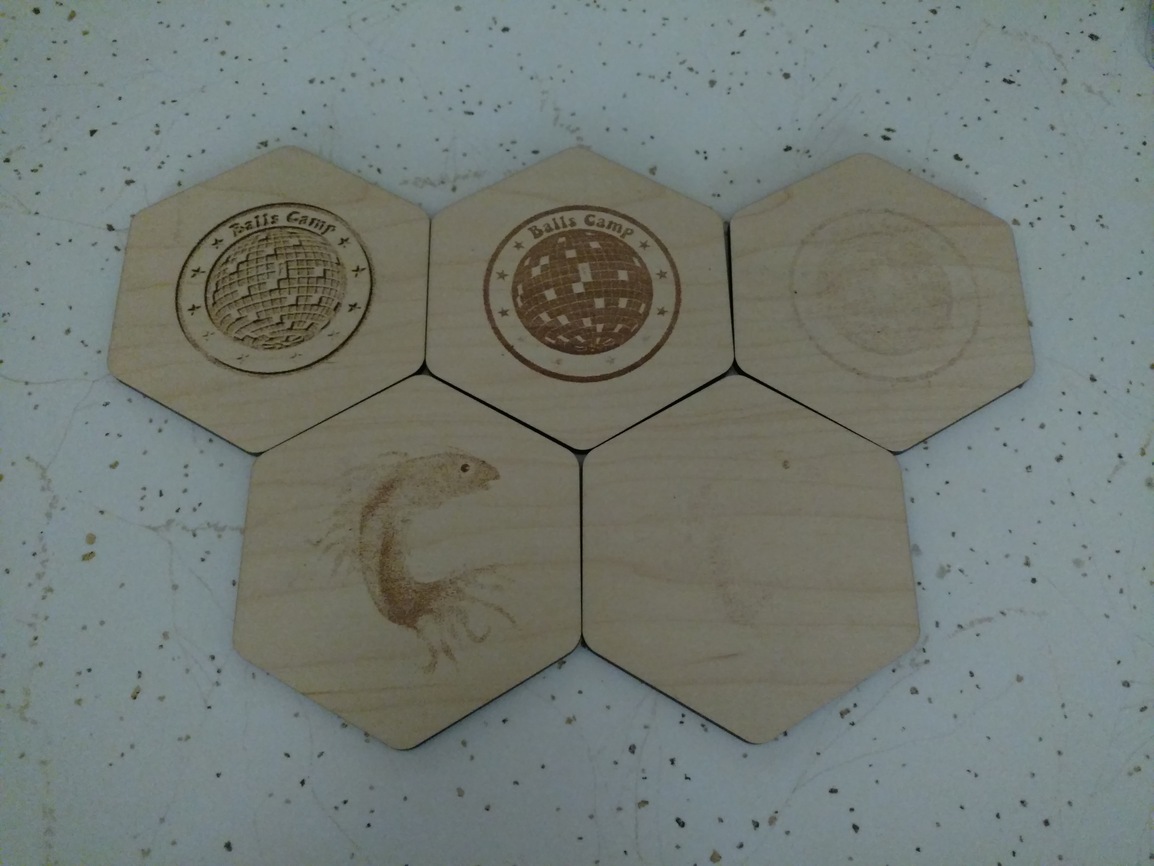
I have a group I camp with. It has a logo. I also had a small RV, named the Guppy. It also has a logo.
I had only limited time that first day (because I had to pick up my 6 year old from school). So I cut 5 coasters with the camp logo and the RV guppy, to see what the light engrave vs dark engrave settings would get me. . . after which point I recognized that just dropping a JPG in the Glowforge App doesn’t give the best results. Doh.
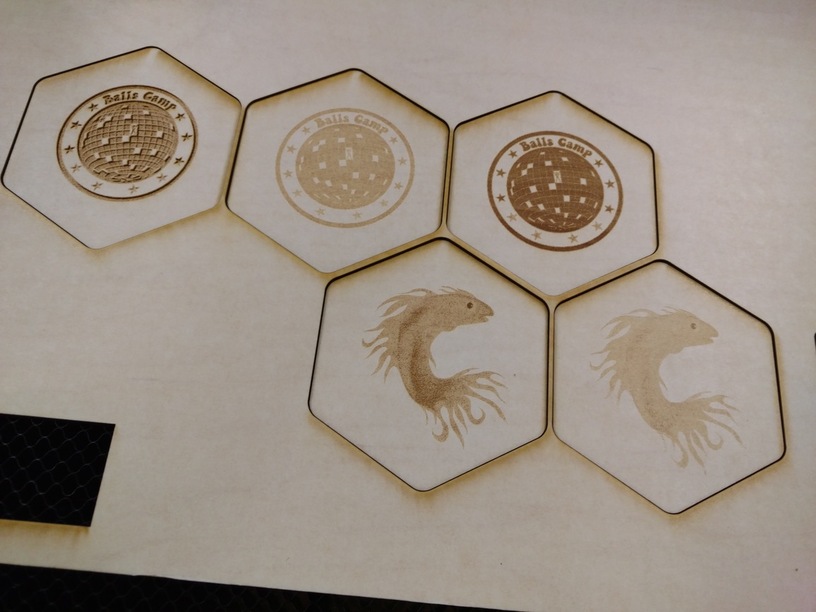
I invested in some Gorilla tape for demasking. Highly recommend. After demasking, the guppys all but disappeared, especially the lightly engraved one :-/
The kid really liked her plaque when she saw it. She quickly whipped out a cat picture. I engraved it the next day(after she went to school). Now I’m beginning to see the alignment challenges firsthand.
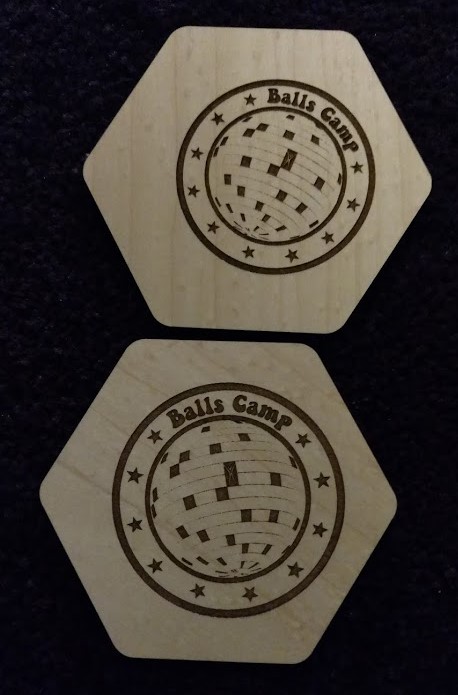
I revisited the camp logo, this time processing it through Inkscape into a Black & White SVG file. I flipped yesterdays’s coasters over to cut some more. Better! Alignment is going to become something I need to figure out. Still happy with this days cuts.
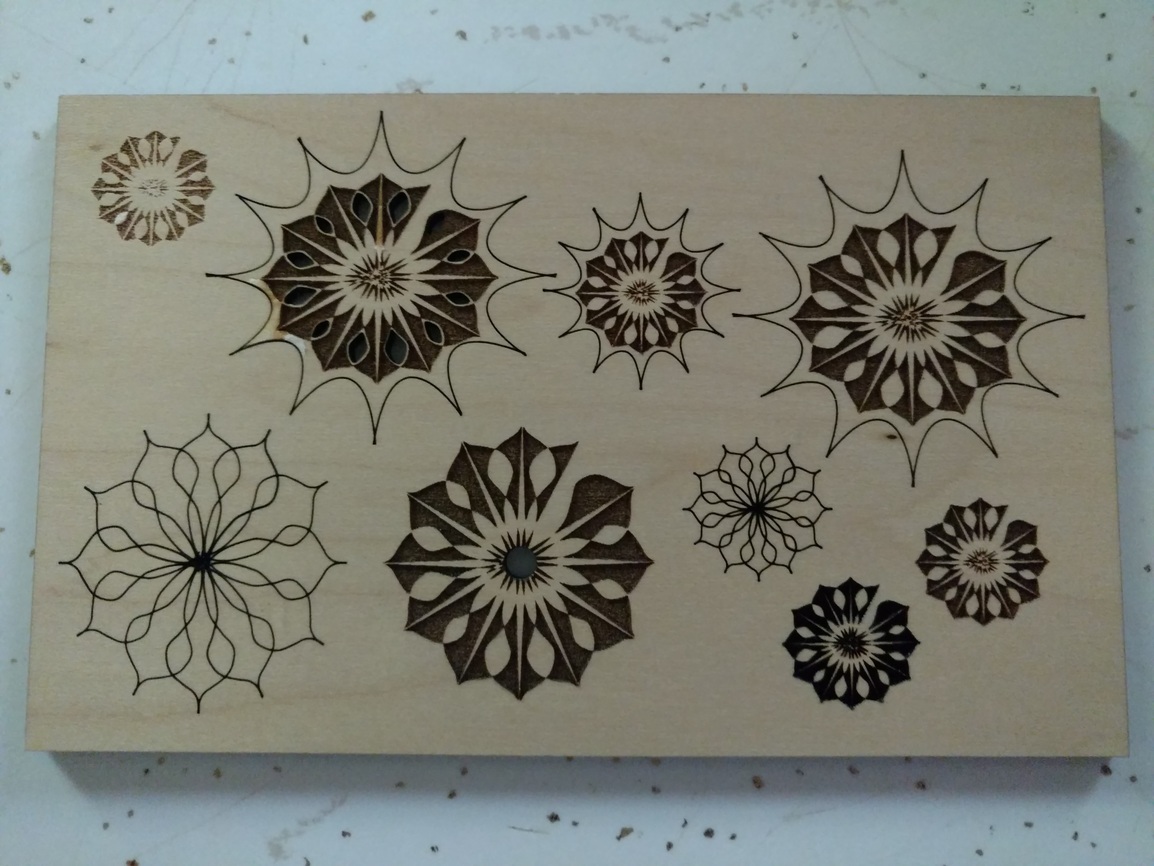
I then spent a day teaching myself Inkscape. I made this design with vines and flowers.
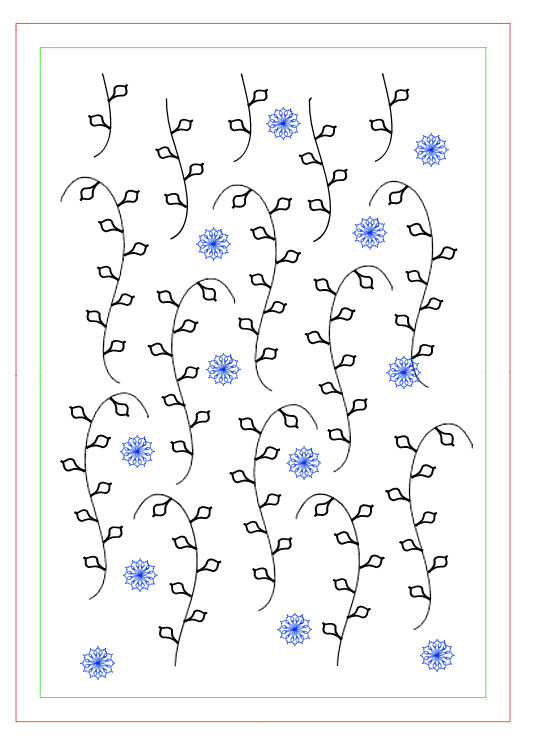
The vines cut beautifully. The flower doesn’t want to engrave properly ![]()
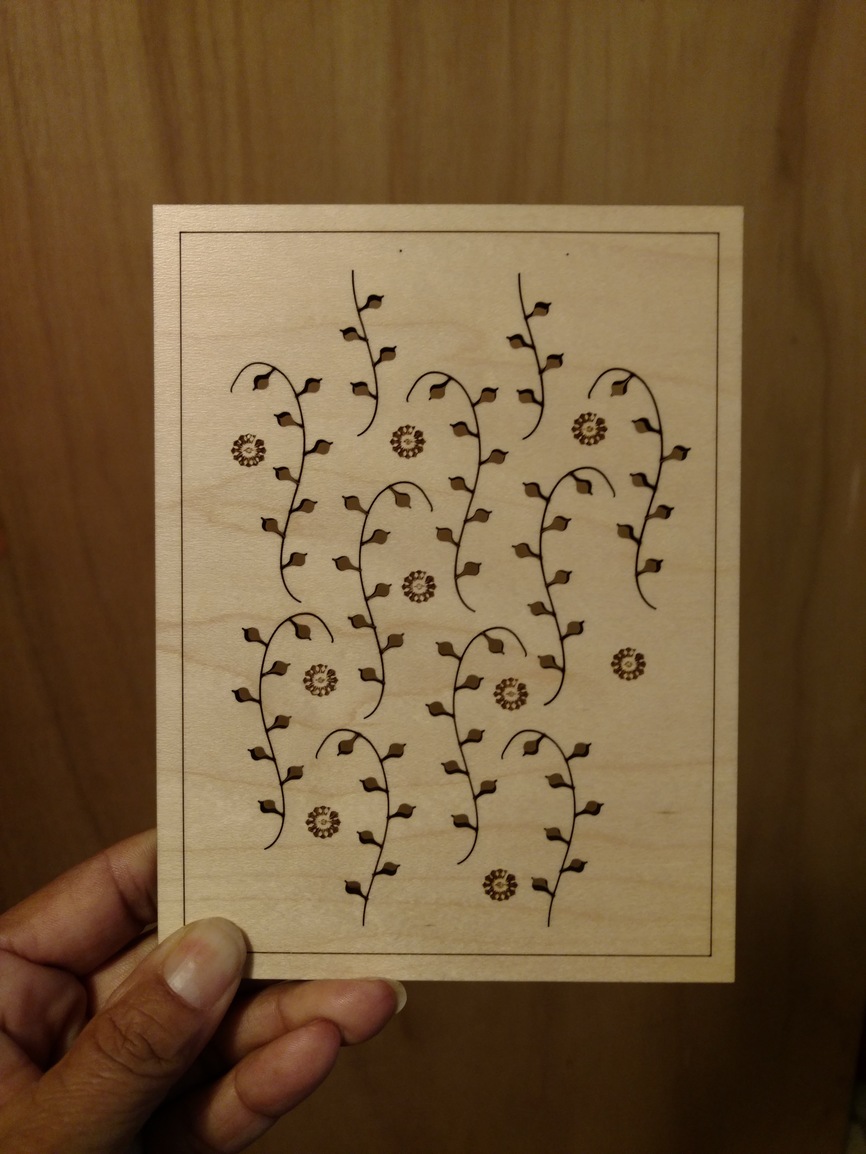
So I spent the next few hours trying to fix the flower (I added an outside star on some just to amuse myself). Even after futzing with it, I couldn’t get it sorted. It scores nicely, but doesn’t properly engrave - there is always a gap in the last petal. After a while, I moved on - I’ll get back to it someday.
My kid is going as a 1920’s flapper for Halloween. This means her father is setting up a speakeasy. So clearly, trinkets and signage must be made! (I also draw like a 6 year old. Those logos above were done by a professional.)

I’m particularly happy how the acrylic sign turned out. I had bought some lighted color changing bases off Ebay while I was waiting for Glowforgeous to arrive, and am just thrilled with how it lights the acrylic.

We now have a small pile of acrylic pendants to demask. And I have a bigger version of the sign to cut. Tomorrow! Her father is sure they will win the decorating contest. Or be banned for creating a Speakeasy at the Family Friendly event.
My alarm just sent off. Meaning, time to get the kid. (Yes, I set an alarm so I don’t lose track of time and forget to pick her up from school.)

 What I was most surprised at is the GF App UI showed the flower complete, so I was expecting it to engrave that way - you know that WYSIWYG expectation .
 I’m thinking merpeople and squidies. ??