I knew that I needed to get moving on my Christmas ornament for this year. It usually takes me the better part of a weekend to get the design the way I want it. I spend a lot of time fiddling with the lines in Inkscape to get a consistent look across everything. This year, I want to try it in Cuttle. Ok, I know I’ve been sounding like a bit of a Cuttle fan-boy lately, so… Why change a good thing?!?
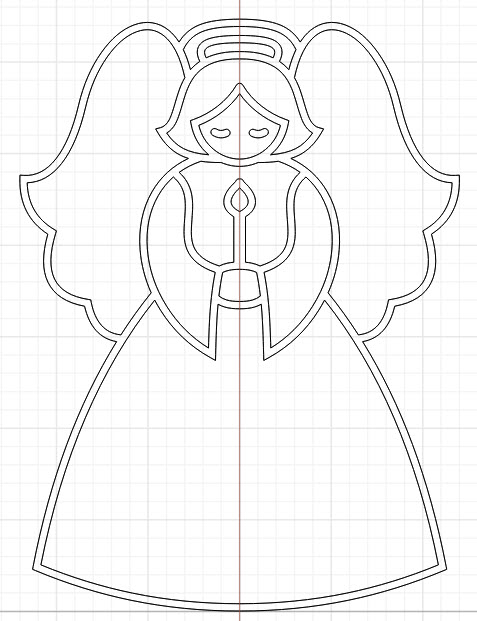
The wife mentioned that we haven’t done an angel yet, so I pulled some reference images into Cuttle, centered it and pulled some paths over one side of the image because the reference wasn’t symmetrical, grouped the paths, mirrored the group, applied an outline stroke and did a union.
Holy Cow! She’s perfect! First try! The only thing I changed was to have the candle stick change location based on the line thickness so there wouldn’t be a gap if I lowered the thickness.
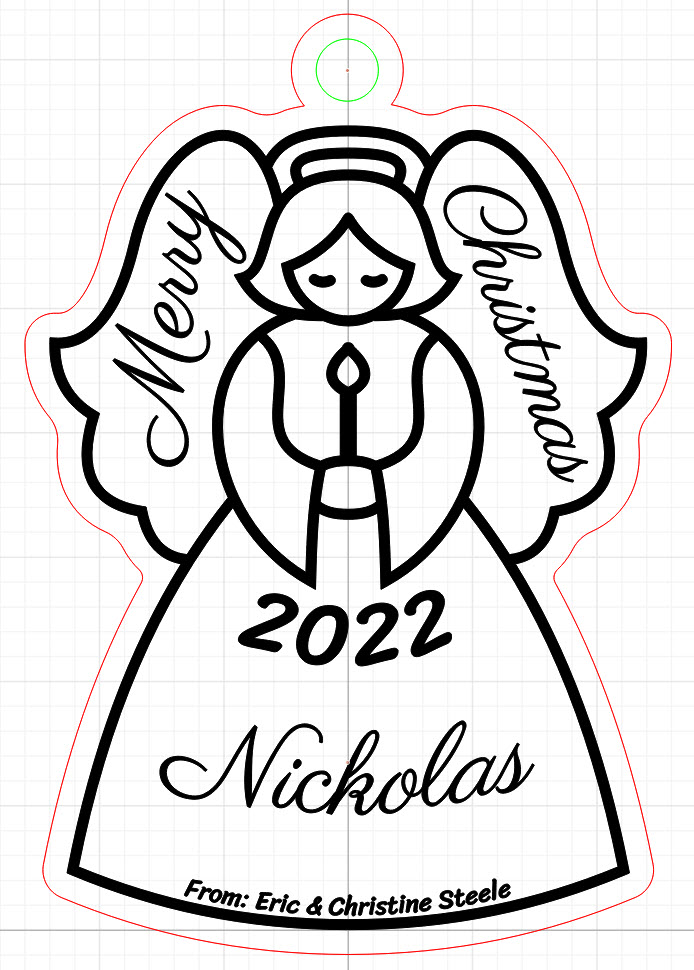
Now to add the text. I usually incorporate everything EXCEPT the name into the final project. This means I have to hand manipulate names onto each one when in the GF UI. This time, I placed a rectangle, warped it into a curve and applied the Text Within Box modifier (this is a beta modifier, currently only available to subscribers). So the name can be part of the design with no manual resizing. Nickolas is my nephew.
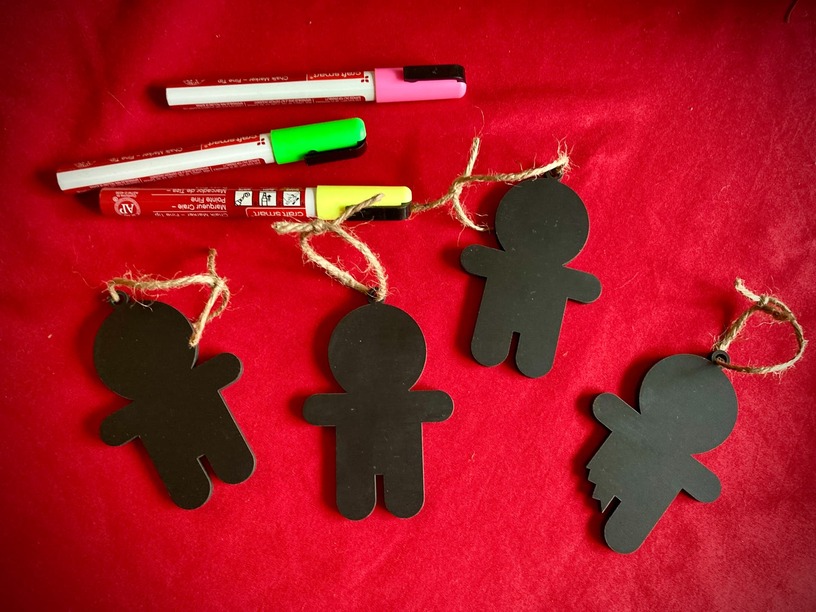
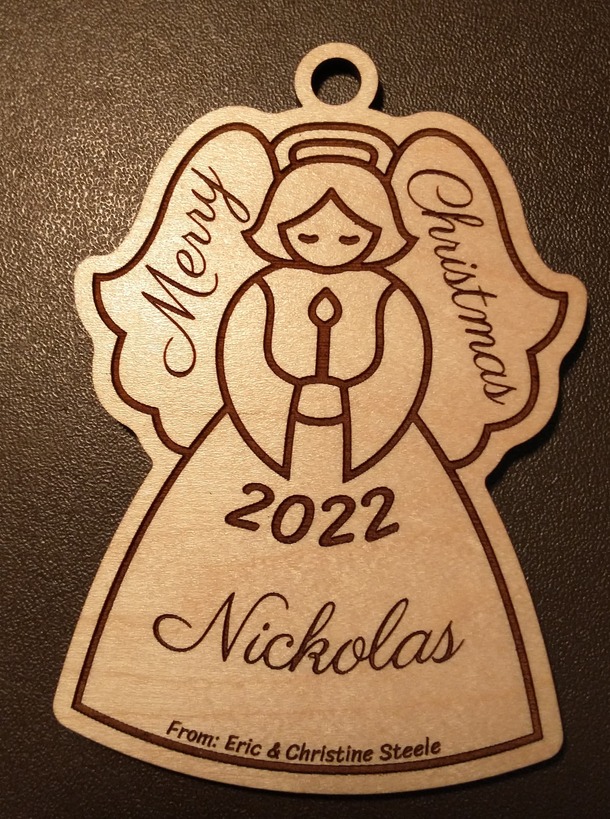
Now for a test cut. I’m super happy with this! The wife is also super happy with how this turned out.
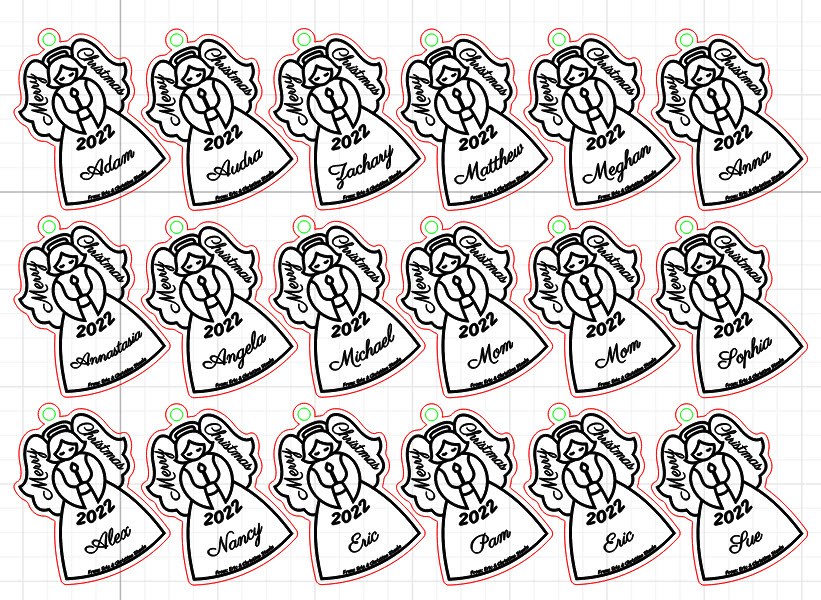
But I don’t want to export 30 cut files, so I used the Tile Repeat and “rep” parameter with an array of the names and BAM. I can create a sheet of 18 at a time. With a small amount of manual shifting, they will all fit on the printable surface of my GF.
I still have to spend the time to cut them all, but Cuttle reduced my design time from a weekend to about 3 hours. Awesome!
Feel free to follow up with your own ornaments you’re making this year!