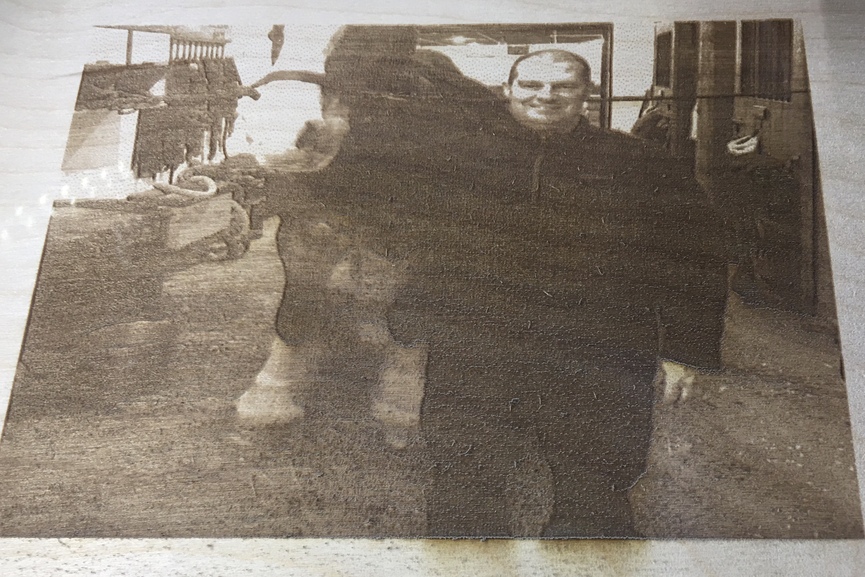
After trying different settings on the Woodpecker ply I think it finally works with 500/50/225/ Convert to dots and using the PG Basswood and HD Graphic setting.
Please let me know your thoughts. Thank you to everyone for this help on this one!
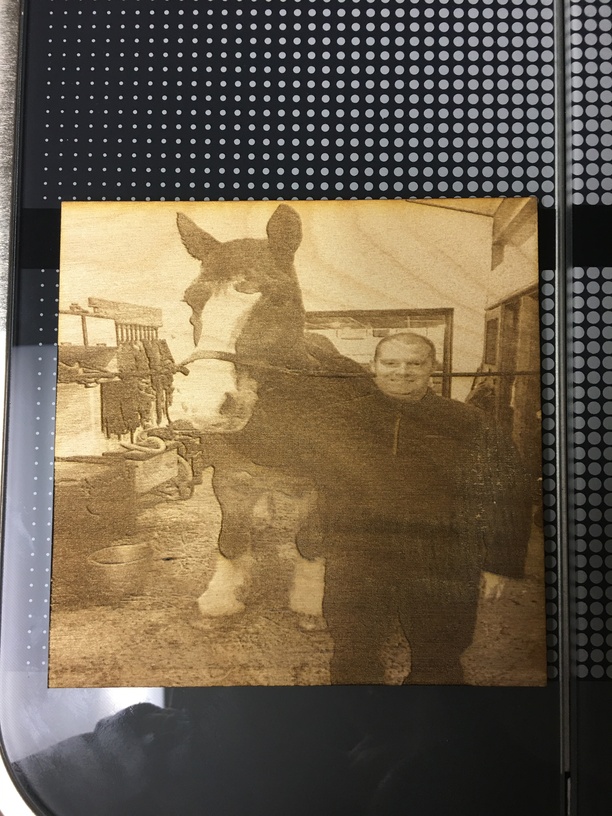
After trying different settings on the Woodpecker ply I think it finally works with 500/50/225/ Convert to dots and using the PG Basswood and HD Graphic setting.
Please let me know your thoughts. Thank you to everyone for this help on this one!
I think that looks lovely :- )
I would suggest you still give Convert to Dots a try and see what you think. I find combining the two gives the best results.
Thank you! I will give that a try as well, I appreciate your help =)
ignore me if I misread what you were saying, but you are either using 500/50/225/convert to dots or PG Basswood/HD Graphics. You can’t be using both.
The PG Basswood Ply HD Graphic Engrave is 400/15/450 Convert To Dots and the PG Basswood hardwood HD Graphic Engrave is 300/6/450 Convert to Dots.
If you start with PG settings and then change them, you are using custom settings. If you start by setting custom settings and then select a PG setting, you are no longer using those custom settings.
Check out #9, might have some ideas you haven’t seen yet.
Sorry about that! I was using the PG Basswood as a material type with HD Graphic BUT, I did manual settings of 500/50/225. Does that make sense?
I think you are saying that you started by choosing the PG basswood material, then selected the proofgrade HD Graphic settings, and then adjusted those settings manually to 500/50/225, then hit print. That would mean you are using Manual Settings, and the HD Graphic settings have been tossed out.
but if your work flow follows your steps in order as you wrote them above:
set manual settings > choose materials > select Hd Graphics > Print
then you would have been printing with the HD Graphic setting, and the manual settings would have been tossed out.
unless i am totally misunderstanding you, and you did two passes, one with manual settings followed by one with HD Graphic…
(I swear I’m trying to clear confusion, not add to it)
That looks much better than before!
You are correct with this statement. I did not realize that the HD Graphic settings would be tossed out if I entered in manual settings…still learning how all of this works but I am happy with how my photo came out!
I think so too, thank you!
Just a thought when preparing the design, if in color. If while still in color you have two colors that will be the same level of gray, you can still mask on one of them and change the color so it comes out a different level of gray. that way the differences between the arm and the background will come out much more delineated 
What do you mean “mask on one of them?” I am still working on settings and so far feel like the PG material has given the best results for engraving photos.
Still a work in progress…
Masking in Gimp is how you isolate one area so activity like color changes will be limited to only one part of the image. This is very important for manipulating any raster graphic, and common to most of them. Where Gimp is special is the ability to turn that into a vector to an SVG. So while a red area and a blue area (as example) may give you the same level of gray that is hard to separate, choosing red over blue or vice versa before going to gray is very easy and once selected can be changed to lighter or darker…
This topic was automatically closed 32 days after the last reply. New replies are no longer allowed.