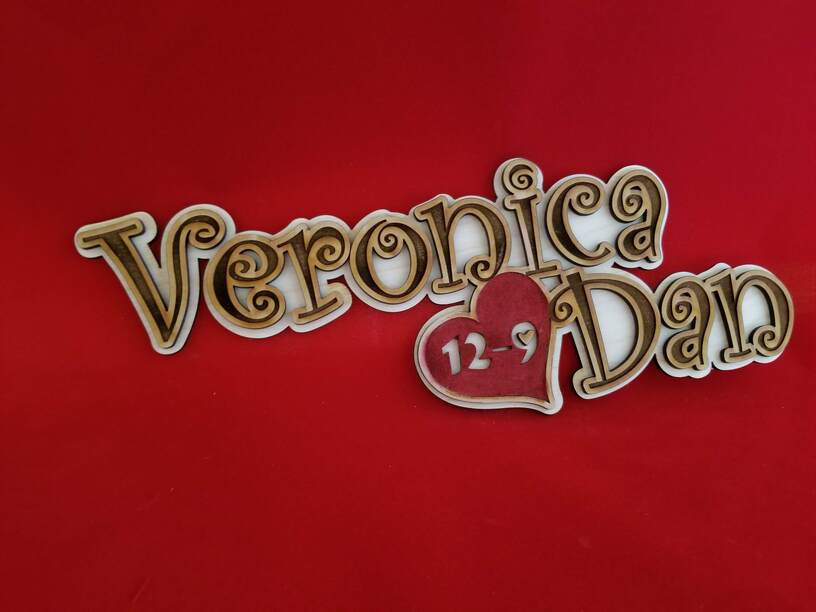
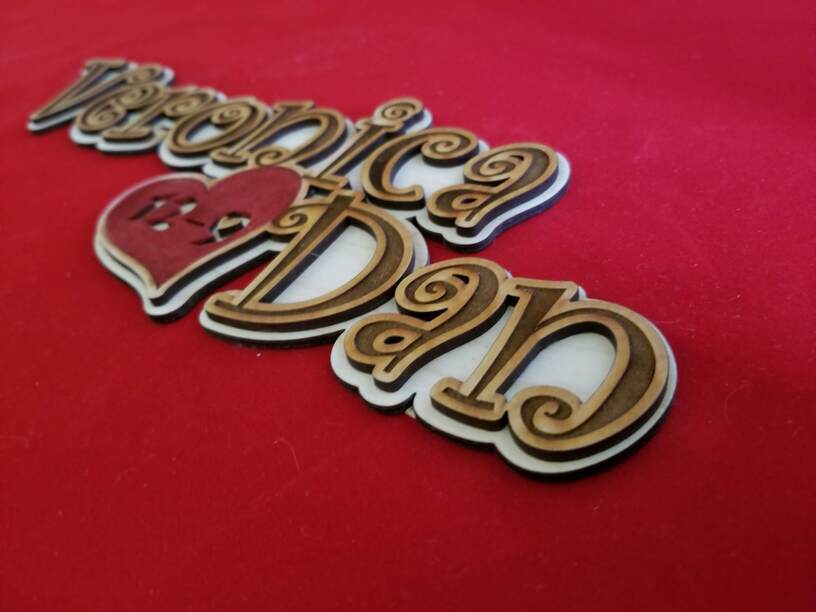
Name plaque cut from 1/8" Baltic Birch plywood in 2 layers. Front layer printed without mask tape and left with scorched wood. Back layer cut without mask tape and sanded to natural. Glued together with translucent wood glue and no sealant or wax used. Heart engraved dark and I filled in with red paint & a small heart glued in place for the center of the ‘9’ (original piece lost during printing!).
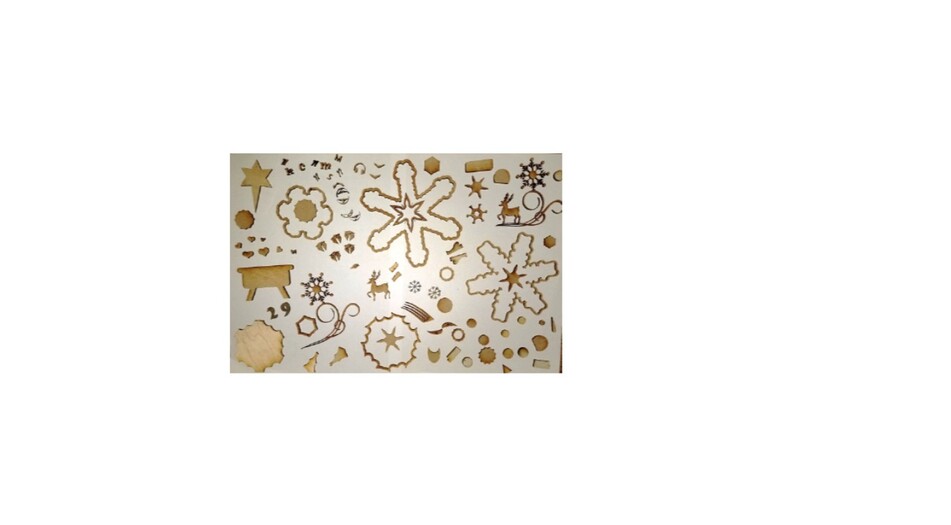
P.S. After realizing there are a lot of small pieces remaining after cuts I discovered they are useful to add 3D details on other smaller projects, samples of these dingbats are noted in the last photo.
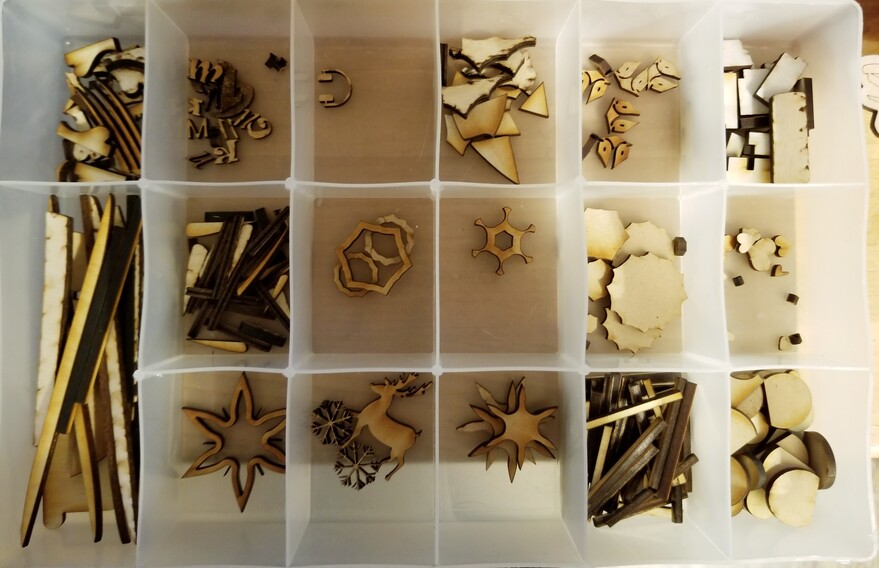
Although they appear to be cut from white paper with a wood background, it is the opposite, with white paper behind all the wood pieces. I am using a bead box to sort these miniatures for future use.
Truth …… I have plans of dumping all my previously, meticulously sorted beads into a bucket (oh, the tragedy!) and using more of those bins. The beautiful thing that has drawn me to Glowforge is that I have been able to take skills and ideas that have been germinating for decades and put them all together for unique designs. I’m like a little kid with a new Christmas toy …. only wish is that I had gotten it sooner!
(I, too, am a Nurse )
I am awaiting my bead making kit and thinking of the many ways to use beads and partial beads with stuff I am making from feet to hinge parts to decorative flourishes, and lid handles. All using the smallest bits of scraps…
Not quite sure if that’s the proper name, but I come from old school typesetting and design and that was the name of anything that wasn’t text …… modern name ‘glyphs’.
It is ‘Curlz MT’ - part of the standard fonts in Microsoft Word.
Using Silhouette Studio to modify the text, first I made it bold, then I used the Offset tool to make a 1/4" outline that mapped the text. I deleted all the inside cutouts of the letters and then used it to cut the backer board.
***Silhouette Studio is the software for the series of vinyl-cutting machines; however, it is VERY user friendly and can do EVERYTHING we need with other materials… wish I knew that after wasting 3 weeks trying to learn Inkscape.
DEFINITELY worth the $50 investment if you use a lot of text.
***Other great investments: FontBundles.net and DesignBundles.net.
They have dozens of fonts / designs for free download. Additionally, most of the free designs are legal for small commercial use. Also both have various subscription services, with monthly font / design credits to ‘purchase’ items & qualifies you for discounted purchase and freebies each month. Highly recommended. Designs are all available as SVG downloads and can be ungrouped and modified to suit your design needs. https://fontbundles.net/free-fonts https://designbundles.net/free-design-resources


 )
)