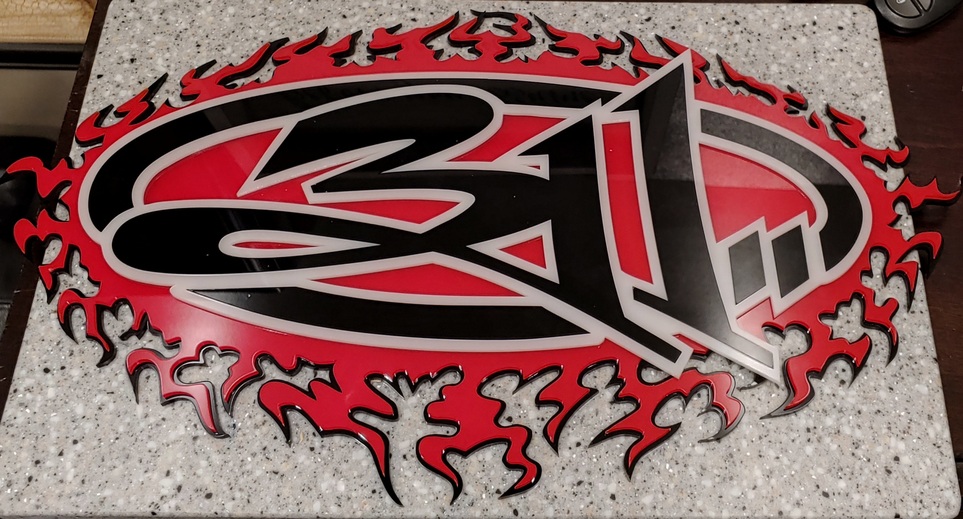
Layered / inlaid acrylic piece. The black 311 is inlaid into the white border. Both are then placed on a layer of red then black. CA glue to hold it all together. Finished size is 10x18in (I forgot my banana ruler )
Only major issue was in the glue-up. The CA glue made the red layer darker in some places. I’ve not found a perfect solution for gluing the acrylic. Any suggestions?
When I made mine, I ended up using “Goop” (based on recommendations from this forum). It was slow to set, so very forgiving, and easy to clean up if I made a mistake. I have not had any issues with it since I used it.
One issue I had with Goop was that it was very thick and sometimes hard to manage, but it was easy to clean up so it didn’t end up being that big of an issue.
If I were to use Goop again, I would probably use more of it to get more coverage (if using clear acrylic) because it is easy to clean up and would look better if viewed from the back.
That’s nice of you, but really, I never touch acrylic because I can’t figure out how to do the gluing without making a mess. You really did a great job, way beyond my abilities with acrylic for sure.
Very nice work! 3M adhesive might work well for this. It would be a bit pricey for such a large application, but it’s great stuff. You can see all the different versions of it on the 3M website.
Really nice work, both design and build.
I use the water thin quick set acrylic solvent with an insulin syringe for gluing up. Capillary action will draw it in/under, and any mistakes can be buffed out with Novus plastic polish. Quick dry so work time is limited. It actually fuses the pieces together.
Probably not the easiest solution but you develop a touch working with it.
How do you plan to display that fine piece? For wall hanging I have grown fond of using either a French Cleat or two or more strong magnets, both affixed to the wall with 3M Command strips.
I have also had a lot of issues. Mostly I follow what the design is capable of. There are glues that are UV setting and where possible you can put some on an edge and it will be sucked in but leave a spot behind, This can be wiped away unlike CA or solvent glues, then you can apply the UV or just set it in the sun to set. The drawback here is that what the UV does not reach does not set, but set in the sun and flipped over to set a bit will get the top and bottom and perhaps all the way through in thin stock.