Hello GF Family! It’s an honer to be here in this amazing community!
Working on a 3D acrylic lamp and I’m not getting the lights to travel all the way to the top of the lamp , I know there are many posts talking about this, but I got little overwhelmed reading them all, Any of you guys know what exactly I’m doing wrong here ?
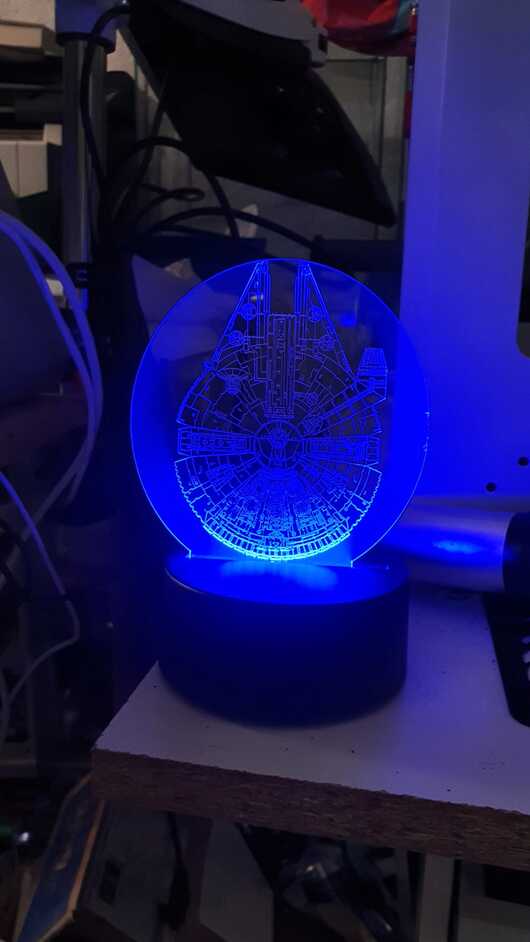
Here are my tries so far (scoring was the best results so far but still not popping enough and lights on the top of the lamp is not so strong). FYI I’m using PG medium clear acrylic.
1st. I tried to engrave with the default PG settings and that was the worst because it was engraved deep and it didn’t work at all.
2nd. I tried to De-focuse settings from one of the posts I found here with settings of 1000/100 with 340 lines and 0.308i thickness, and that didn’t turn out so well (lights still didn’t travel all the way to the top, and the object didn’t pop)
3rd. I tried Scoring 300/40 with auto settings, This was somehow the best results I got however lights still didn’t spread equally and object didn’t have enough lights on the top , I feel like the scoring was not deep enough to allow lights to travel all the way to the top, do you guys think that’s the issue ? I’d like to hear the correct settings if any of you guys have done these 3D lamps. Thank you so much for your help.
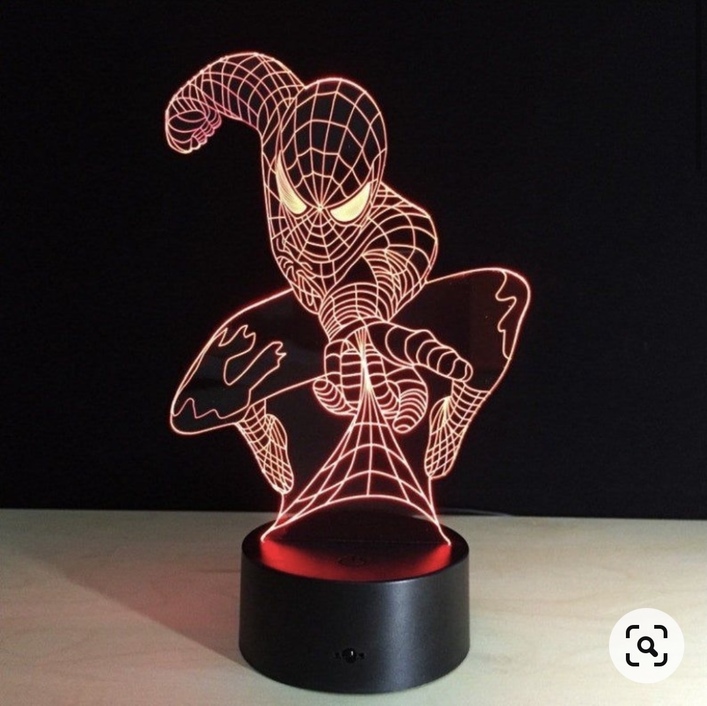
What @jules said - but also keep in mind the photo from the add has been photoshopped. They never look perfectly even from top to bottom. They can look much closer to that then what you have now, but don’t expect it to look like the ad.
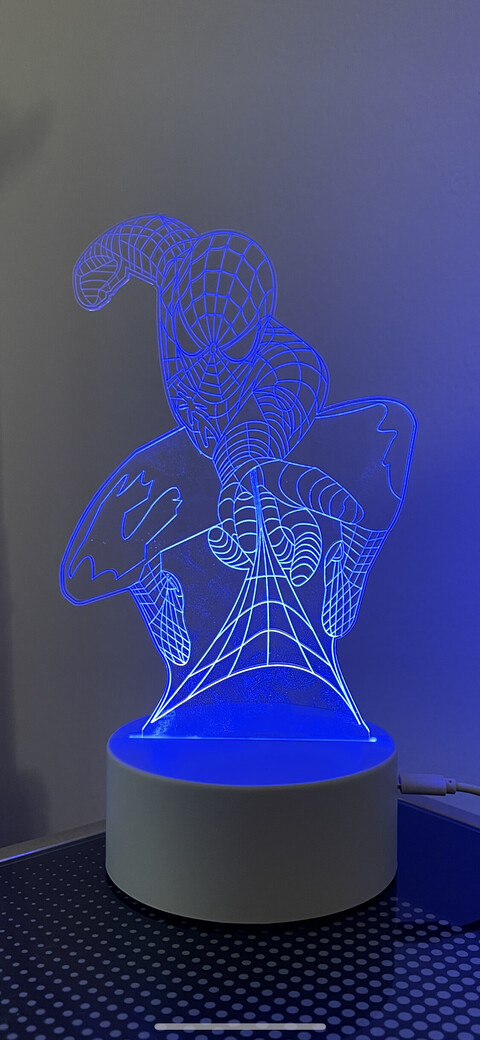
First of all thank you for sharing the gradient method post, it was a great read however I find grading every project will be time consuming , so I wanted to try scoring at 300/40 settings instead of engraving and the results were not that bad so far. See below:
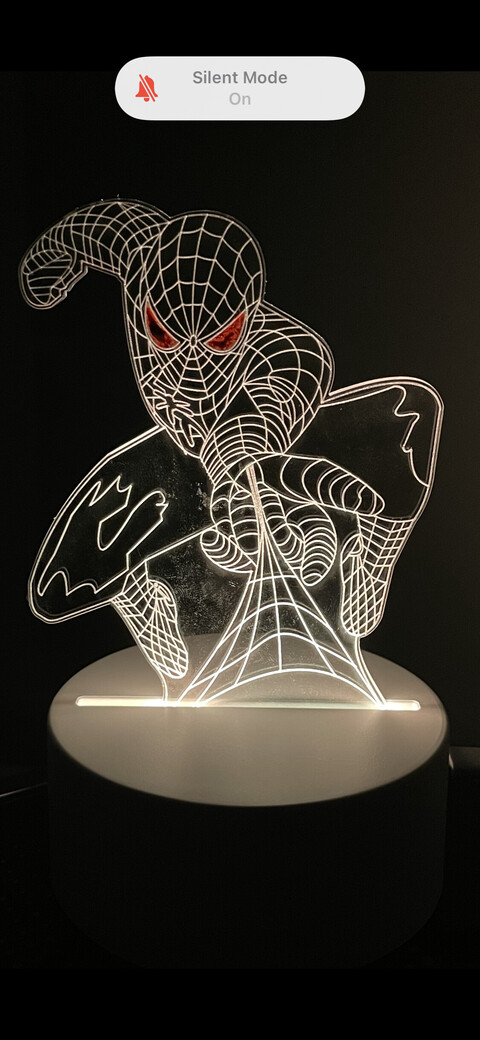
If you look closely you’ll see that Spidey’s right hand and the puppy’s tail are darker - that’s because there is no acrylic connecting them to the light. Just something to keep in mind as you consider art for more of these in the future
Sorry I just saw this … it is gonna be slow but the problem with this 3D acrylic look , the score/engrave has to be shallow and not so deep otherwise the light won’t travel all the way…
Hope your project was a success , you should share some pics of the final work with us
So far not so good, because I guess there’s too much detail in the lower part that gets “compressed” when scaled, I guess I’ll have to try with a different more simple model for this size of acrylic.


 I’m not wining here lol