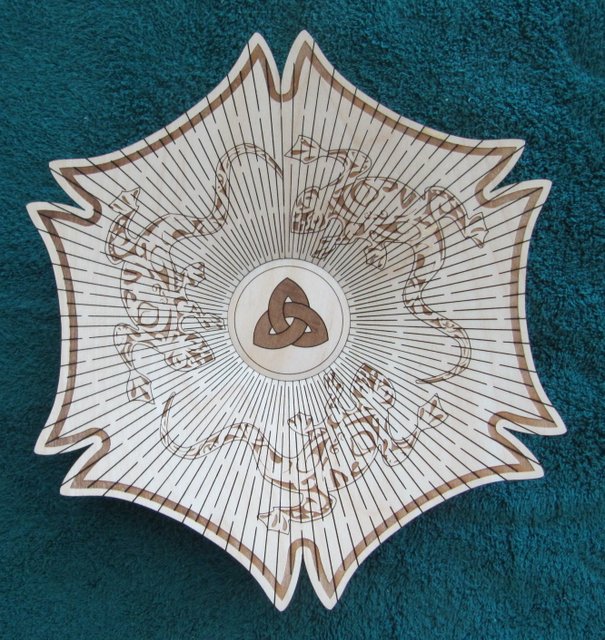
The flexible but unstretchable surfaces of right circular cones or elliptical cones can be mapped onto a plane. The resulting 2D developed pattern, when cut out, can be reformed into the 3D surface, e.g. using card stock. 3D-software programs may use unfolding or unwrapping as terminology for producing the developed pattern. For the circular and elliptical plates shown, the 2D developed patterns were calculated using geometry and drawn in Inkscape. A design was then added onto the outside perimeter of the 2D patterns for circular plates. The maximum diameter of these plates is 11 inches.
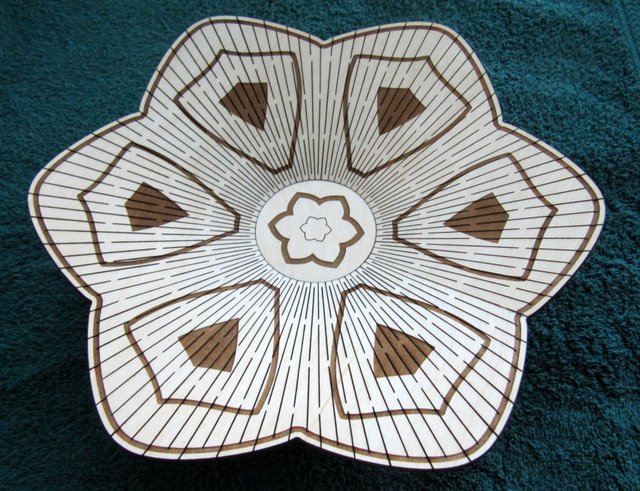
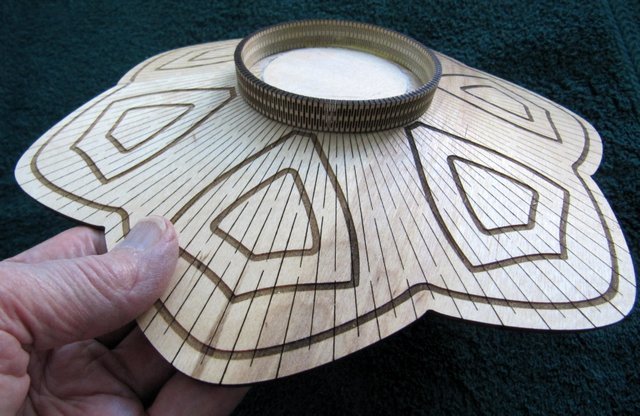
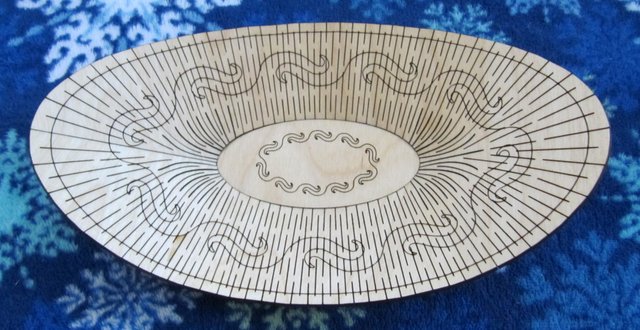
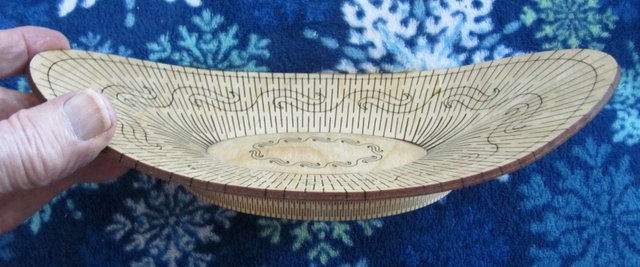
The last two photos show the results of the development of a truncated elliptical cone. The ratio of the semi-major to semi-minor axes was 2 and the maximum diameter is 9.25 inches.
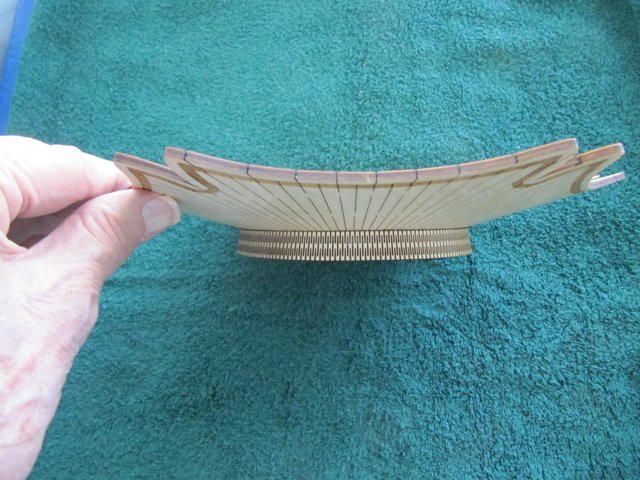
Because of the sloping sides of the plates, the glued foot surface contacting the plate surface needs to be an area rather than a line. For the circular symmetry cases with the plate on top of the foot, a weight was used to force the flexcut foot to distort automatically.
For the elliptical foot, an ellipse was cut to fit inside the foot to define an elliptical shape. Then the foot was glued to the plate using a weight on the plate and the ellipse guide removed. Hope this helps.
Nice work! I once had to create a similar flat pattern for a cone of paper-like material for a mass produced item, but never thought about applying it to the “kerfed wood” medium. Thanks for the inspiration! I’ll have to try some projects like this!
How much force is required to press them into shape? They look very clean and regular, so I’m guessing you have enough cuts in place to keep it reasonable.
On the outer perimeter at the join seam, one small binder clip, 3/4 inch wide, held the join together. Cyanoacrylic glue was applied along the seam on the underside.
I will try a write up for the way calculations were done, if that would help, but am not sure how to post it. Dropbox or something else? I’m prone to Pilot Error with these postings.
Here is an attempt at showing how the 2D pattern was made from the 3D elliptical cone. It’s five pages long … be warned. Elliptical Cone Development Pattern.zip (193.8 KB)
 This is definitely one where I can see why this works, but can’t imagine trying to make it happen!

