This is my first “real post” since ordering my Pro unit during the pre-order and already my brothers in-law are hollering at me to make game tokens & board game organizers ![]()
But no! I have a small holiday-themed pop-up convention this weekend and I wanted to make some holiday-themed ornaments with the ![]() materials that arrived. As you’ll see, I turned the PG rated maple hardwood into an R-rated ornament!
materials that arrived. As you’ll see, I turned the PG rated maple hardwood into an R-rated ornament!
First, the artwork. A grey-scale JPG that I spent waaaay too long drawing.


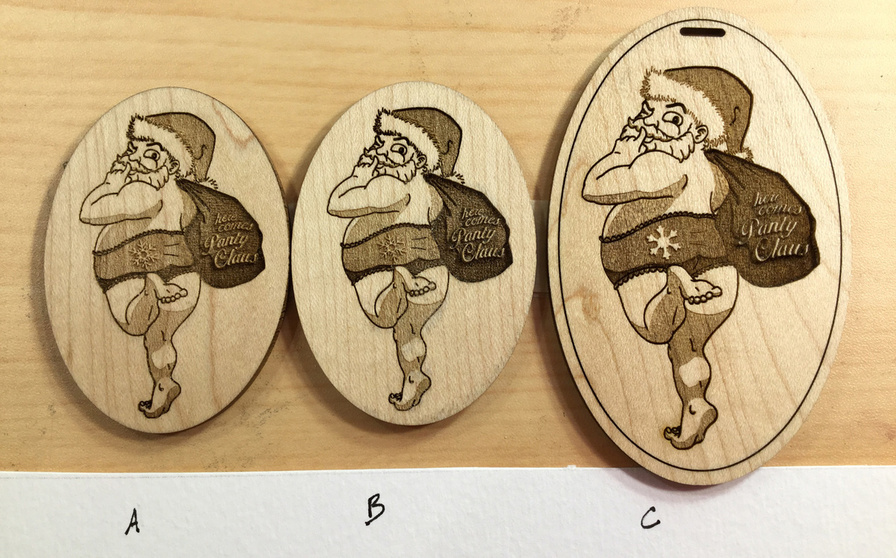
I had done a few test engrave-swatches with the greys in the art and couldn’t get a good one, so I re-colored it using 5 greys only(above), and the black linework lightened just a bit. None of it was satisfactory so I just went with 3D ENGRAVE - one default(B) and one turned to Manual(A) and I changed the power to 90%.
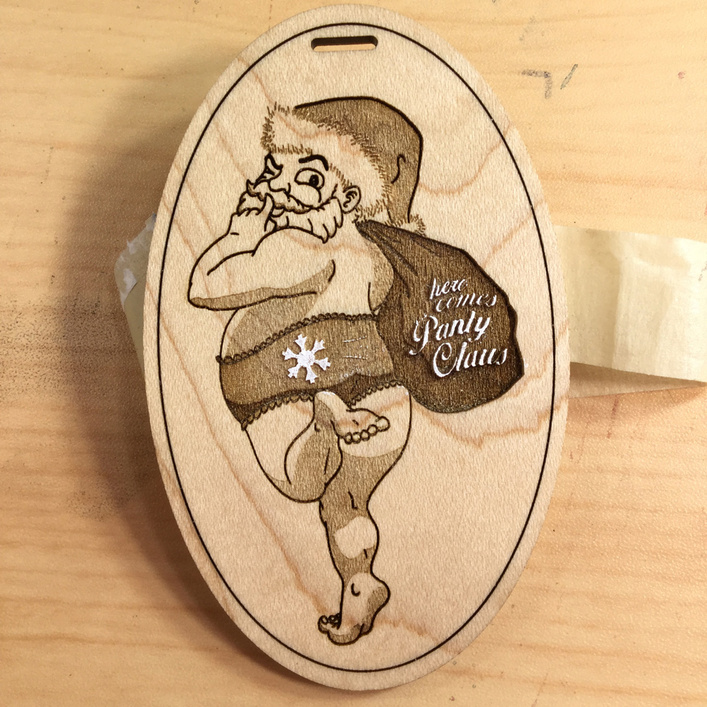
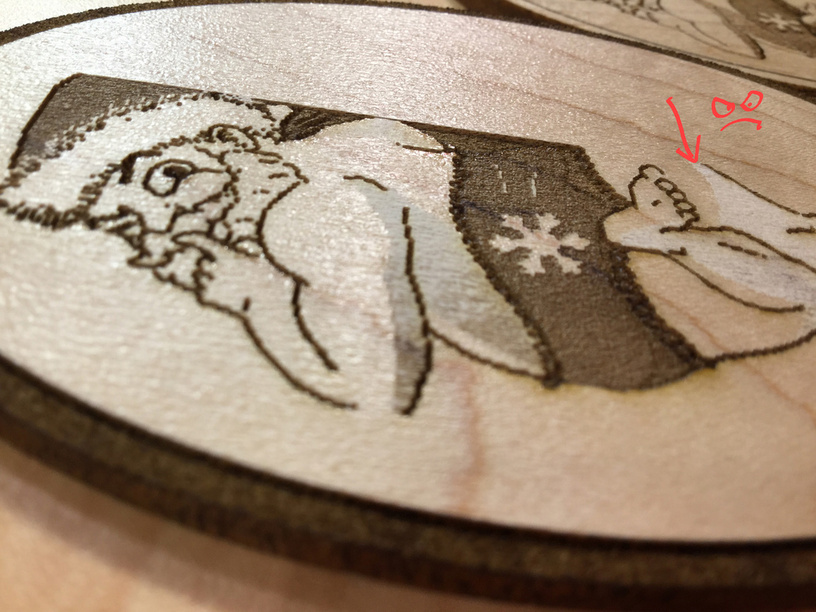
Tragedy struck when I attempted the first FULL SIZE FINAL GO. I uploaded the final file with all cuts & scores to make the oval and for unknown reasons, the file turned 8-bit. Worse, the laser at 90% power didn’t puncture all the way through the finish on the wood ![]() It just turned it white(2 pics below), so I canceled it halfway through.
It just turned it white(2 pics below), so I canceled it halfway through.

I re-saved & re-imported and re-saved a new SVG file and finally it turned out like the one shown as C way above. And below(same order as the A, B, C image way up there). I also changed the ornament on his underwear and I SHOULD have thickened up the writing on the toy sack(here comes Panty Claus).
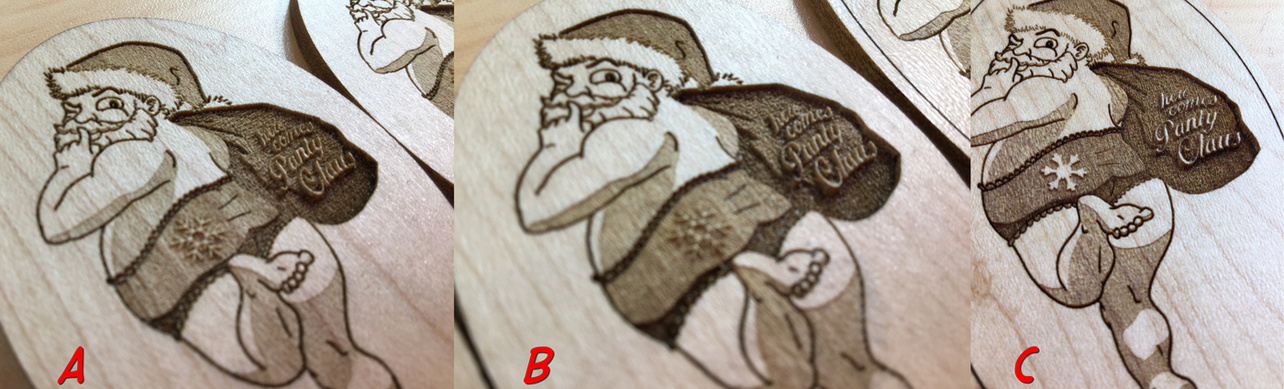
Now that it was working, I didn’t want to jinx it, so I went ahead with the next 4 engraves. Here they are before and after cleaning with the Fast Orange that was mentioned in the forums.
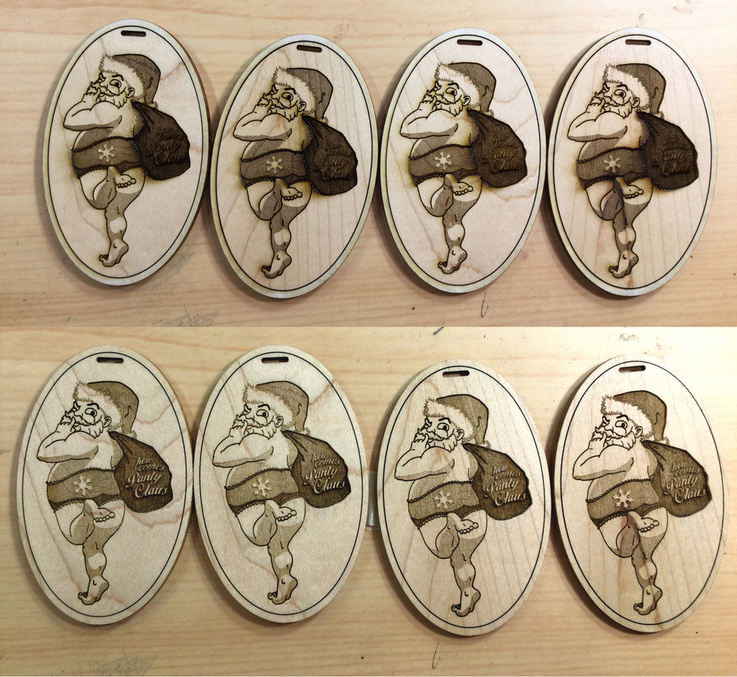
I scrubbed them all with approximately the same amount of Fast Orange, but some of them came out cleaner than others. Definitely couldn’t get it to look like the pristine clean in the images on that epilog article, though.
Thanks for looking at my doofy art & post. And thanks to everyone else who posted tips, they helped with making these silly things ![]()