)Ok, so as I’ve mentioned before my son is a pilot (waiting for his 1000 flight hours to get hired at Envoy (American) and I make him simulator stuff. I’ve been building 2 devices for him the last couple of weeks (mostly because work I only get small breaks to work on them). So at the moment I am concentrating on the FMC (flight management computer) for the 737 using the design from 737diysim Karl is a airplane/helicopter mechanic who has designed his own fully functional 737 cockpit. The printable models are free but you can upgrade and purchase the CAD models (fusion 360) which is useful if you want to modify the design which I did in this case (pun intended).
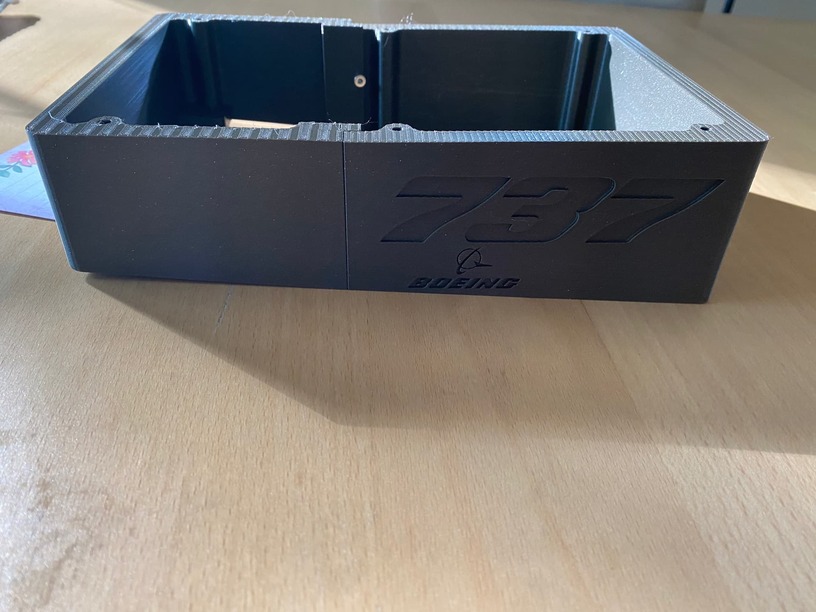
For those who aren’t ATP rated such as @rodrigobrionesm most aren’t intimately familiar with Boeing cockpits, the FMC sits on the center pedestal and has a 5” screen. In Karl’s design he is bolting it into a real metal panel so he has a full case underneath for inside his pedestal. The case is taller than my current prusa i3mk3’ s build volume but also my son will simply have it on his desk, so a short case with rubber feet was what I wanted:
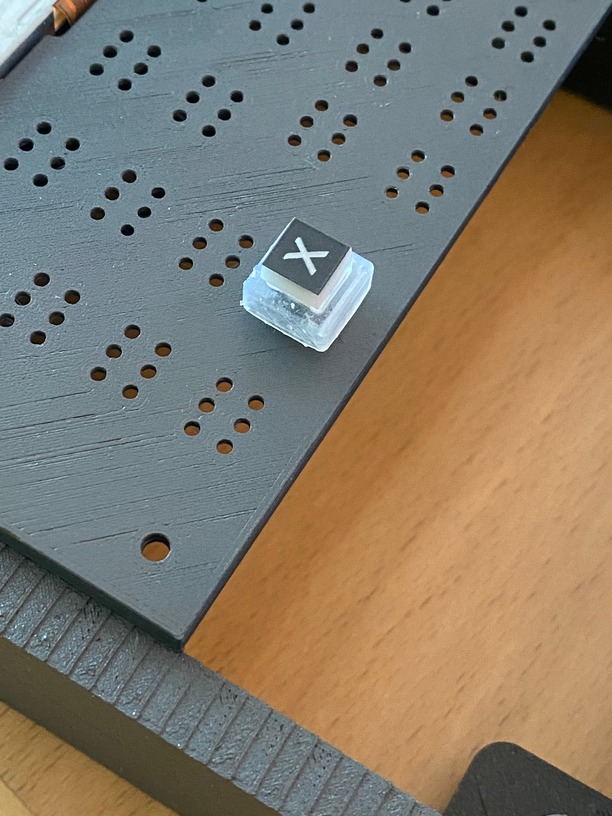
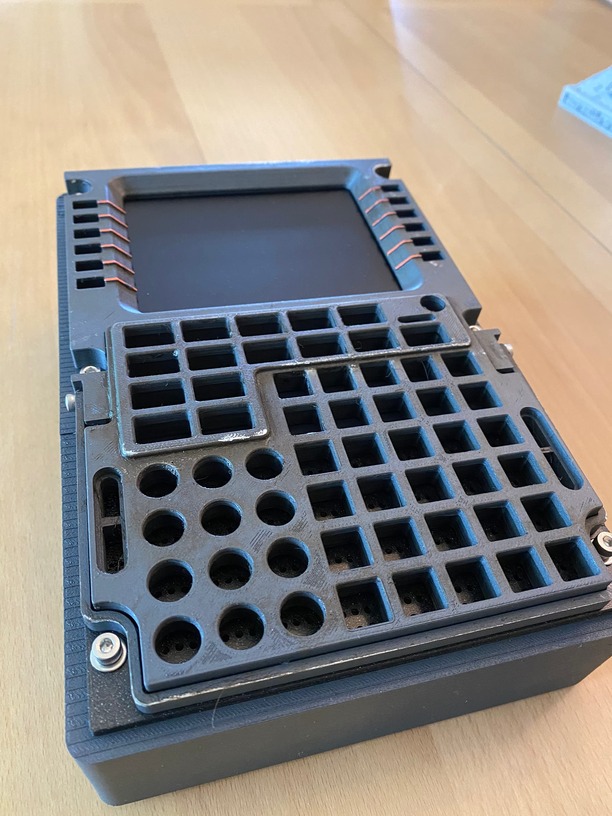
Next all the keys are SLA printed on my form3 which locks onto a tactile switch with a built in single color LED inside the switch. I originally ordered green but for the FMC am going to do orange (the real one is white lit, but orange looks better to be honest). They key-cap is laser engraved 2-color acrylic which gets CA glued onto the SLA printed base (I was worried they’d feel like sharp acrylic pieces stuck on a key but they feel pretty good actually). Next for the white-stripe “action” buttons at the top which line up with the menus on the screen (see pics below), you print the base in white resin with a black outer shell (my first experiment to see if I could paint a white shell black so I didn’t;t have to switch - ok but not great, so will probably print in gray and paint black (Montana gold shock black)
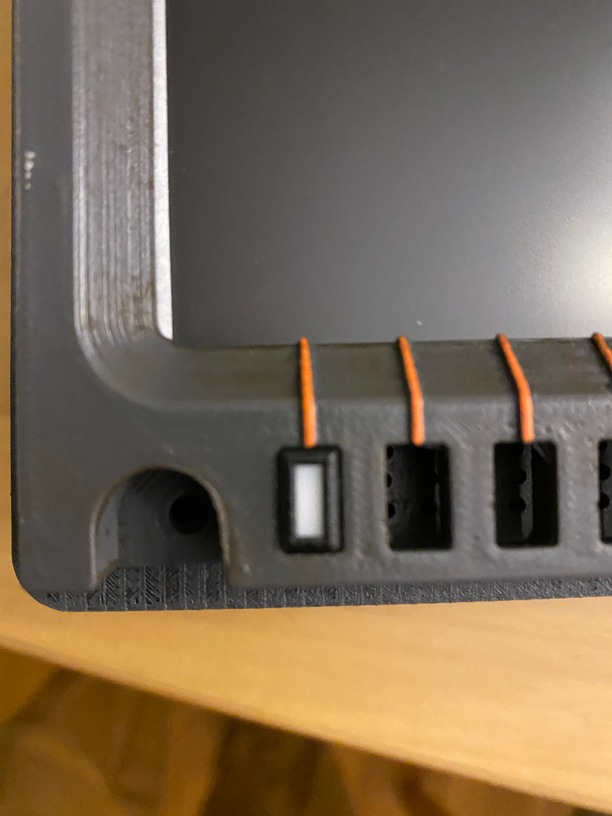
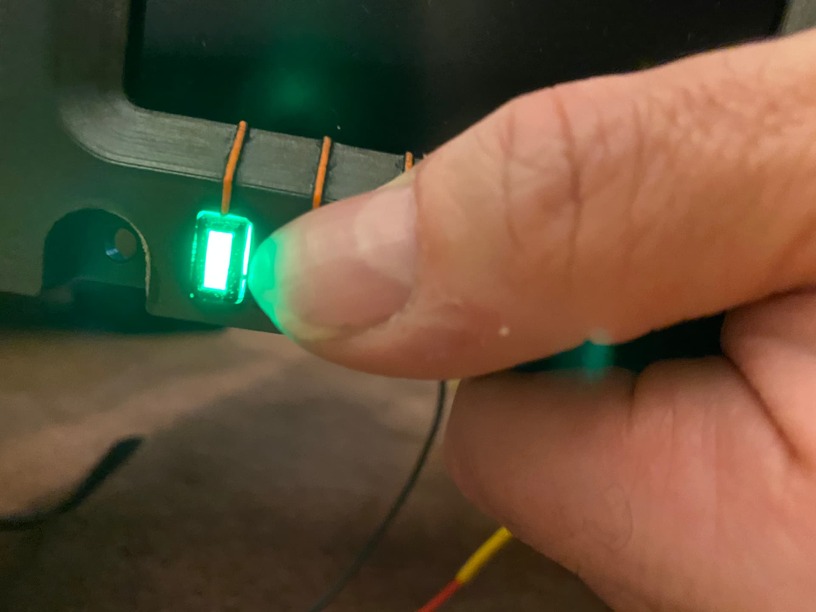
Luckily the LEDs have a dimmer once it’s all hooked up, as at least with the green it is waaay too bright. The grunge-up with burnt-umber oil paint dry-brushed on (plus silver rub-n-buff to show where the “powder coat wore off” exposing the underlying “aluminum” looks pretty realistic. I did this based on tutorials from the excellent Punished Props YouTube channel techniques. Hopefully this weekend I can start getting some of the keys installed (I installed the screen dimmer knob on the top right and the knob).
Each key has 4-wires going to it (1 for the switch to the Arduino Mega and one pair for the LED) so it is a butt load of soldering!t] the screen takes a VGA connection (had to buy a cheap bus-powered nvidia gt730 GPU since his RTX2070 doesn’t have VGA and is already driving multiple monitors. The screen is not driven by the Arduino it’s just a 640x480 VGA monitor and in the sim you right click on any instrument and select “move to display…” and select that monitor and it will show the FMC (in reality you can transfer anything there, it would be weird)
Can’t wait to show you guys with the full keyboard and screen illuminated