Now and then you have material that’s warping. especially when it’s under or up to 1/4" plywood.
I didn’t want to use magnets so I made 4 hold down screws as solution for these thicknesses.
They are designed to work with the crumb tray in place. I just finished making these to be able to continue running jobs. Tomorrow I’ll make better ones that can hold down any thickness with the crumb tray in place.
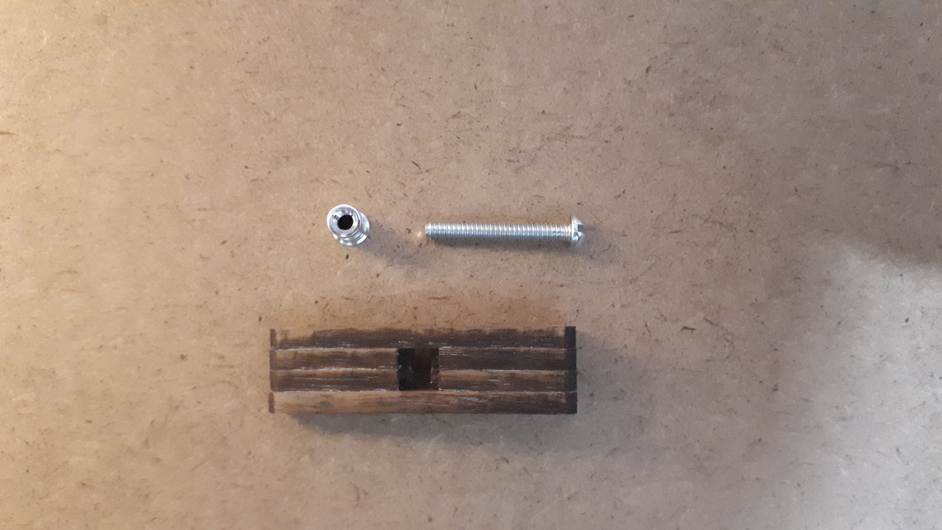
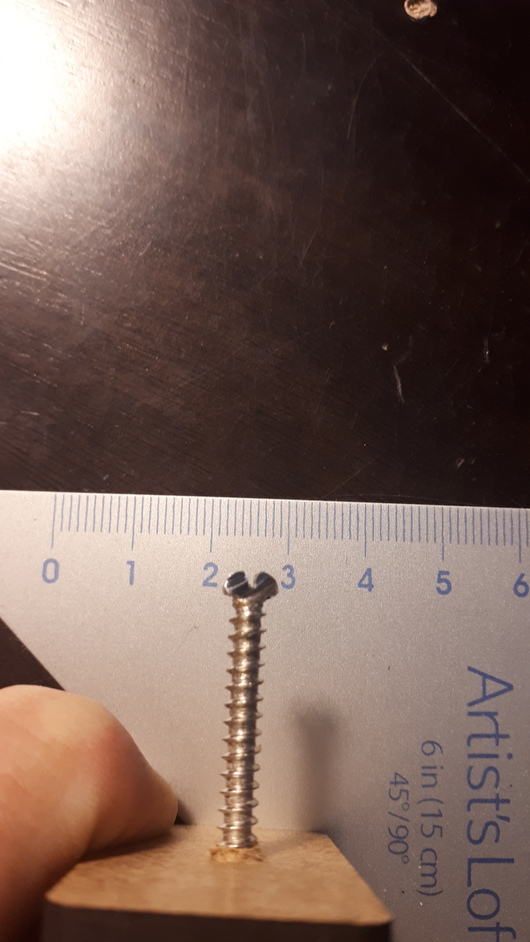
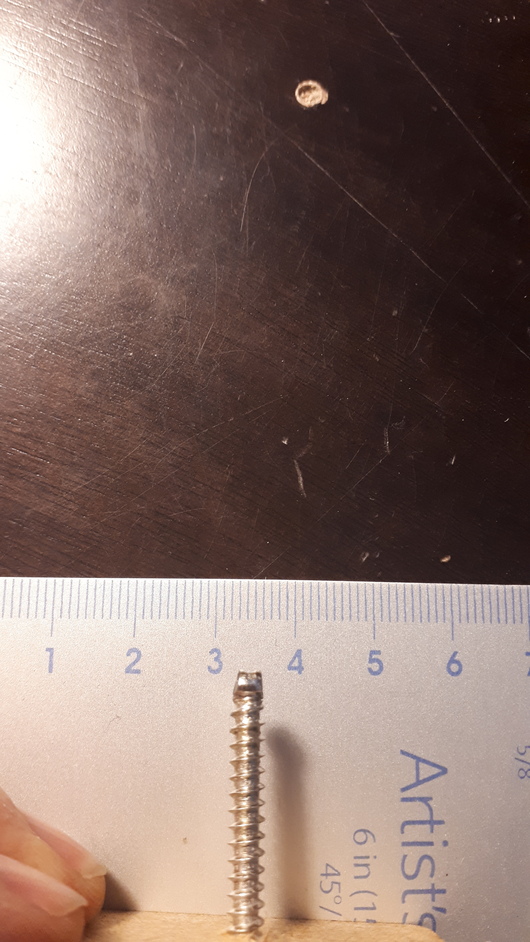
I used 4x 30mm screws with a 6mm diameter head. Cut off 2 sides of the head so the head of the screw fits through the crumb tray and can be twisted a quarter turn. Then I used 4x small pieces of draft board and screwed 1 screw per piece into them.
There is no sense trying to screw down your material with these hold downs. You’re better of wedging another piece of draft board under the hold downs.
I hope you can use these hold downs
1/4” plywood like you mentioned can warp a good bit and would sometimes require a fair bit of torque to crank down.
I’ve never done any kind of testing to know just how strong the honeycomb is. As you say logic would dictate that it’s pretty strong, but I’m not going to test it for the sake of a janky piece of plywood.
You should use Nylon screws instead of steel. The Nylon will be “sacrificial” and you’ll have to replace them periodically as they wear out, but they won’t do any damage whatsoever to the crumb tray…
They do but you can make a dozen from a small piece of scrap so I have a quart or so of them at any one time. One gets loose I just chuck it in the trash and grab another one.
Sure, what ever is clever. I just need a permanent hold down solution and not having to think about a pin loosing it’s bite close to the end of a fairly long job.
In all it turned out differently than what I had planned but this works great too.
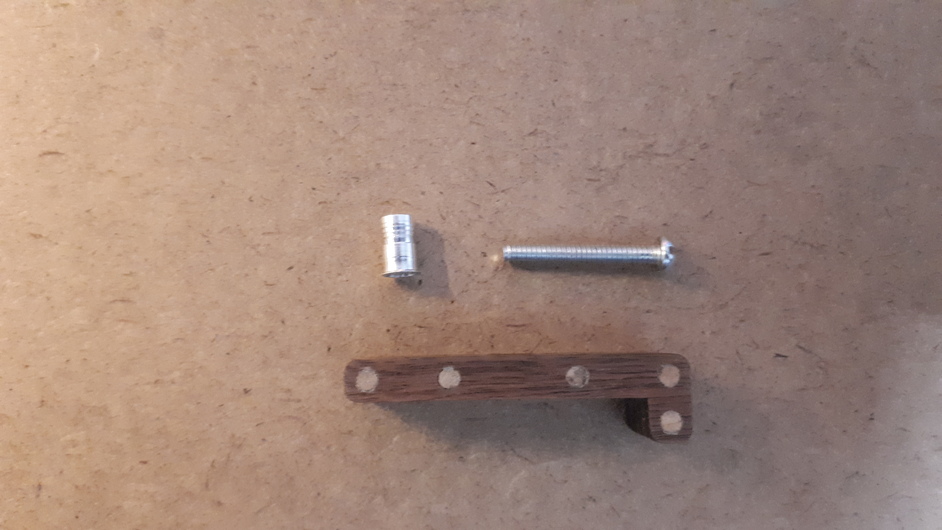
What I used is a 6-32 threaded insert combined with a 1" long bolt X12 and 2 component glue.
I opened the crumb tray (removed the alu backing)
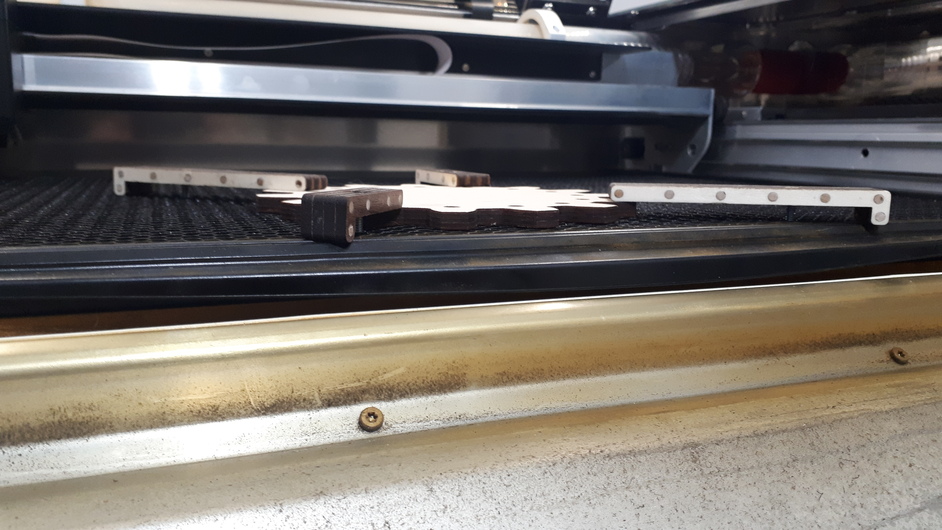
Figured out a pattern to place the inserts. (9 along the edge and 3 in the middle)
Pulled the inserts up to the honeycomb with the 6-32 bolt. This way it’s tight to the honeycomb but not yet in.
Applied the glue to the inserts and pulled them into the bottom side of the honeycomb and let it sit for a while.
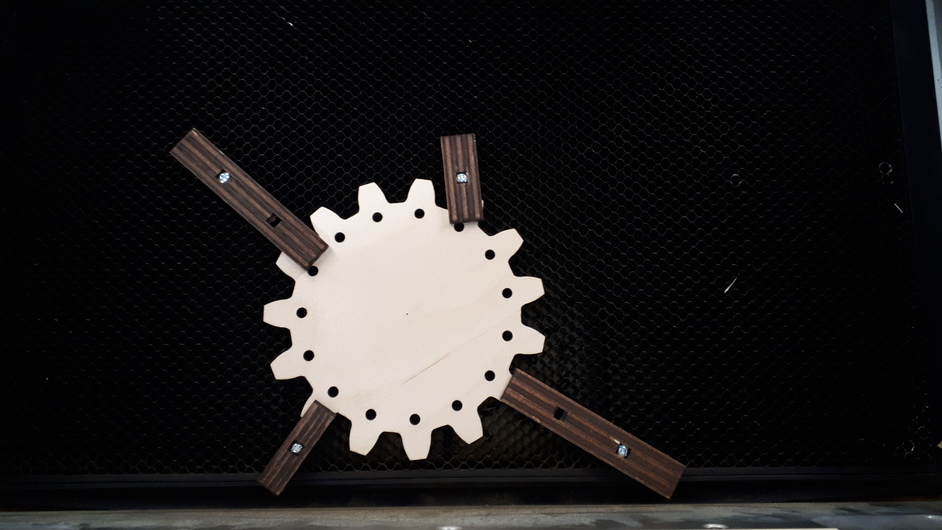
I also made custom walnut clamps.
It’s up to you if you want to install washers on the bolts to make sure your not screwing them in to the topside.
Personally I did not use washers because if you allow just the head of the screw to enter the honeycomb you end up with a clear indication as to where to insert a hold down.
This is just for the occasions when you need a good hold down compared to the bite of the wooden hold down pins. Never the less, Pins will surely stay in the work flow.


 cheers