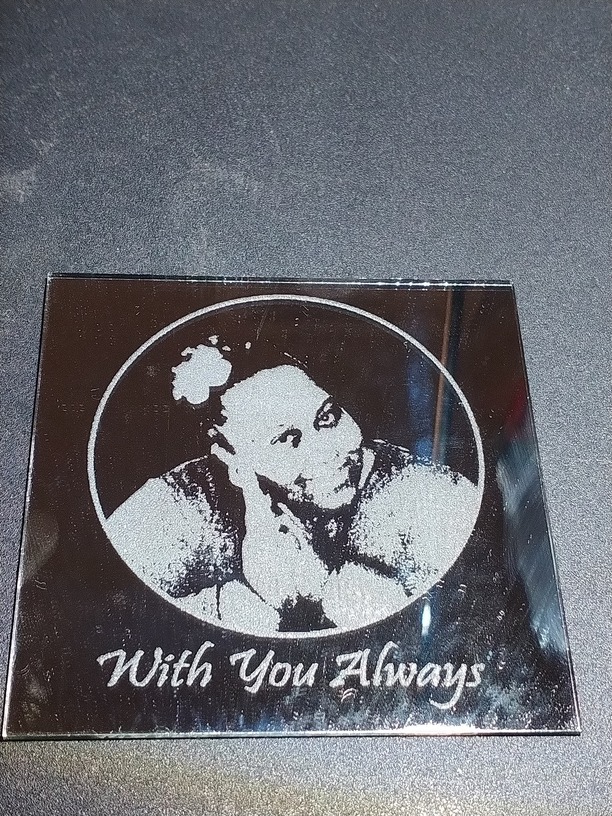
I should have cleaned it up before posting, but I was very excited about completing it. This is a 4x4 mirror engraving I created for a customer. Creating the circle around the image using a cut path and getting my Glowforge to read and cut it was very tricky. I love a good challenge and was able to figure it out.
30 Likes
Nice result. Is the mirror acrylic or glass?
5 Likes
Thanks. It’s glass.
1 Like
I do acrylic as well; requires a different process.
Yes, this turned out nicely!
2 Likes
Nice work; I’ll bet your customer will be happy!
1 Like
This turned out great!
2 Likes
Turned out very nice!
1 Like
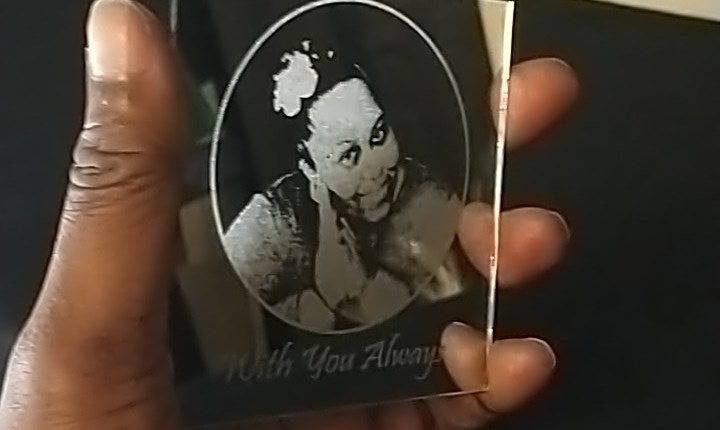
I’m so impressed with the effect you achieved on a mirrored surface. It’s luminous and captures great detail.
2 Likes
I was chatting with someone today, about using the laser on the silver (back) side of the mirror, so the engrave would show thru the glass.
1 Like
This is really nice, your customer will love it!
1 Like
Great work! Another happy customer!
1 Like
Thank you.
1 Like
Thank you. They were smiling pretty big when they picked it up. 
1 Like
Very nice! So how did you do the circle?
Thank you for your reply. To make the circle, I used the circle tool with no fill and a black outline. I placed it over the image and moved it around until I had the perfect fit. I, then, made a duplicate of the circle and moved it to the side. Then, I selected the entire image with the circle around it. I then went to ‘Object’, ‘Clip’, ‘Set’. Then, I moved the circle I had set aside around the image and grouped it together; saved it as a PNG.
1 Like
So what’s the purpose of the second circle?
The purpose of the second circle is to replace the first one which will vanish after '‘Clip, Set’. The first is just to clip, or cut a circular shape. Test it out on a few things to get the idea.
Good job! I’m still learning inkscape, so I am really impressed how this came out!
Thank you. Many from the Glowforge community have sent inquiries about how I created the circle around my image. Well, first you use the circle tool and center it around your image. Copy the circle and paste it to the side; you will need it later. Select your image and the circle, then go to object, clip, set. The first circle vanishes, but leaves a nice cut to insert the second circle. Group everything together and save as a PNG. The Glowforge doesn’t recognize cut paths unless it’s a PNG. Give it a shot and let me know if it worked for you.