I’ve been experimenting with ways to use my Glowforge Basic to supplement the tools that I use for projects in my workshop. I’ve learned a lot, especially to follow the “Golden Rule(s)” that apply to all shop projects. The #1, “Measure once, cut often.” I run out of Medium Draftboard far faster than I should… But, most of the wasted cuts are in less expensive material!
I had two lamps that I lathe turned nearly 50 years ago. Both had the same style of inexpensive shades made of burlap. Not pretty, but functional. I wanted “pretty.”
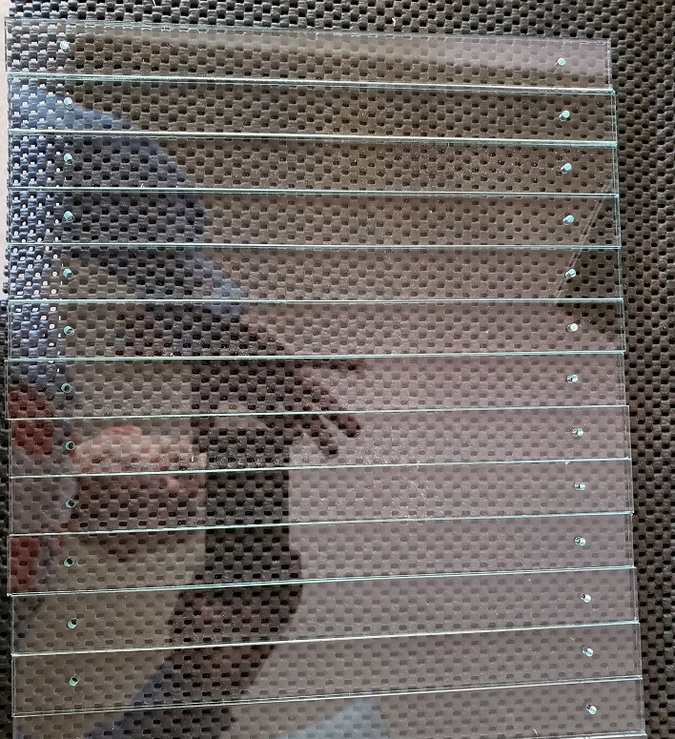
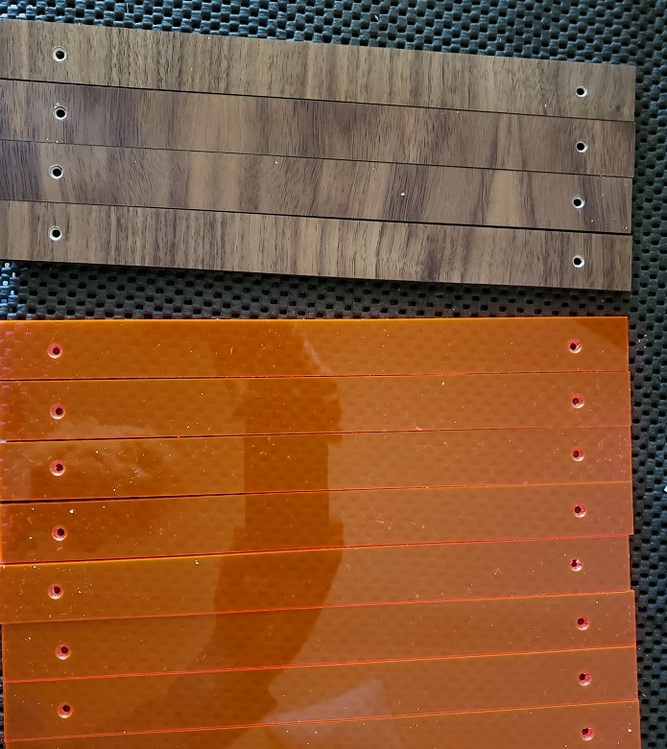
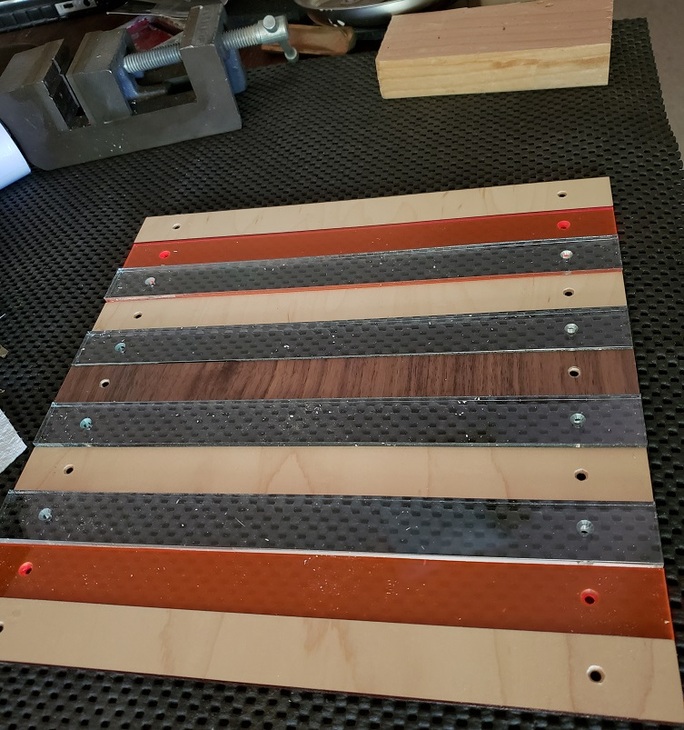
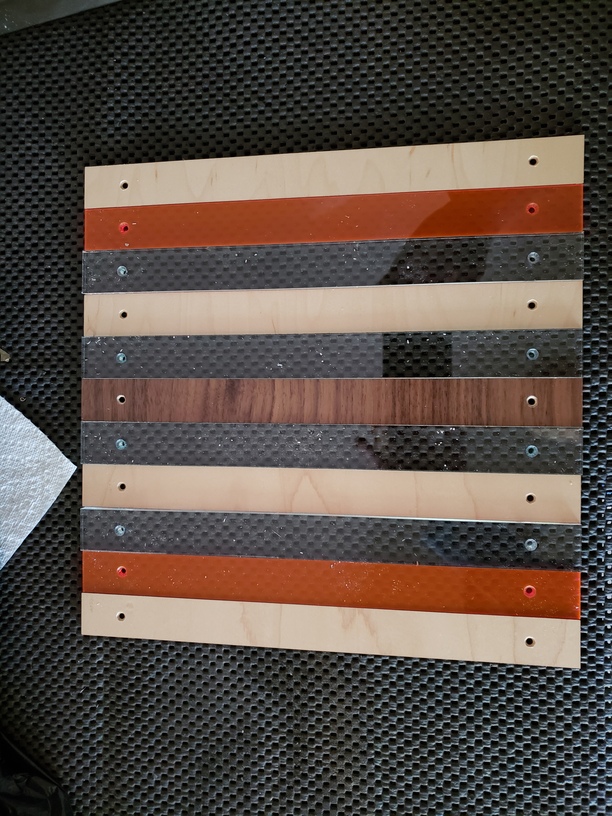
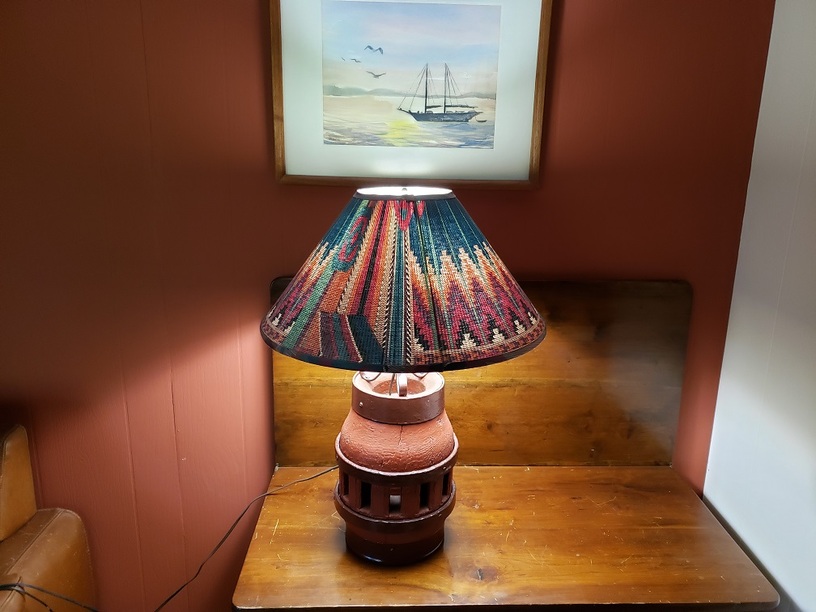
The first shade, for the larger lamp, I made out of acrylic and hardwood plywood slats. I alternated colors and materials to add both interest and texture. I call it, “This ain’t Tiffany.” Lessons learned here: Don’t assume that Home Depot stocks #4 x 1" brass screws. I laser-cut all holes for #4 screws and had to enlarge them using my drill press for the actual #6 screws that Home Depot does stock. Also, keeping thing physically aligned is just as hard with laser cut parts as with parts cut by other methods. PITA. The photo shows the lampshade on a different lamp than the one where I put it, but the appearance is similar.
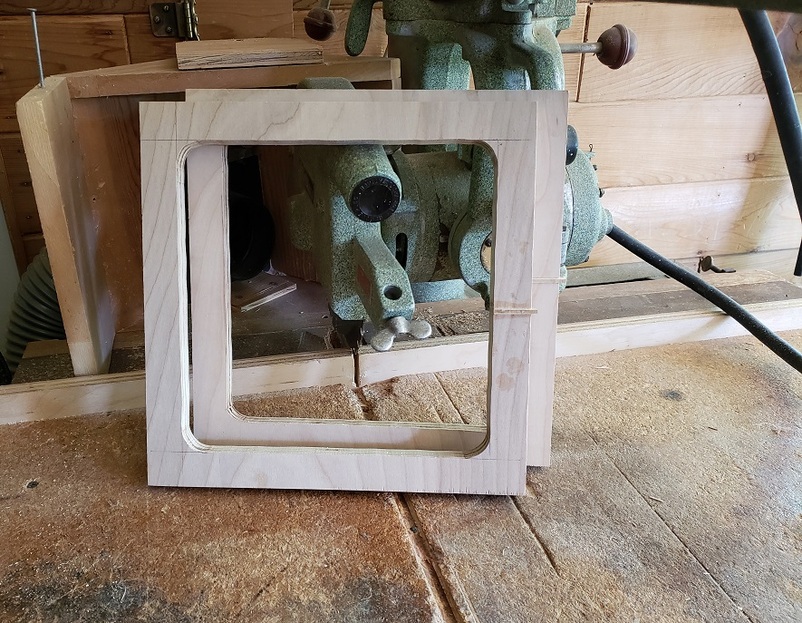
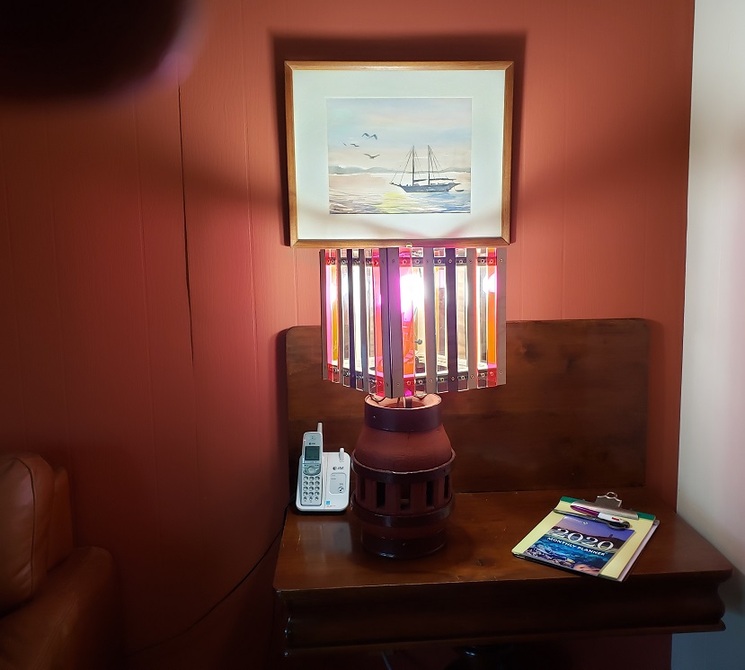
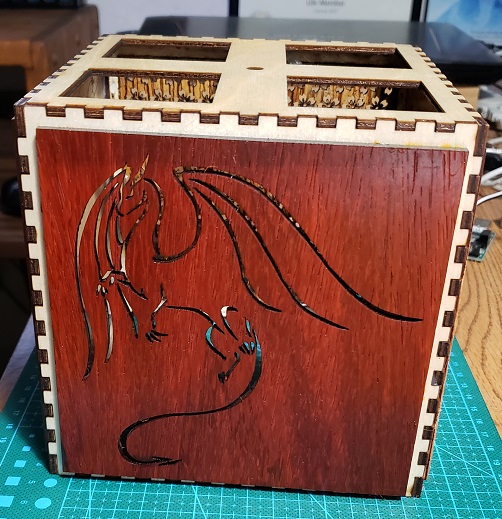
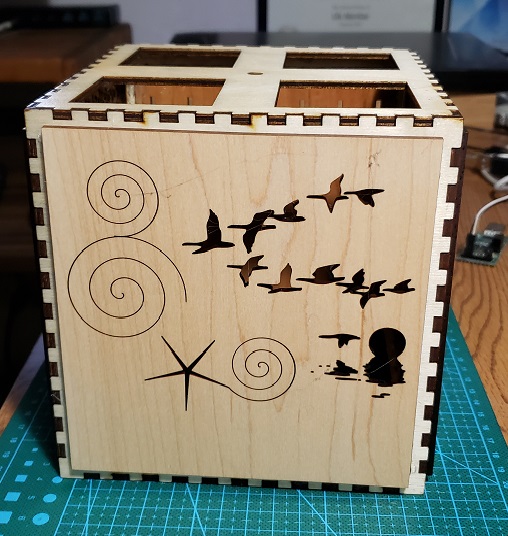
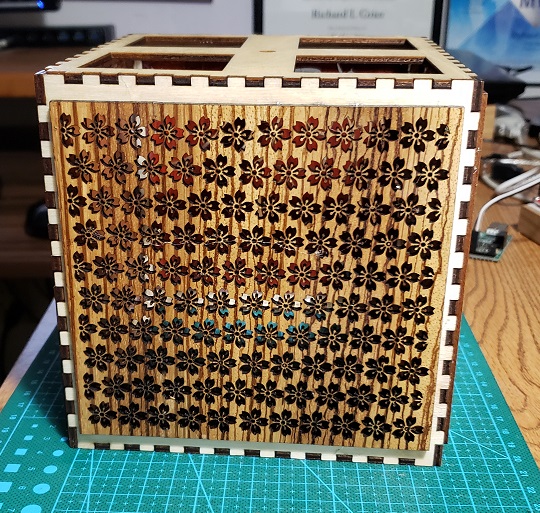
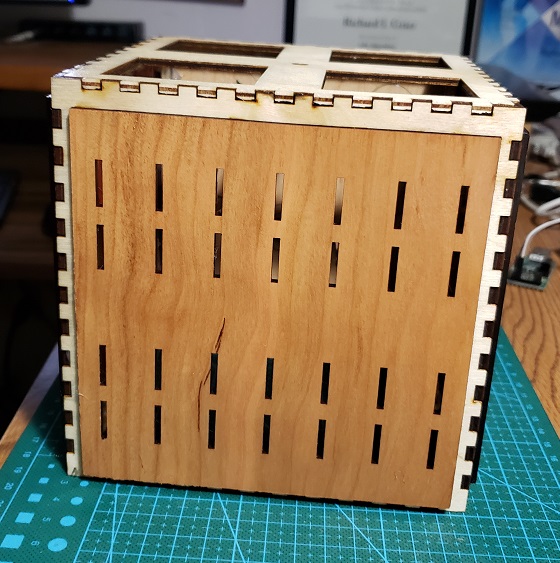
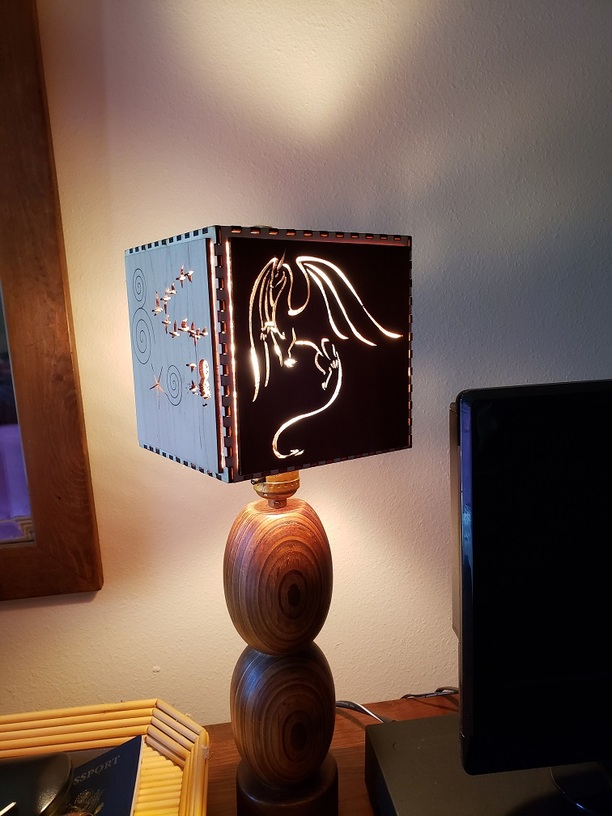
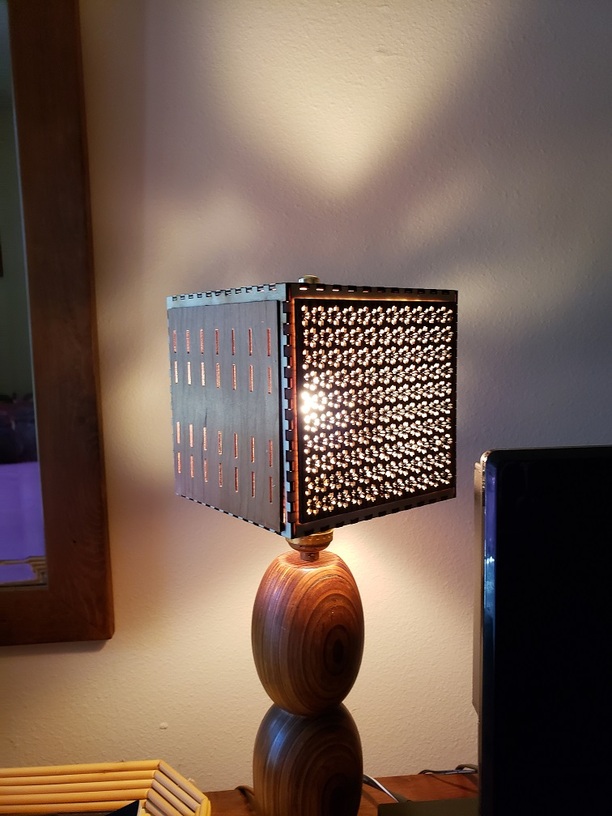
The second, smaller, shade I made out of solid hardwood, Proofgrade maple and cherry, plus solid padauk and tigerwood (from Inventables). The frame was made from 1/8" craft plywood from the hardware store. I call this shade, “Flights of Phantasy.” Lesson learned here: 1/8" tigerwood is fragile along the grain. Use care (or, in my case, glue).
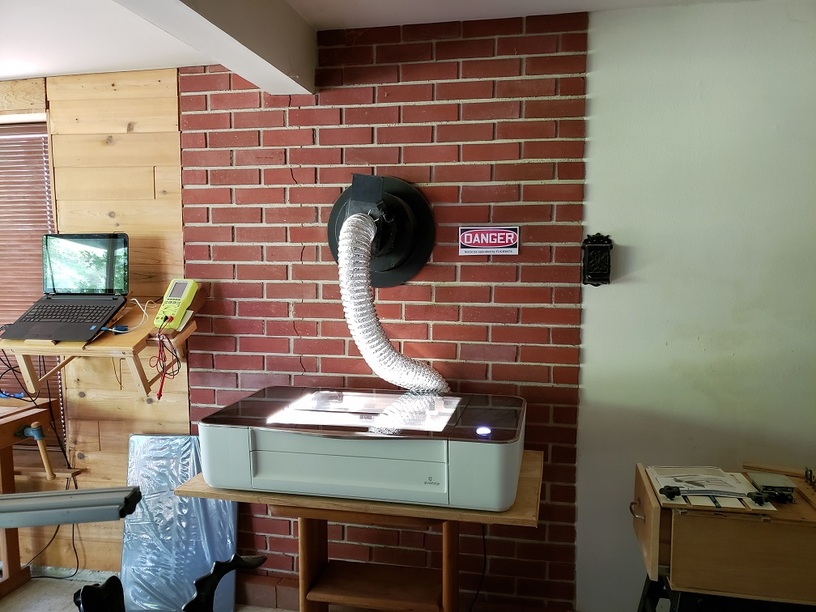
I also included a photo that shows how I vented my Glowforge. I use chimney that previously had served to vent a wood stove that really was not practical in my shop.