I’ve seen folks asking how to create an outline around a bitmap (or collection of vectors) so they don’t have to cut just a rectangle. There are several tutorials already, but here’s a technique that I’ve used for bitmaps in various programs for many, many years, and I haven’t seen it posted yet. I’ve adapted it to Inkscape as that’s all the rage.
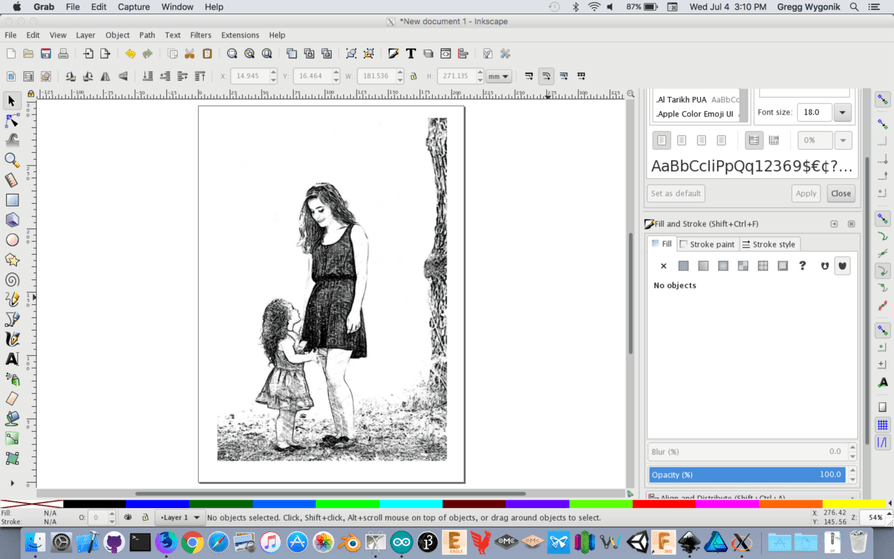
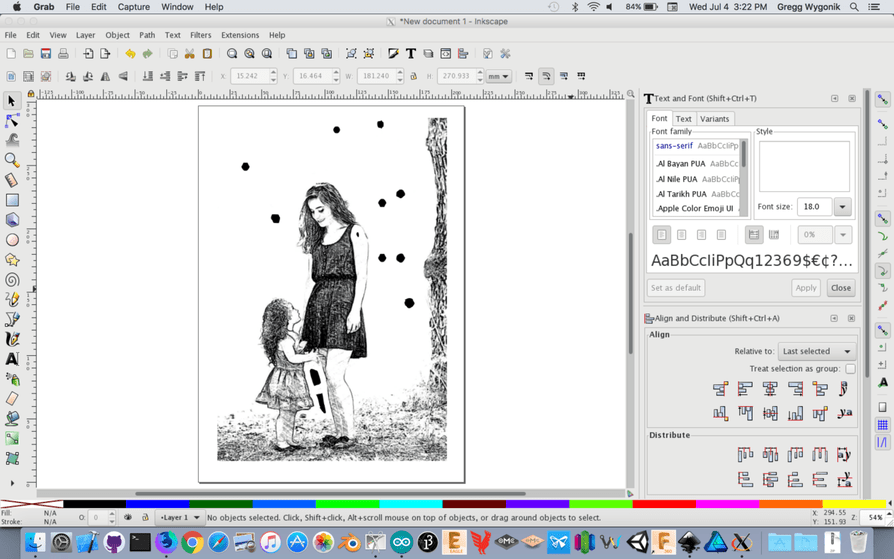
I’m using the image supplied by @Darth_Sixstring as their post prompted me to put this walk-through together.
NOTE: this technique works great for some types of images, and not so great for others. Anything with a mostly solid color background will do – text, logos, pictures like this one… But your mileage may vary. This image worked well, IMO.
- Starting with an empty Inkscape document, load your bitmap
-
Select the imported image, Edit->Copy, then Edit->Paste In Place.
-
Select the pasted image, then go to Extensions->Raster->Level… and enter the settings shown (basically just change - Black Point: 94)
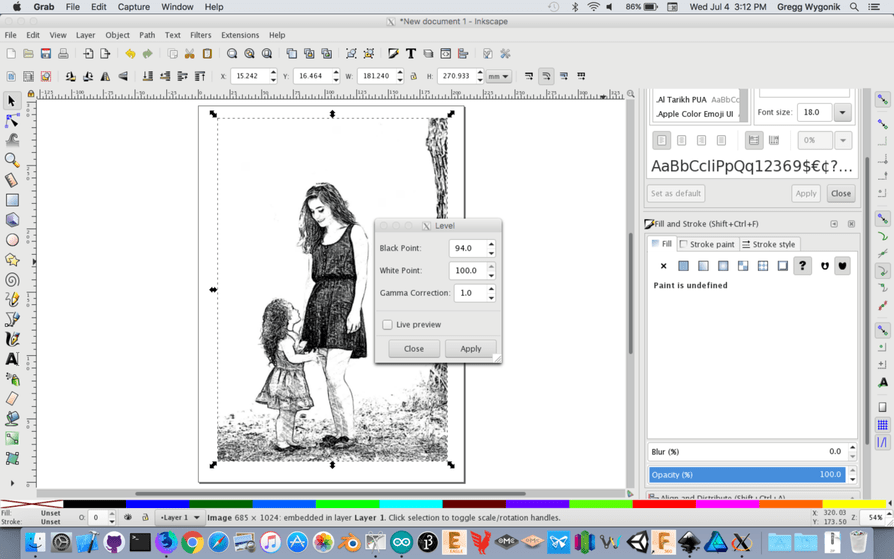
- The resulting image will probably look bad and might show some JPEG artifacting
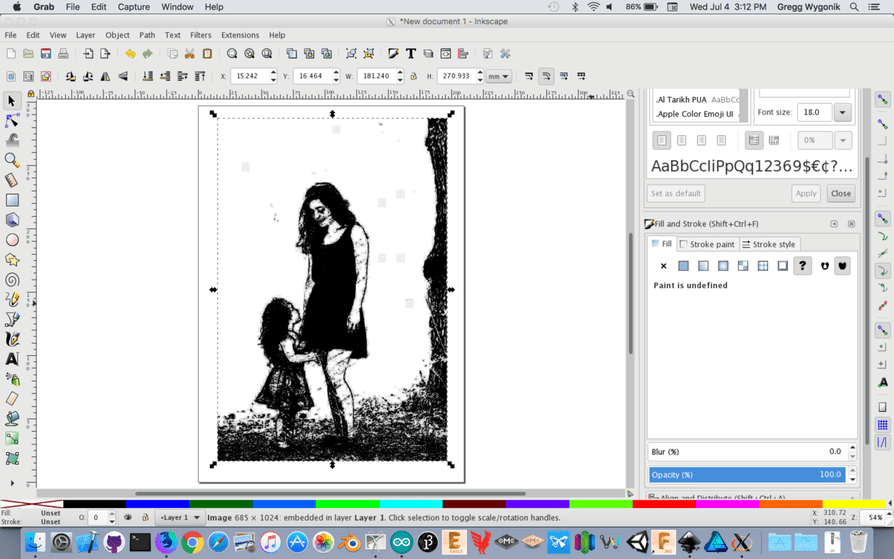
- This next step is important as we’ll discuss later on. Go to Extensions->Raster->Gaussian Blur… and set the Factor and Sigma values to high values (10-20; I used 15 here)
- The results should be something like this:

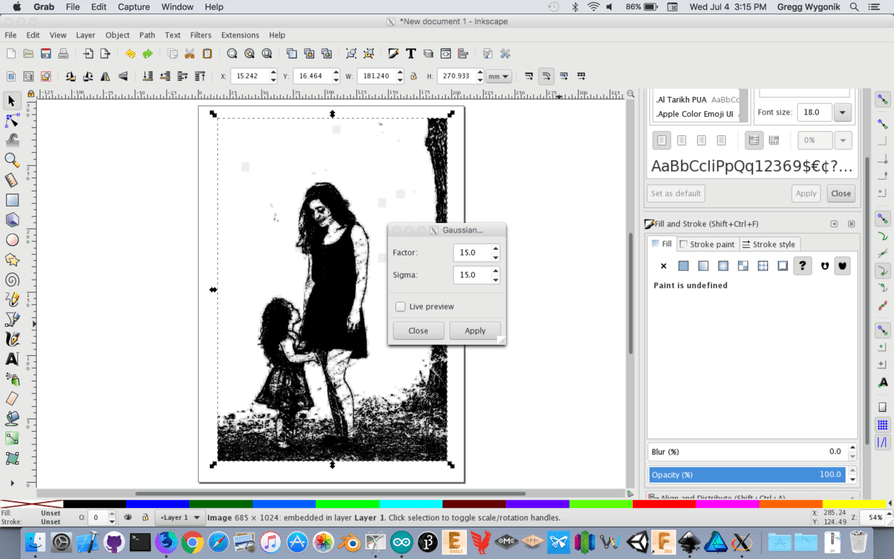
- Next, we’ll do another Level pass. So return to Extensions->Raster->Level… and use the same settings as before (it should default to your last settings)

- Again, your results will look bad, but you might see where we’re going

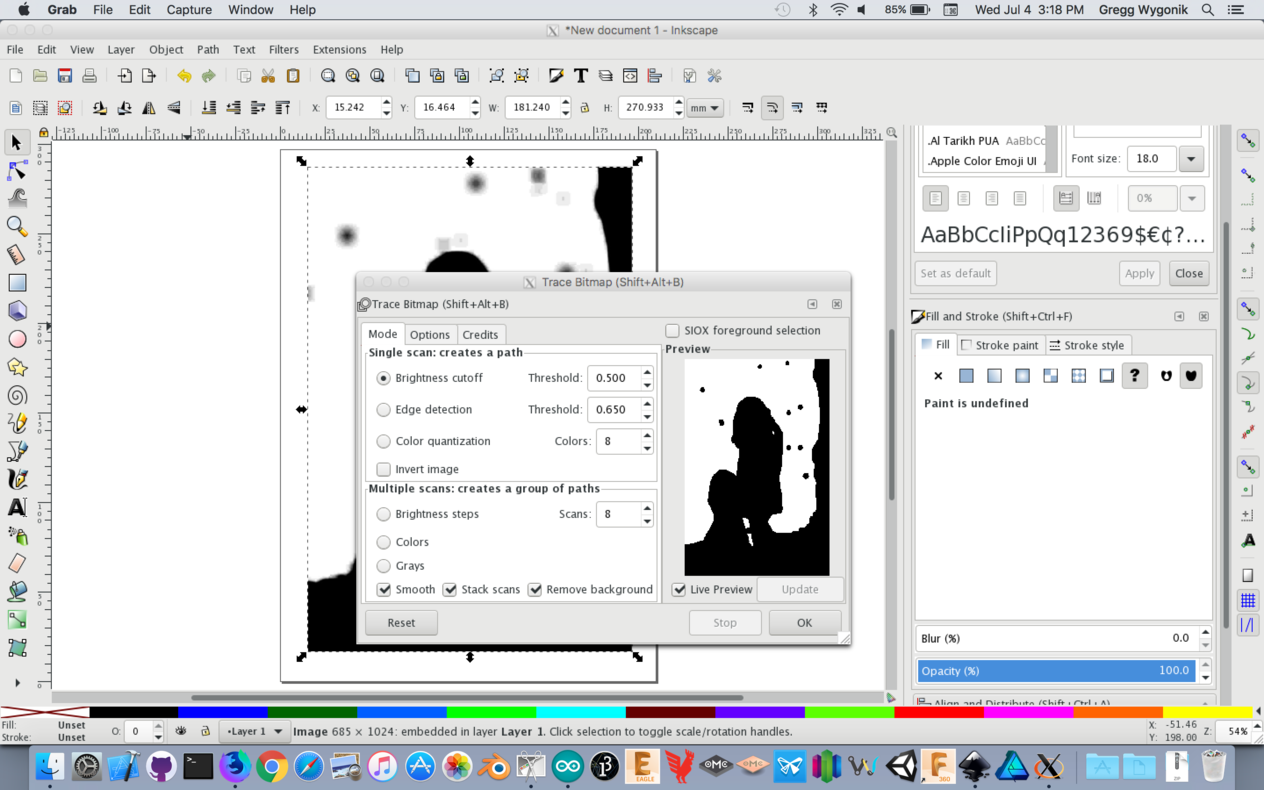
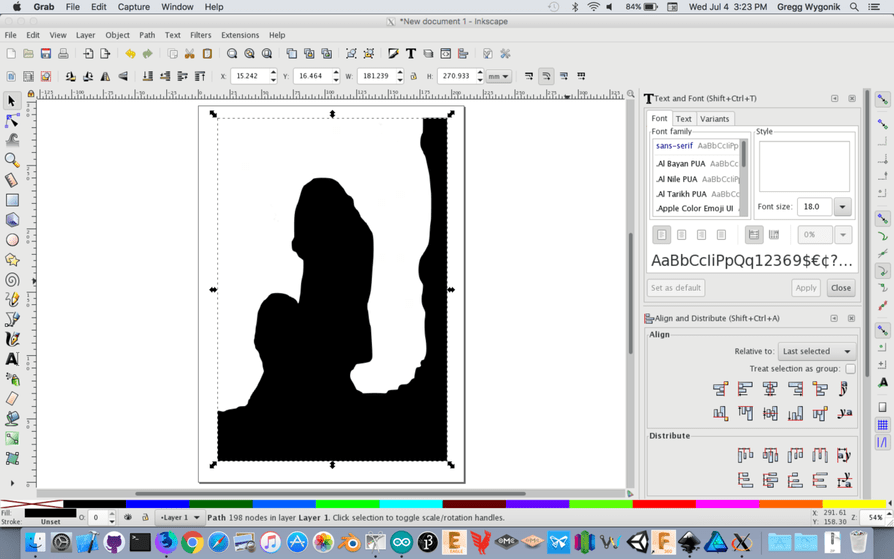
- Next, go to Path->Trace Bitmap and use settings like below (this might be default, I can’t recall). Once you have the settings and press “OK” you can close the Trace Bitmap window.
- It shouldn’t look much different, though some of the blacks might appear with sharper edges. Click outside of the page to deselect everything. Then click in a black area to re-select the top-most art, which is your traced image.
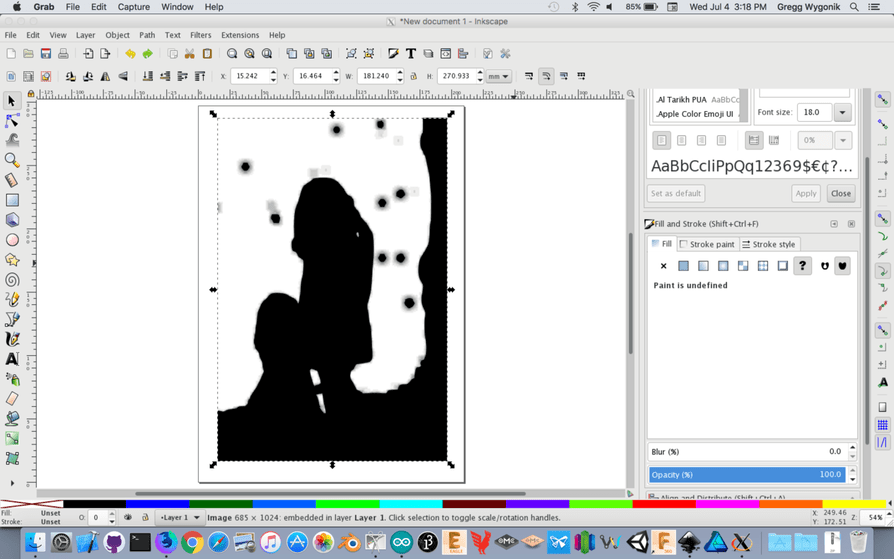
- Select Path->Break Apart. This will separate all of the various traced bits into individual objects. You can see the dashed-line rectangles on all the JPEG artifacts that got traced, or the white sections in the leg areas of this pic.

-
Click again off the page to deselect everything.
-
Click in the black area of the large area that makes up the silhouette of your image to select just that object. Here, I clicked in the bottom right corner of the black.
-
Edit->Cut to remove this object but keep it in the clipboard. THIS IS IMPORTANT!
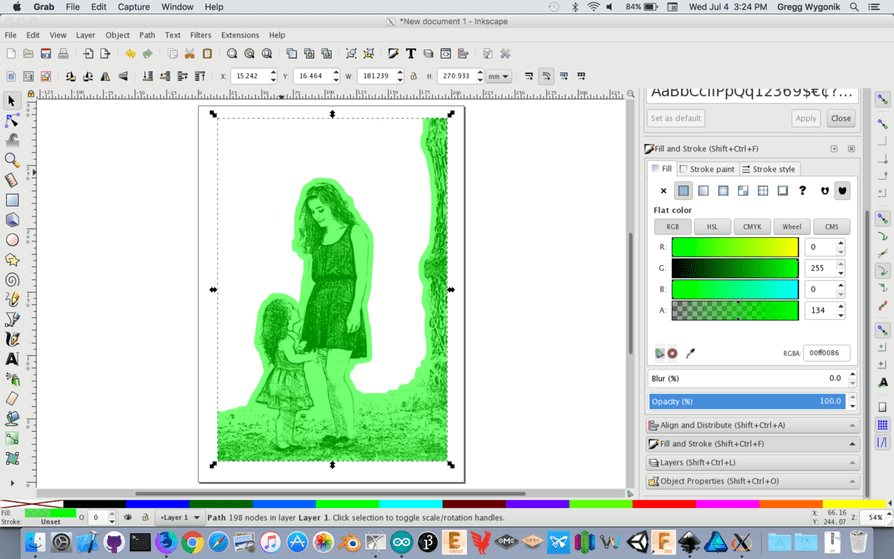
 The resulting image will look about the same, but with some possibly odd artifacts around remaining small objects (again, look at the area around the legs in this pic)

- Click on the black image (here again I clicked in the bottom-right area) and press DELETE on your keyboard. DO NOT USE CUT. This will select and then delete the copy of the original image we applied those raster effects to. This will leave you with the original image and any remaining traced bits.
- Now Edit->Select All to select everything on-screen. Then, hold down SHIFT on your keyboard and click on the original image. This will DE-select the image, leaving only the stray traced bits selected. Press DELETE on your keyboard. DO NOT USE CUT.
- Almost done! Now, Edit->Paste in Place. This will put the traced bitmap you cut earlier back on-screen and aligned with the original image.
- Change the fill of this layer to something not black and partly transparent. I used a green at 50% opacity
- Oooooooo! Now, Path->Simplify

- Finally, set the Fill to None, and the Stroke (Outline) to whatever color you want (here I chose magenta).
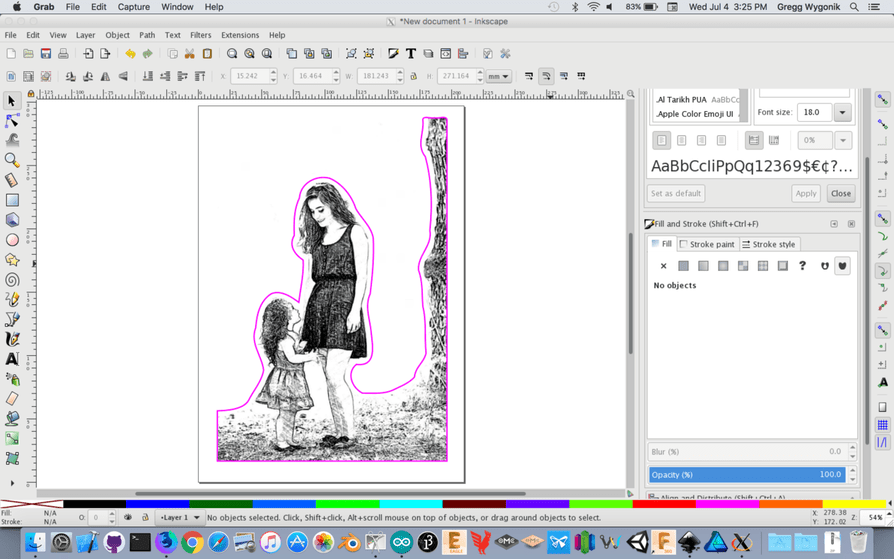
You now have a vector outline that is offset from the image everywhere except for the borders. You can edit this outline as you see fit. Yay!
The offset amount we create can be changed by altering the amount of the gaussian blur. This can be tricky and takes some trial and error to find values that work for both your image and the desired offset.
If you were doing this technique on a color image, I would first convert a copy to grayscale, and preferably change the levels to make it as pure black-and-white as you can. You can then use this B&W version to do the outlining and align over the original color version.
Hope this helps!

