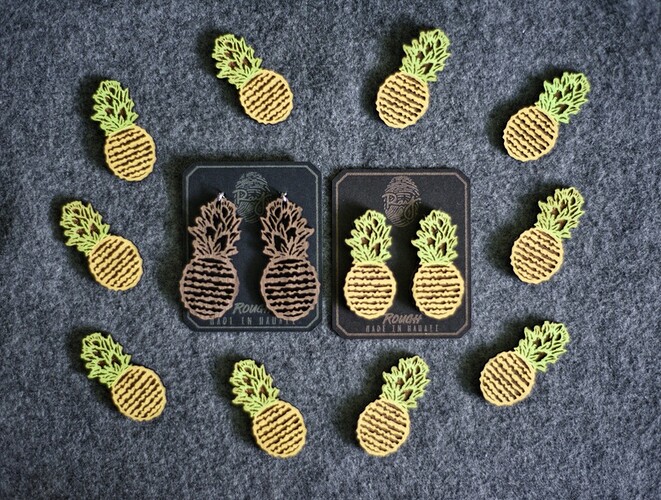
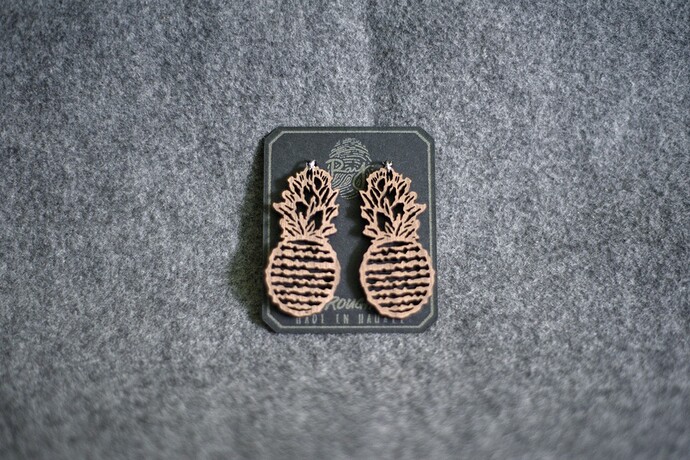
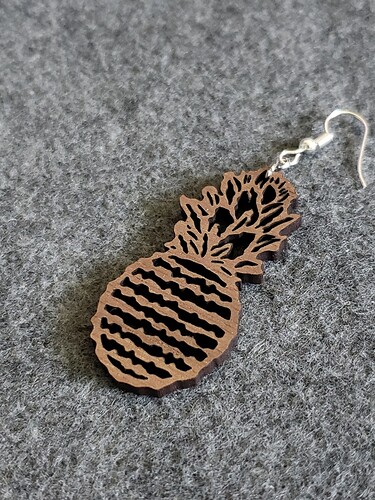
Had a fun idea in my head for some magnets/earrings, but didn’t want to meticulously draw it all out. Ive known about the various effects in Illustrator for some time, but never explored it very much. I figured for what I wanted to do, the zigzag effect would work, but I couldn’t get exactly what I was intending, and it was giving me really strange effects.
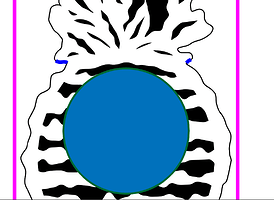
Decided to see what the other effects were all about, and found the Roughen tool. Wow, this one was exactly what I needed! SO I drew out the basics of a pineapple, which is simple enough, then hit the lines with the Roughen tool, and instead of meticulously drawing it all out, I meticulously moved the nodes around until it was where I liked it ![]()
Ran a handful of tests to find out the durability until they could withstand the powers of women pushing (and maybe men, can’t be too judgmental) into their eye holes (or other holes, again, can’t be too judgmental)! The magnets were much easier to deal with stress, as I was only engraving those instead of fully cutting the details out.
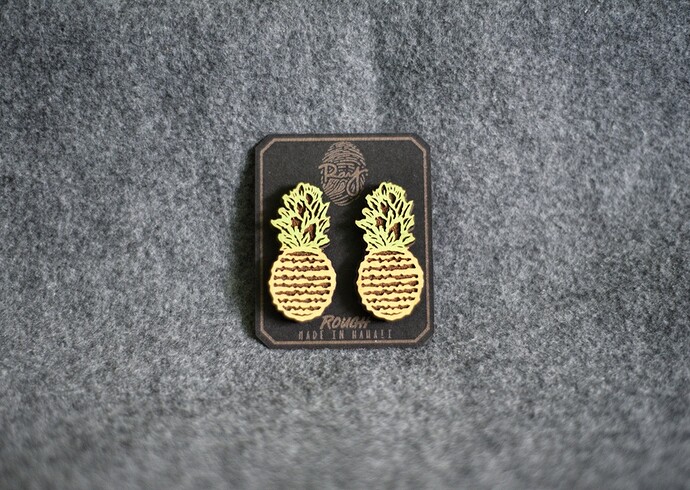
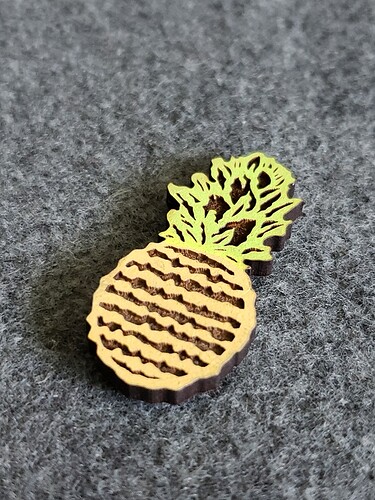
The magnets (the colored ones) were easy to engrave, but took me a while to figure out the best method on painting them. I used Draftboard, and as many of us know, it’s almost as absorbent as my baby’s diapers. The original paint pens I used were great, but the tips are so fine that it was far too tedious to be worth doing a lot of. I went down to an art store, found thicker paint markers, and the green turned out to be great, the yellow also just was absorbed into the wood. If I did multiple coats, then the yellow was okay, but again, more work than I was wanting to put into them. I remembered I had some yellow squash colored 2 in 1 paint, and that did the trick! Just did little score lines where the yellow needed to stop, then peeled the masking back to that. Blasted them with the paint, let it dry, then went back in with the green paint marker to fill in the tops. I left them unmasked, lasered them, then used baby wipes to clean the residue.
As you can see, they coated the Draftboard quite nicely, and I’m happy about the results. I used the following supplies for the magnets:
- Magnets from K&J Magnetics
- Painters Paint Markers for the green
- Rustoleum Paint and Primer for the yellow
- Temporary Glue Dots to adhere the magnets to my cardstock
Some of my process can certainly be tweaked to yield easier results, but again, I’m quite happy with what I got ![]()
PS
If you’re noticing the different engraved colors on the cardstock, then:
A) Top marks for being observant
B) It’s because I used two different types of paper ![]()
