A Plethora of Polyhedra

Silver_Pulse_Icoshedron_Small6

I was feeling left out of the polyhedra thing and, kind of wanted to make some small models. I didn’t feel like I had a lot of free studio time to mess with it, though. So, I spent a bunch of time coming up with a completely different way of making small polyhedra …

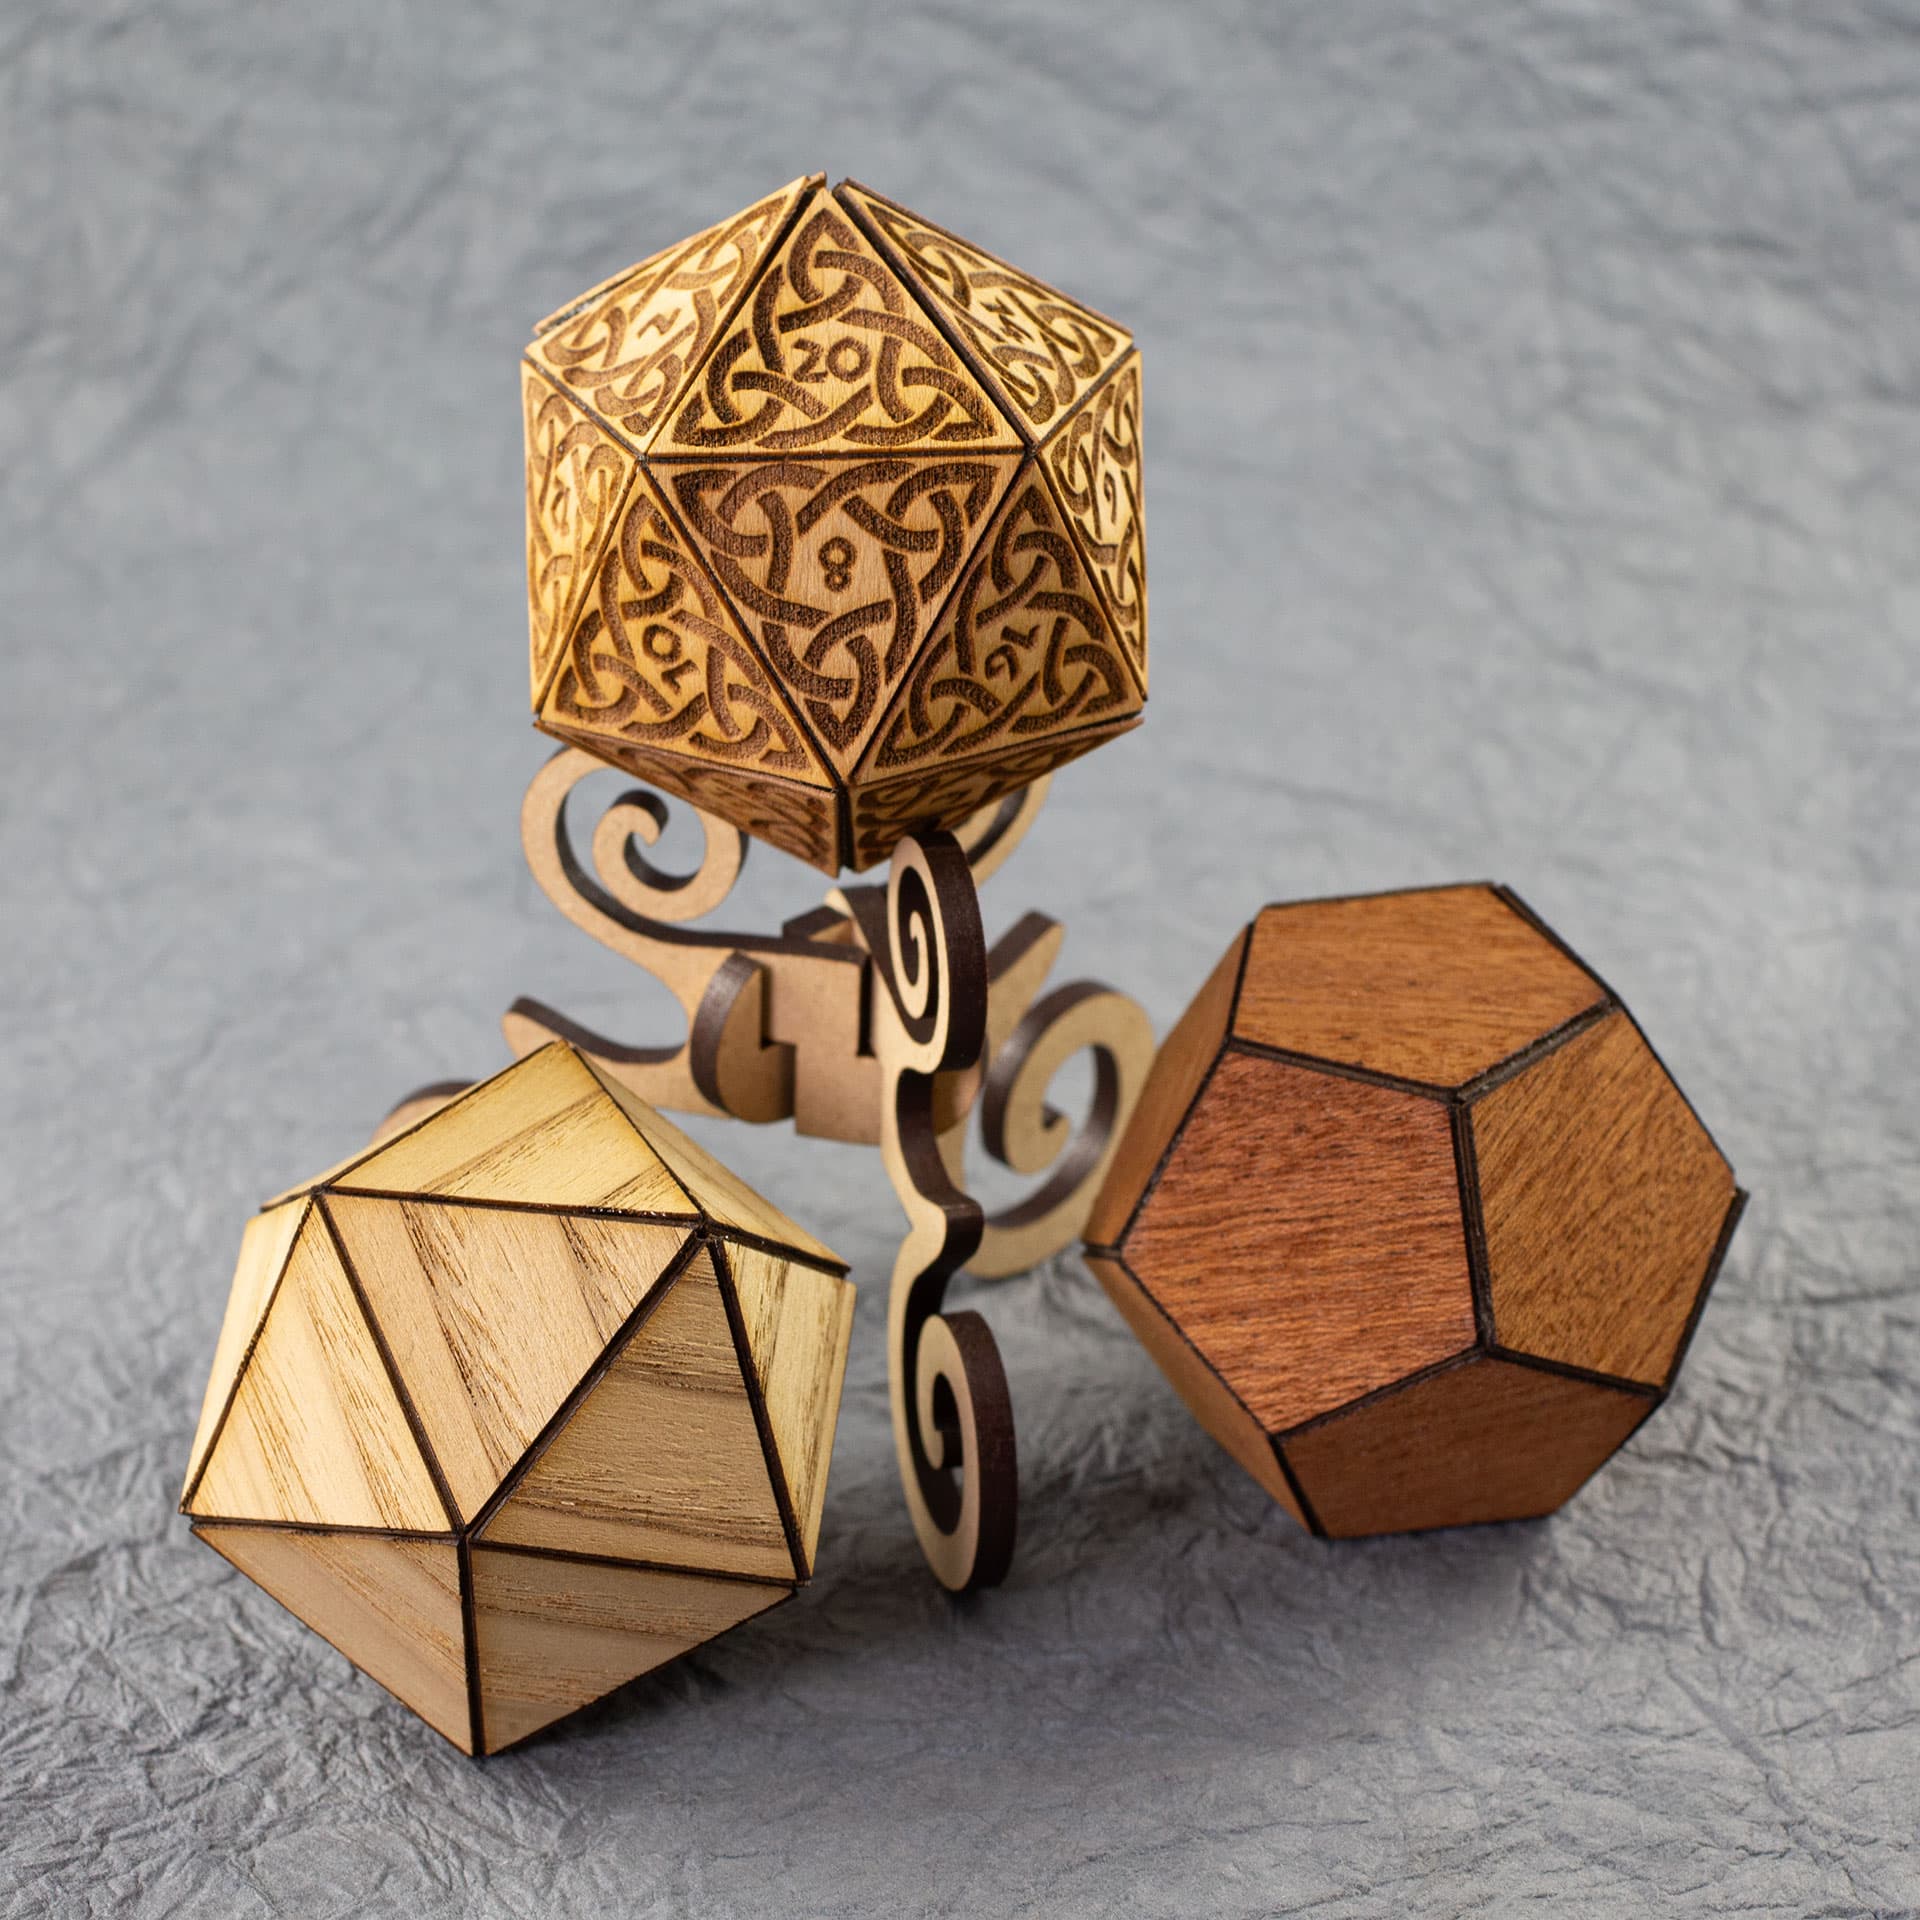
These are essentially paper craft polyhedra with an outer layer attached.

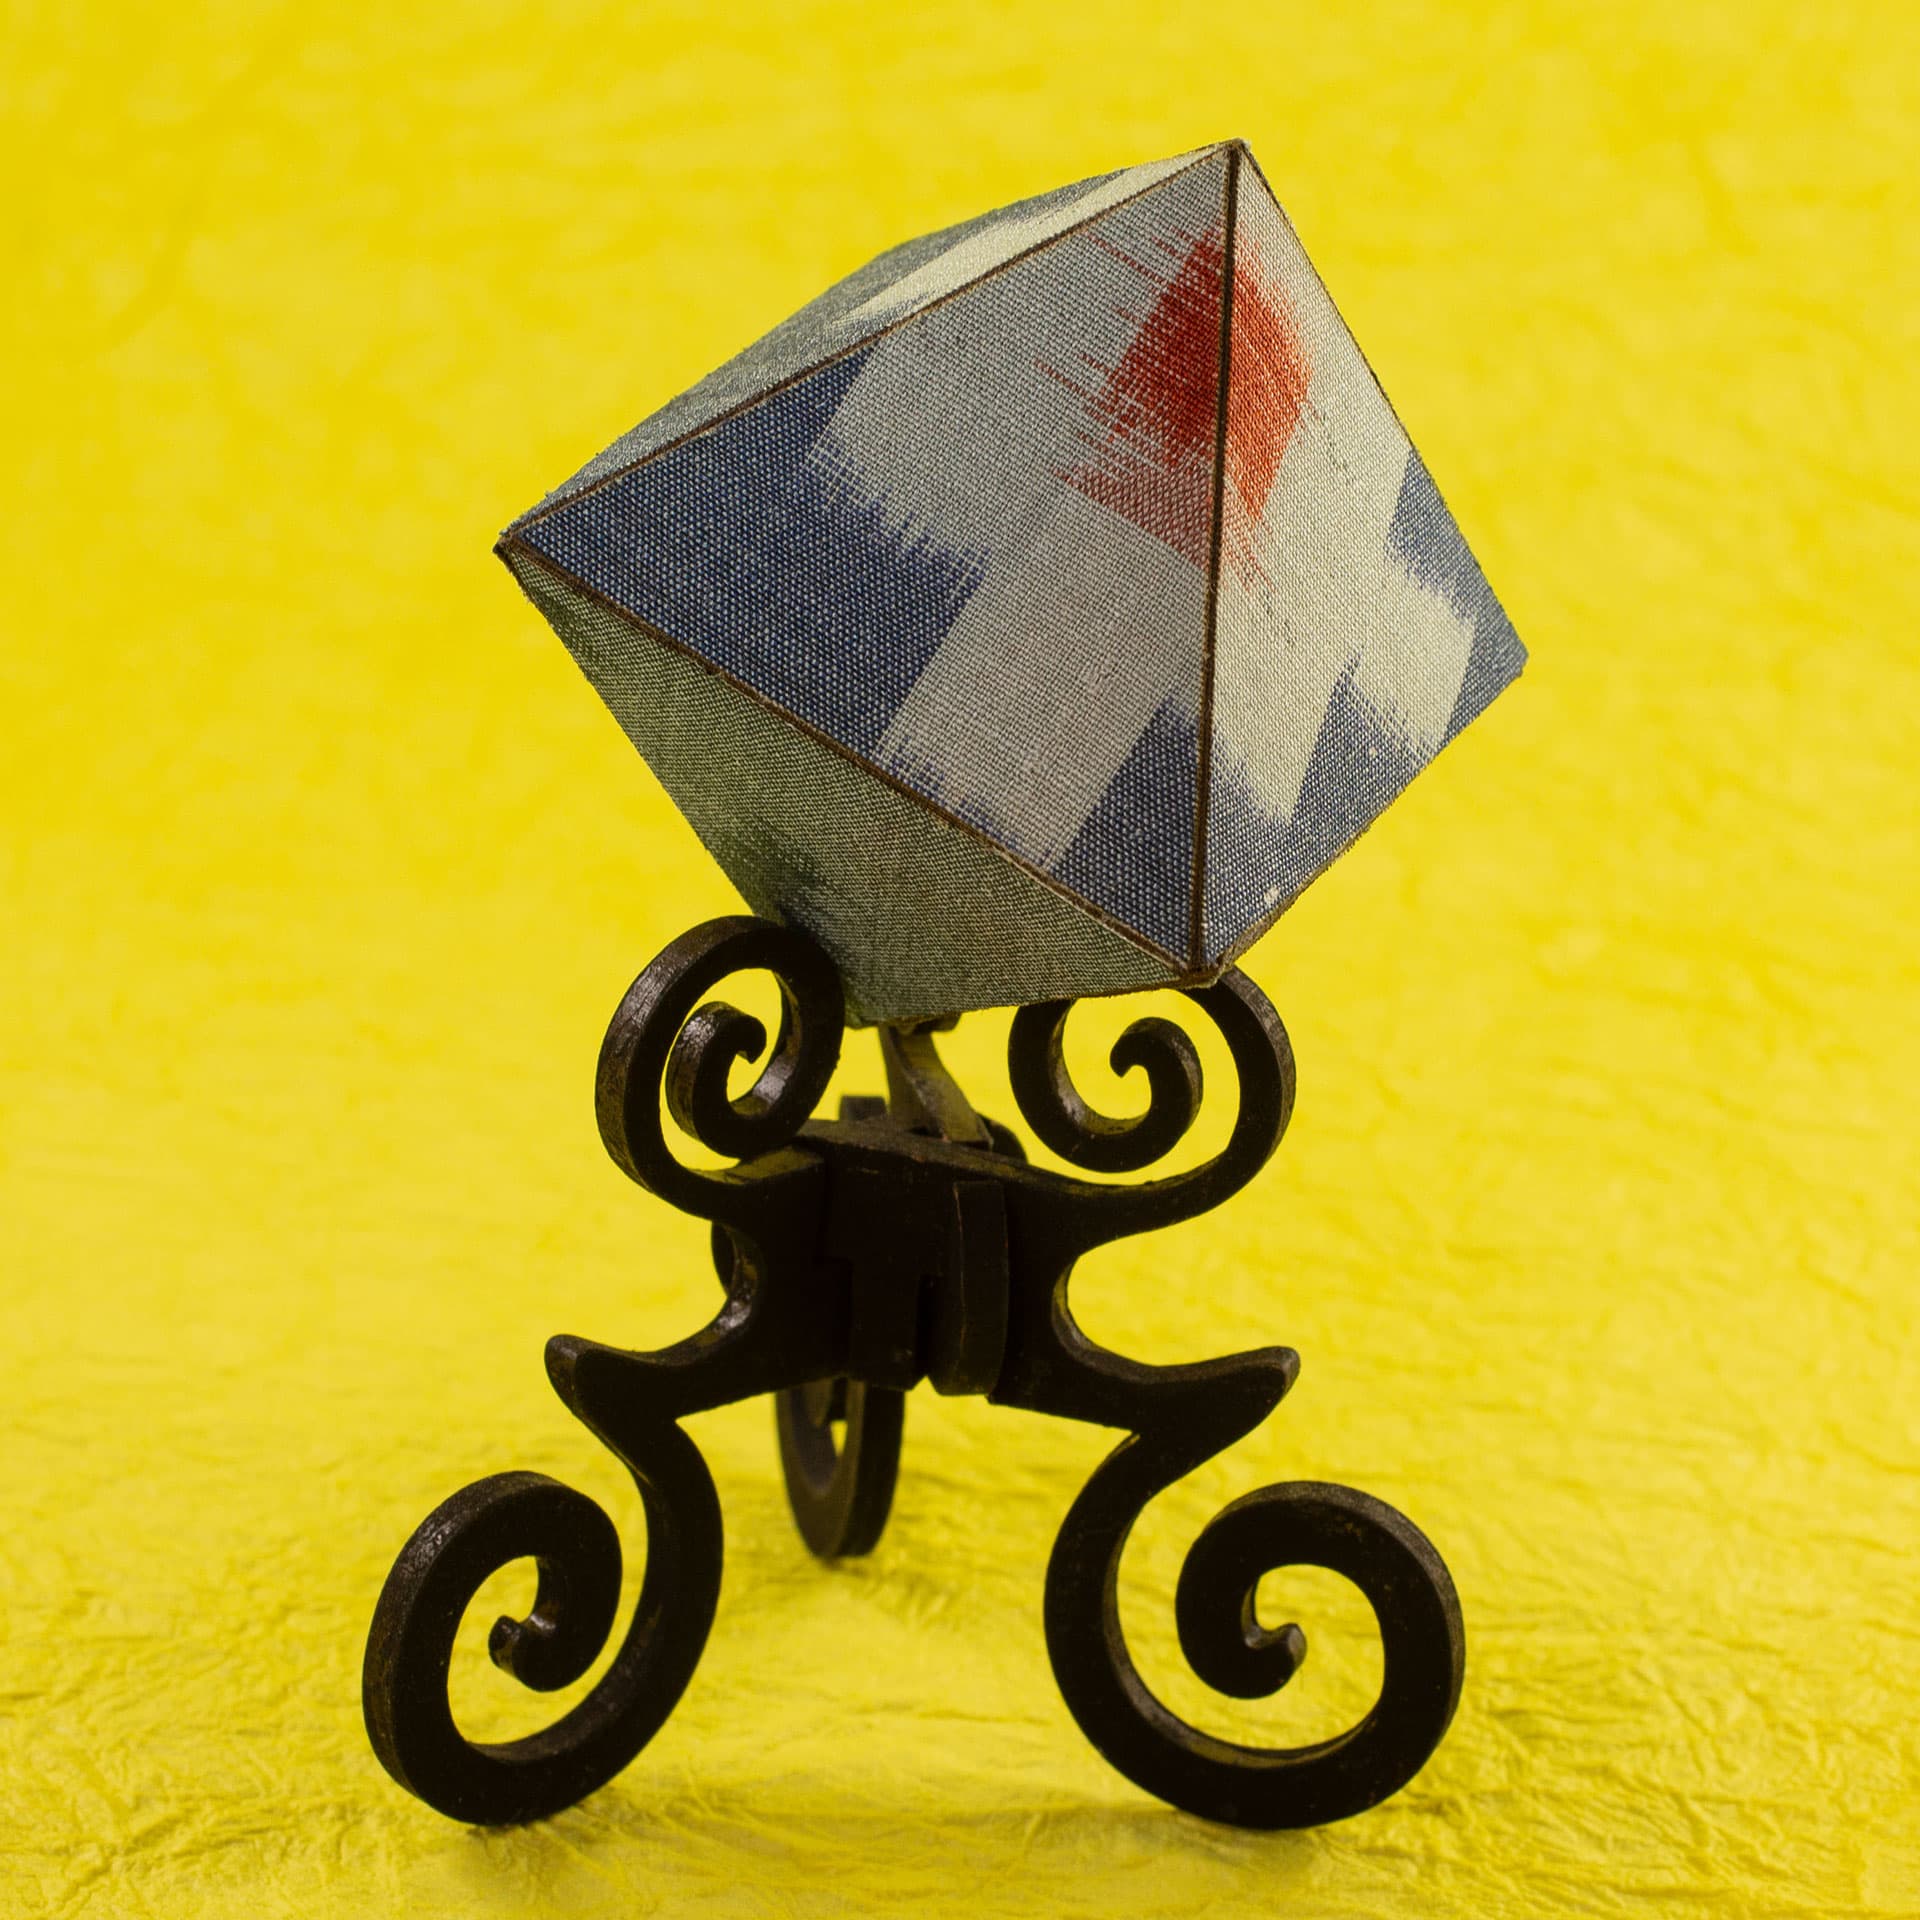
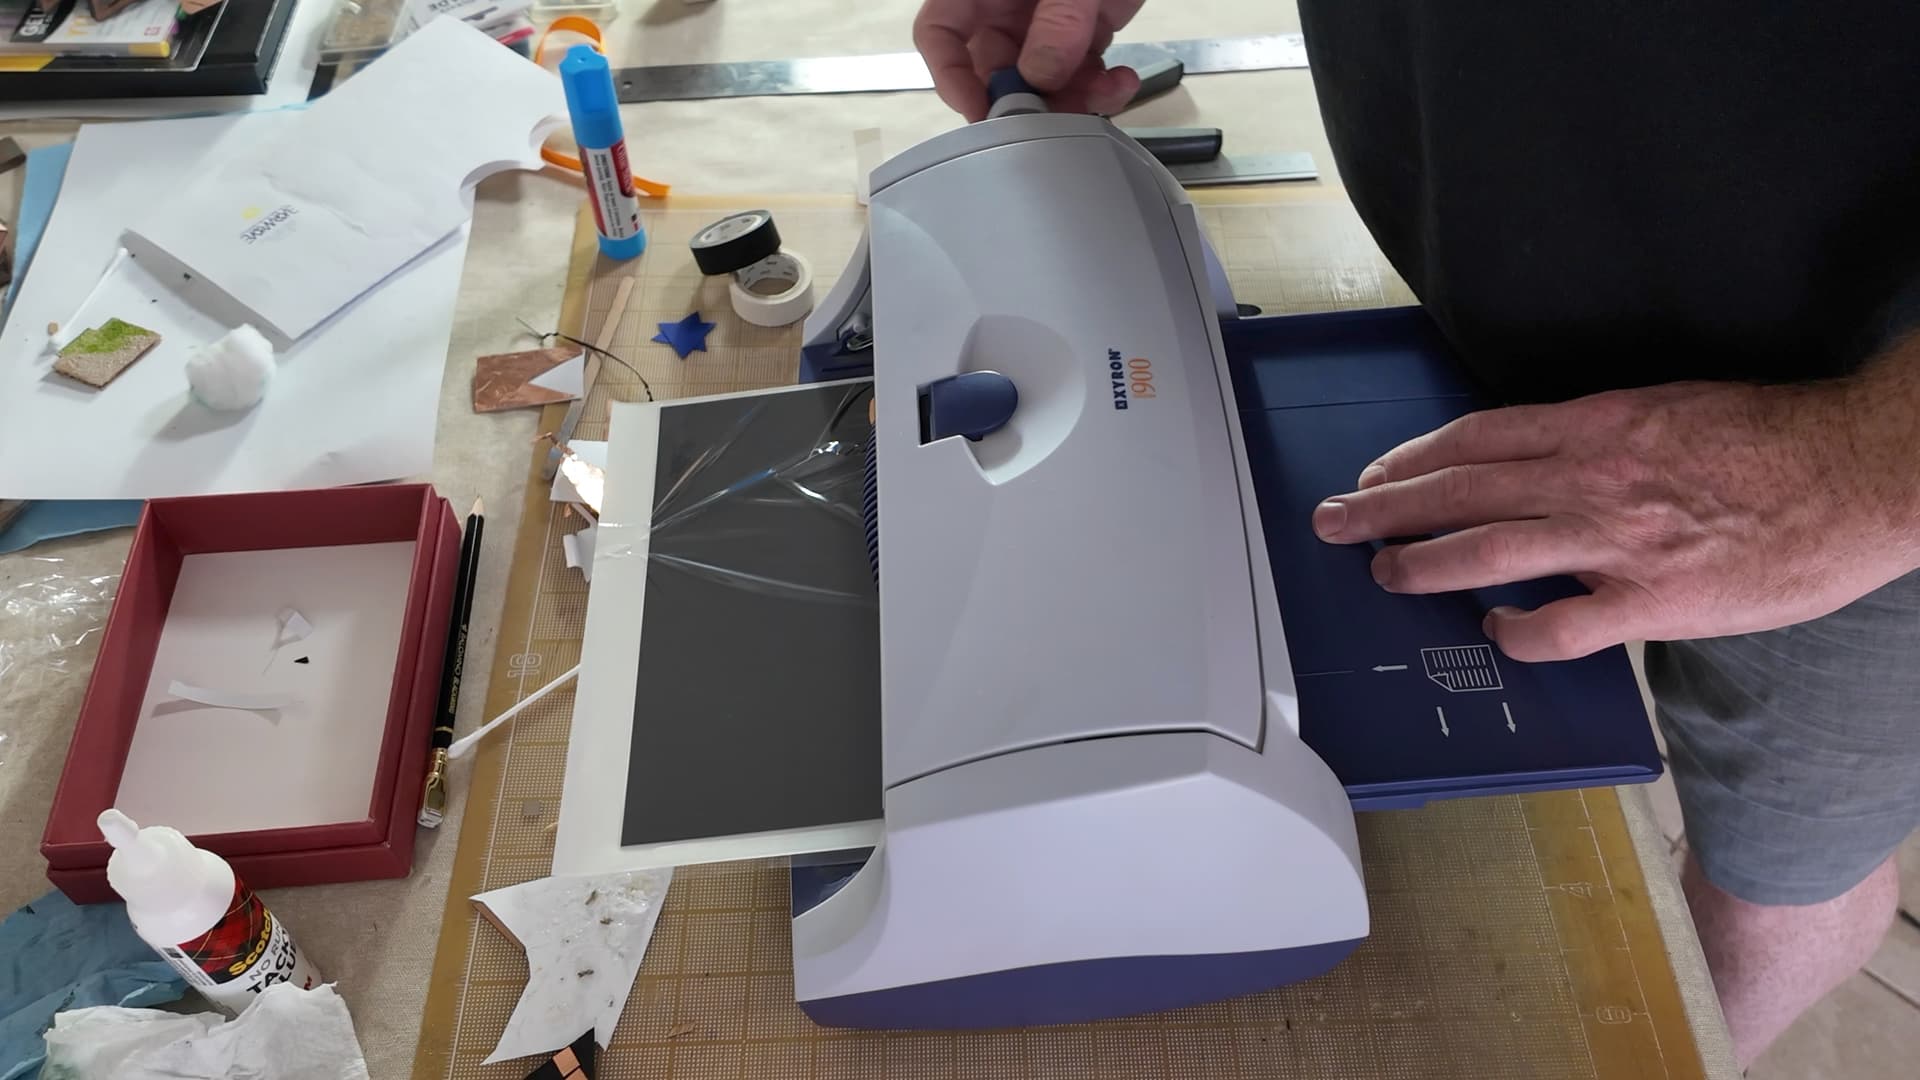
The basic approach is to laminate something to a base layer of heavy card stock. I’m using some 380gsm stock in black or white for the base. I have a cold laminator that will apply a permanent adhesive evenly to one side of the card stock but, it could likely be done with spray glue or even brushed on.

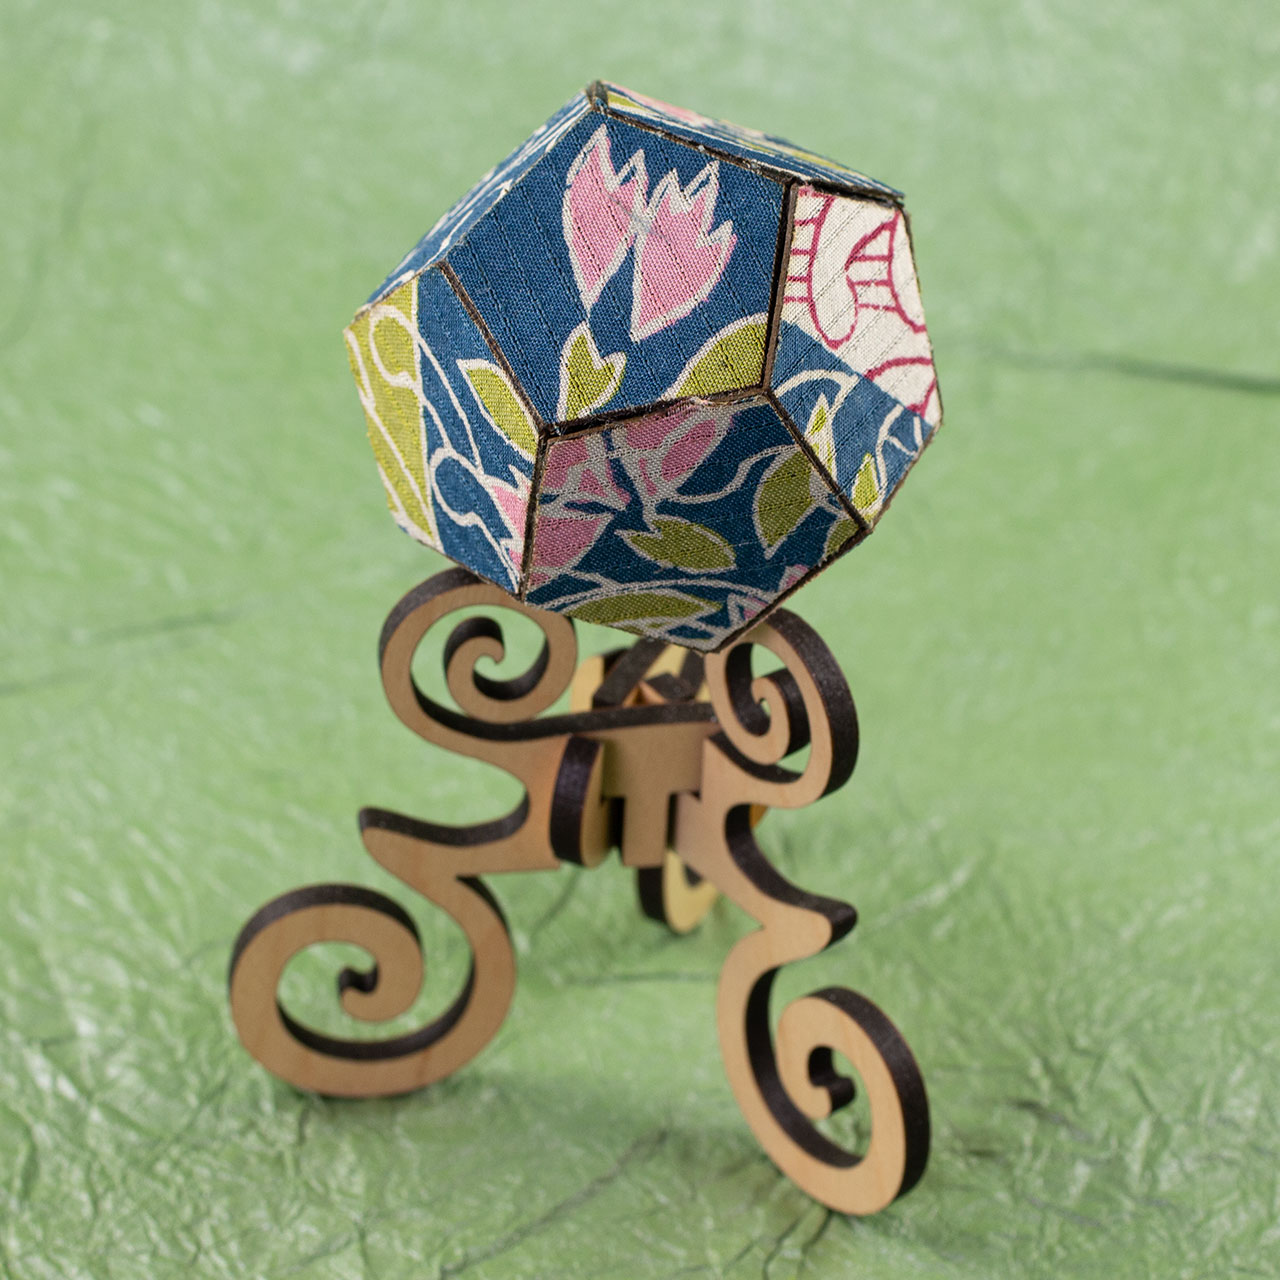
For the “something” I laminate to it, I have used other card stock, wood veneer, shell veneer, cork and, fabric. I’m sure all sorts of other things would work, too.

Next, the laminate goes into the laser where I cut through just the outer layer and a little bit of the base layer for all of the fold lines (between faces) and, cut the outline. I test each combination of materials (each pair of materials for variable materials like wood veneer) to find optimal settings.

After it comes out of the laser, I delaminate the outer layer on the tabs.

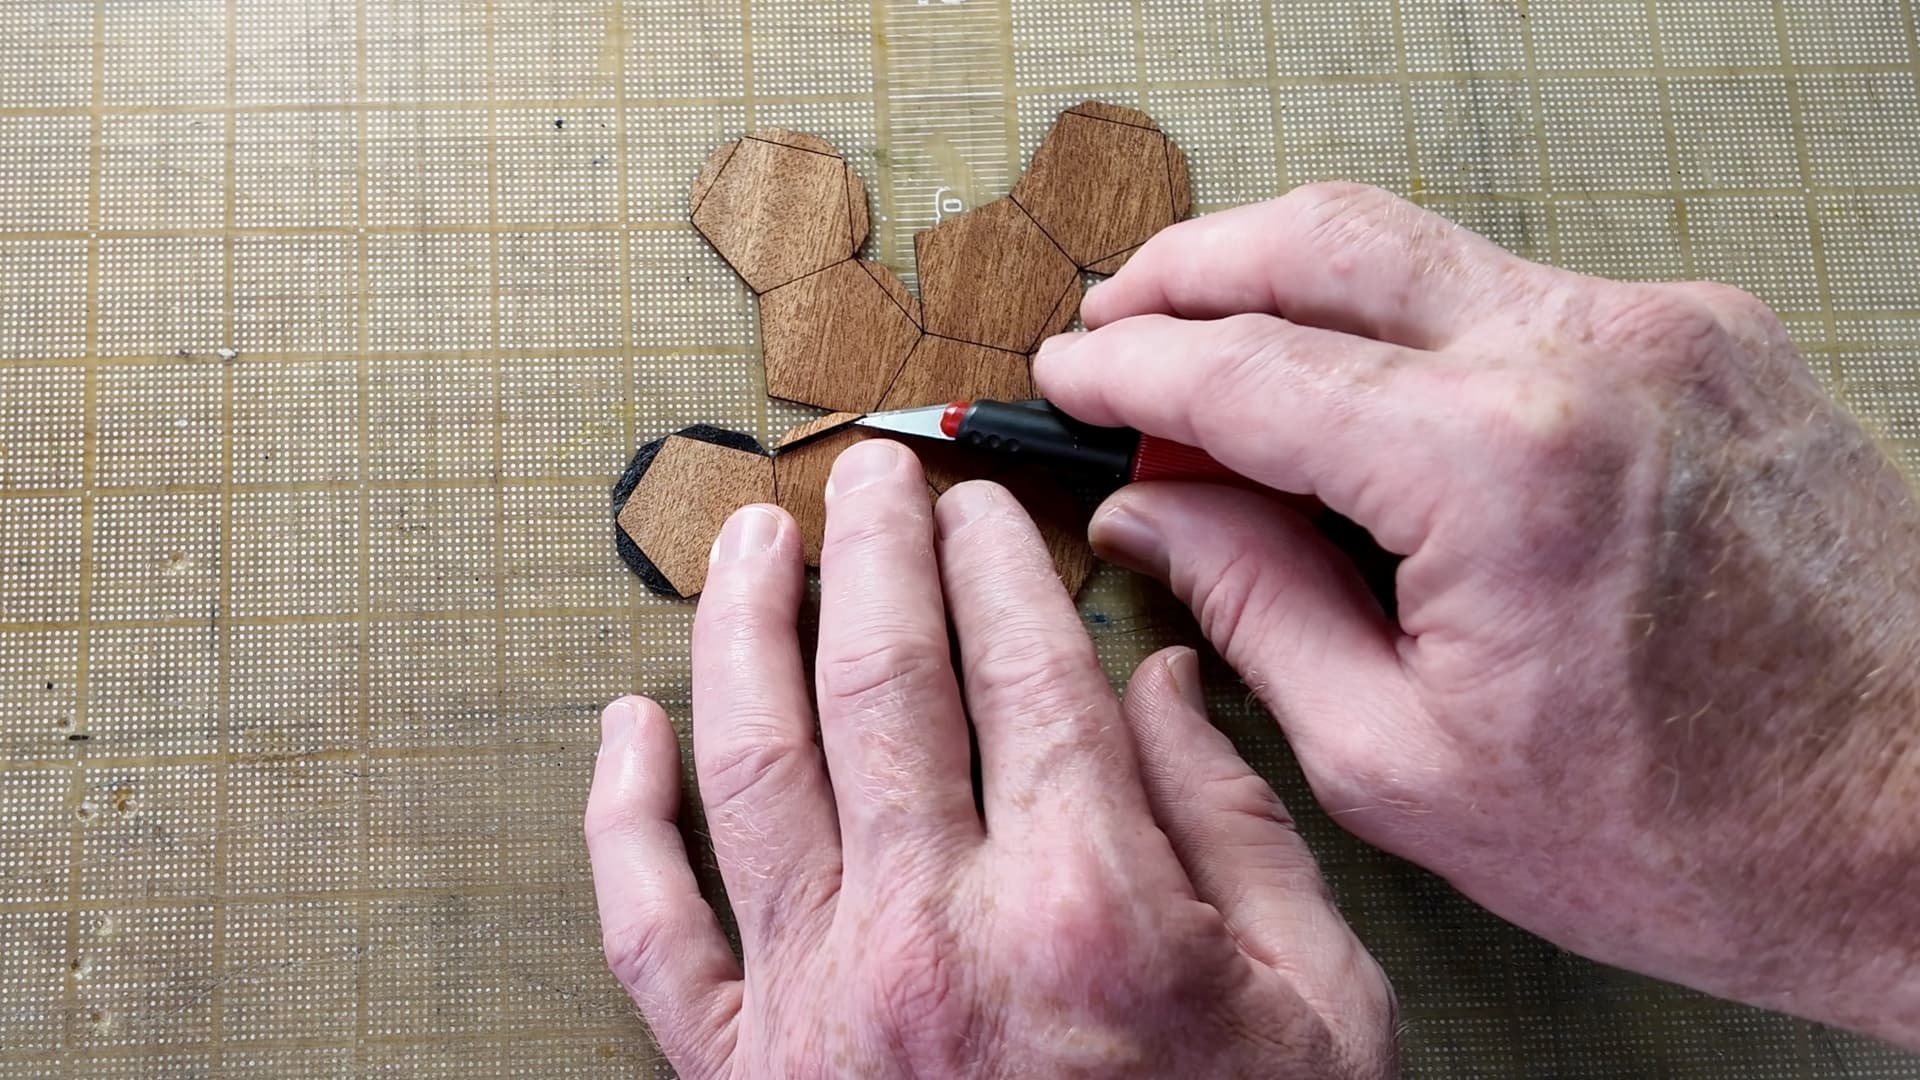
Then, break all the folds.

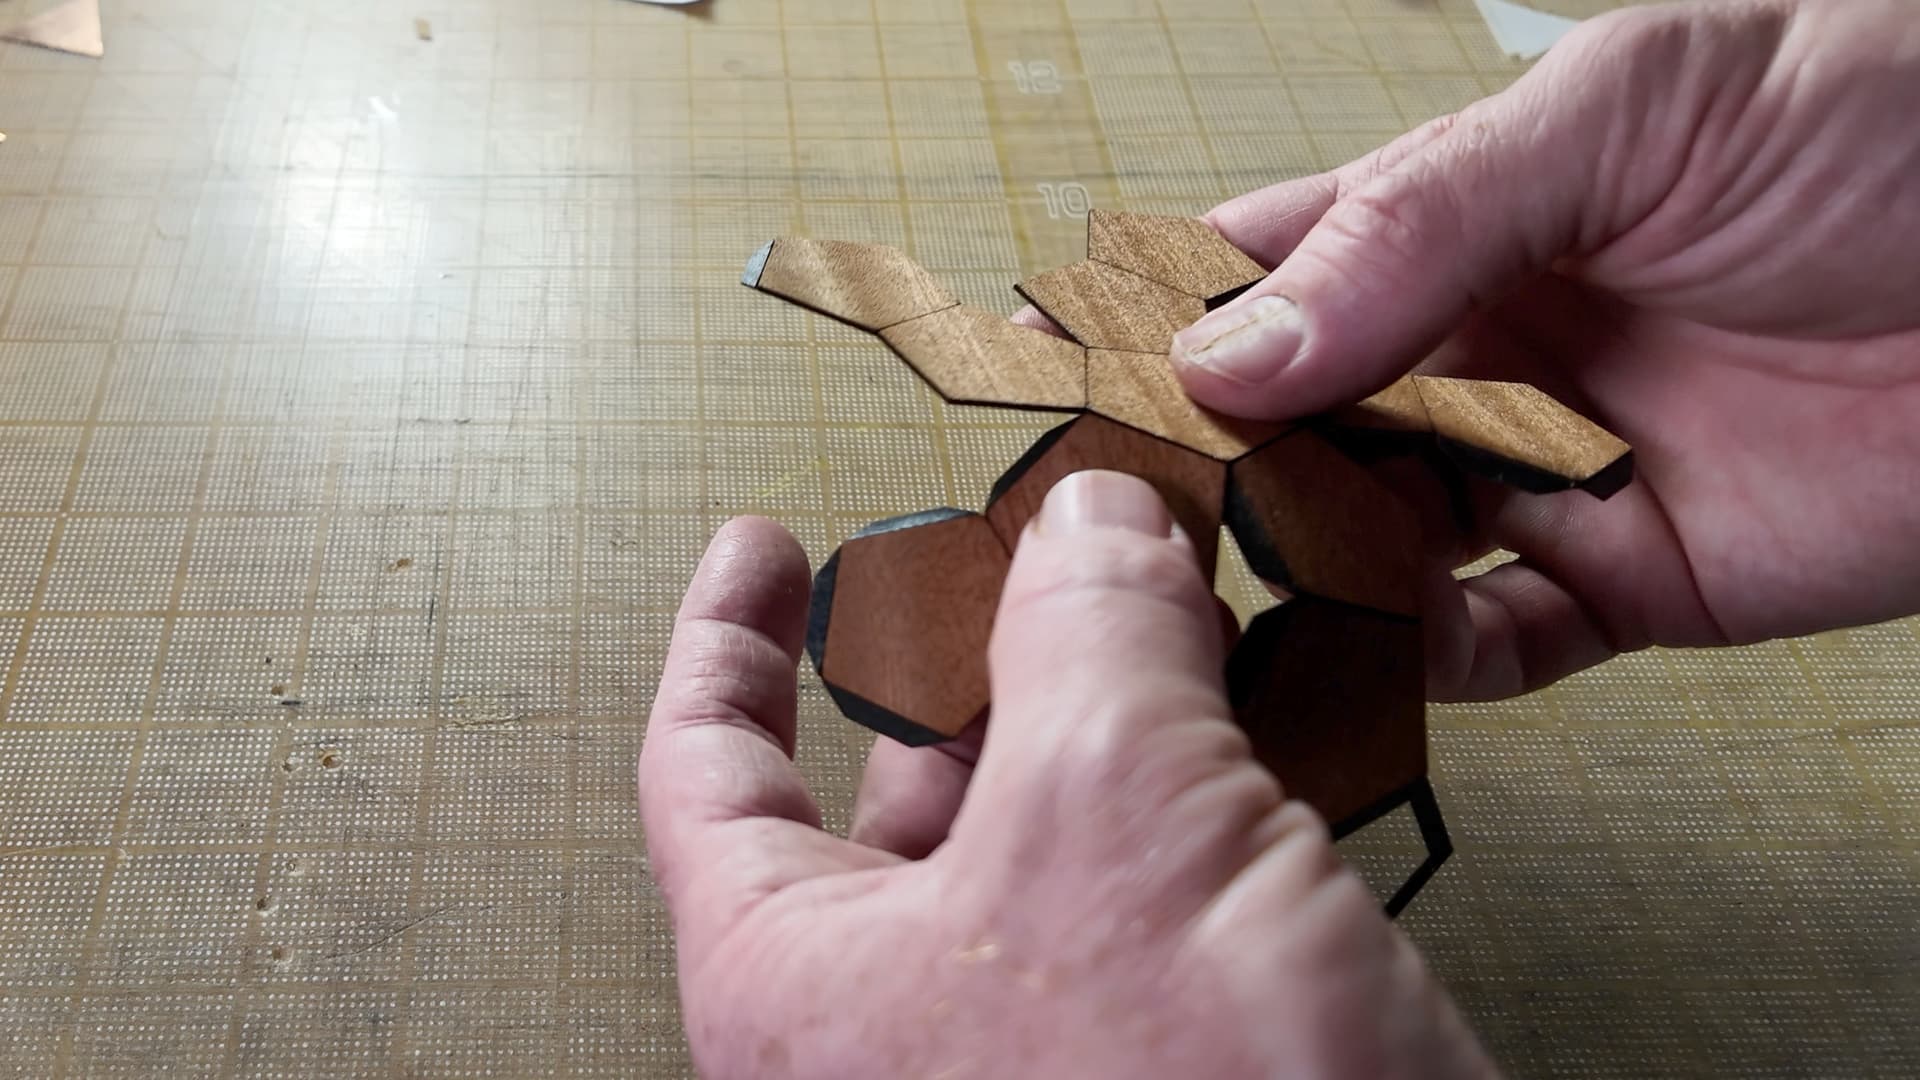
I found some fast-drying PVA-style glue [1] that sets up in about a minute (and gets more solid over a longer interval). That helps make the assembly less tedious.

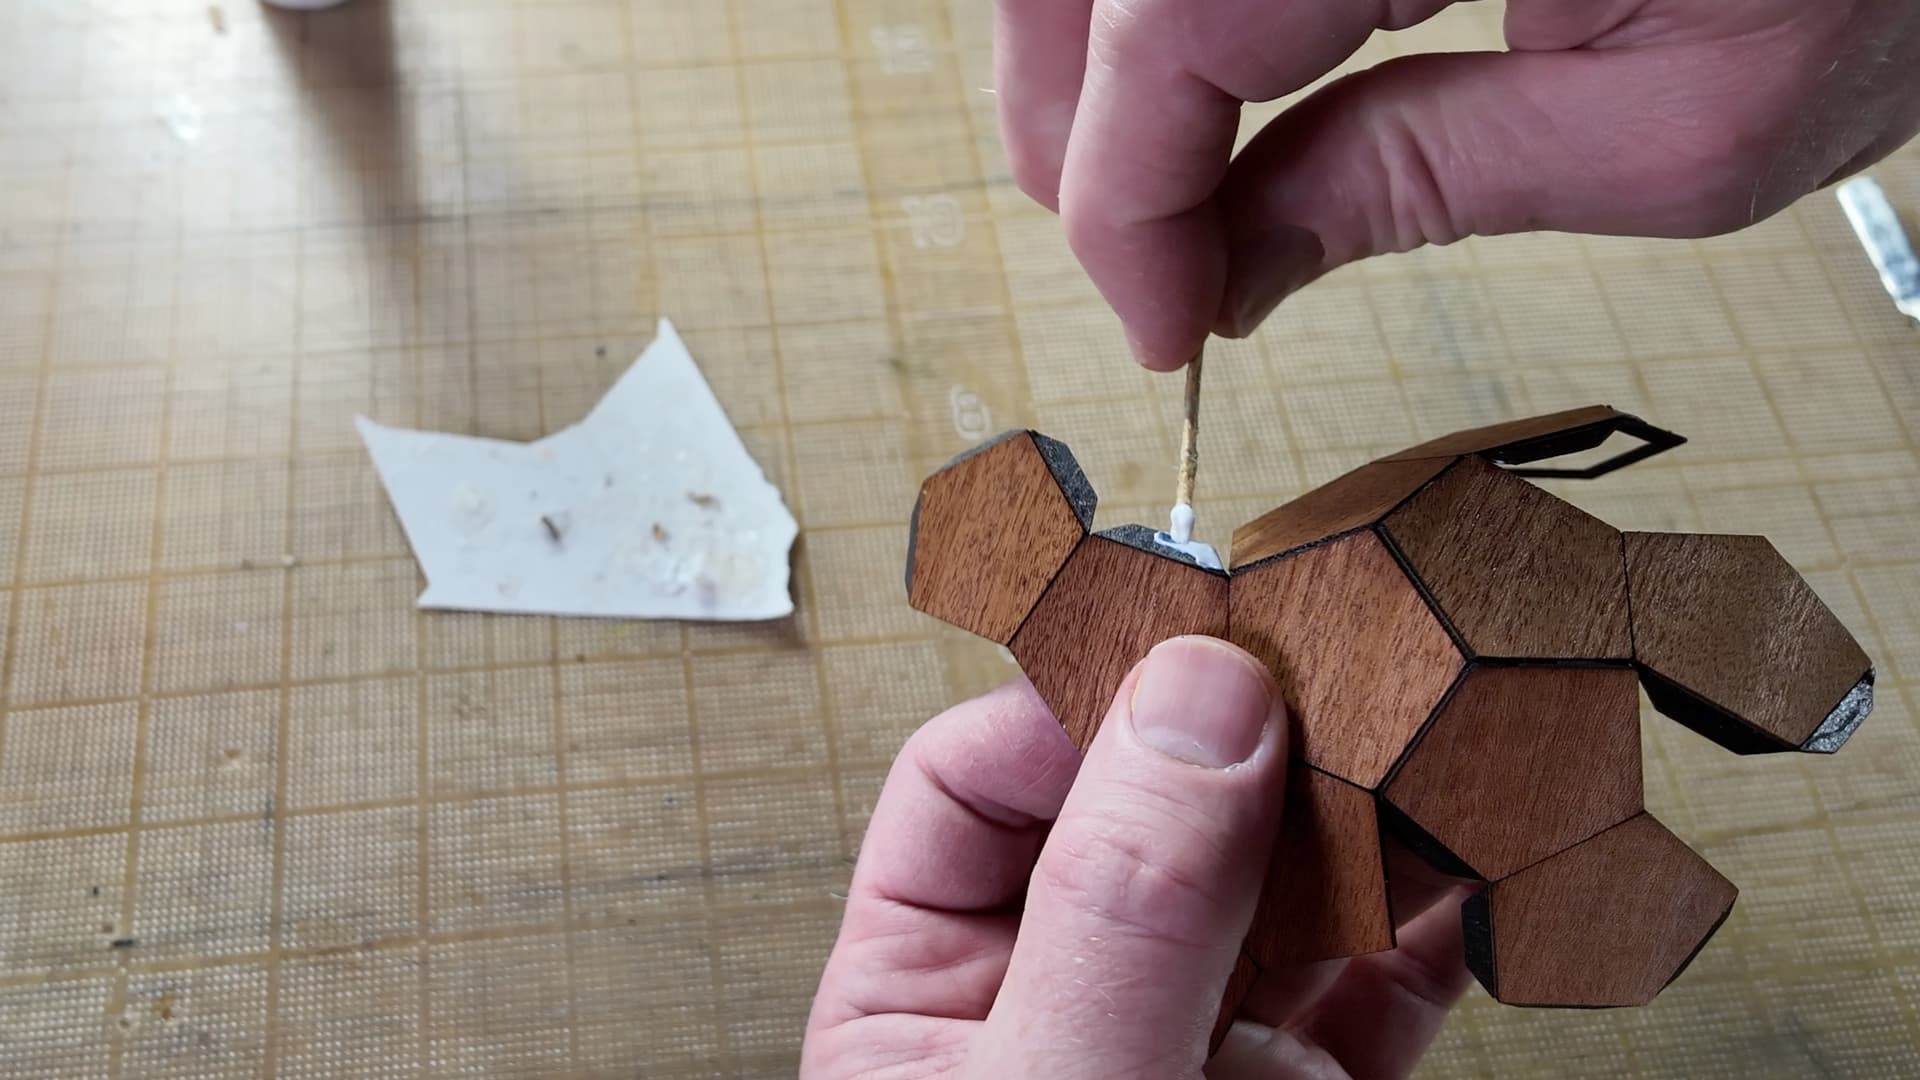
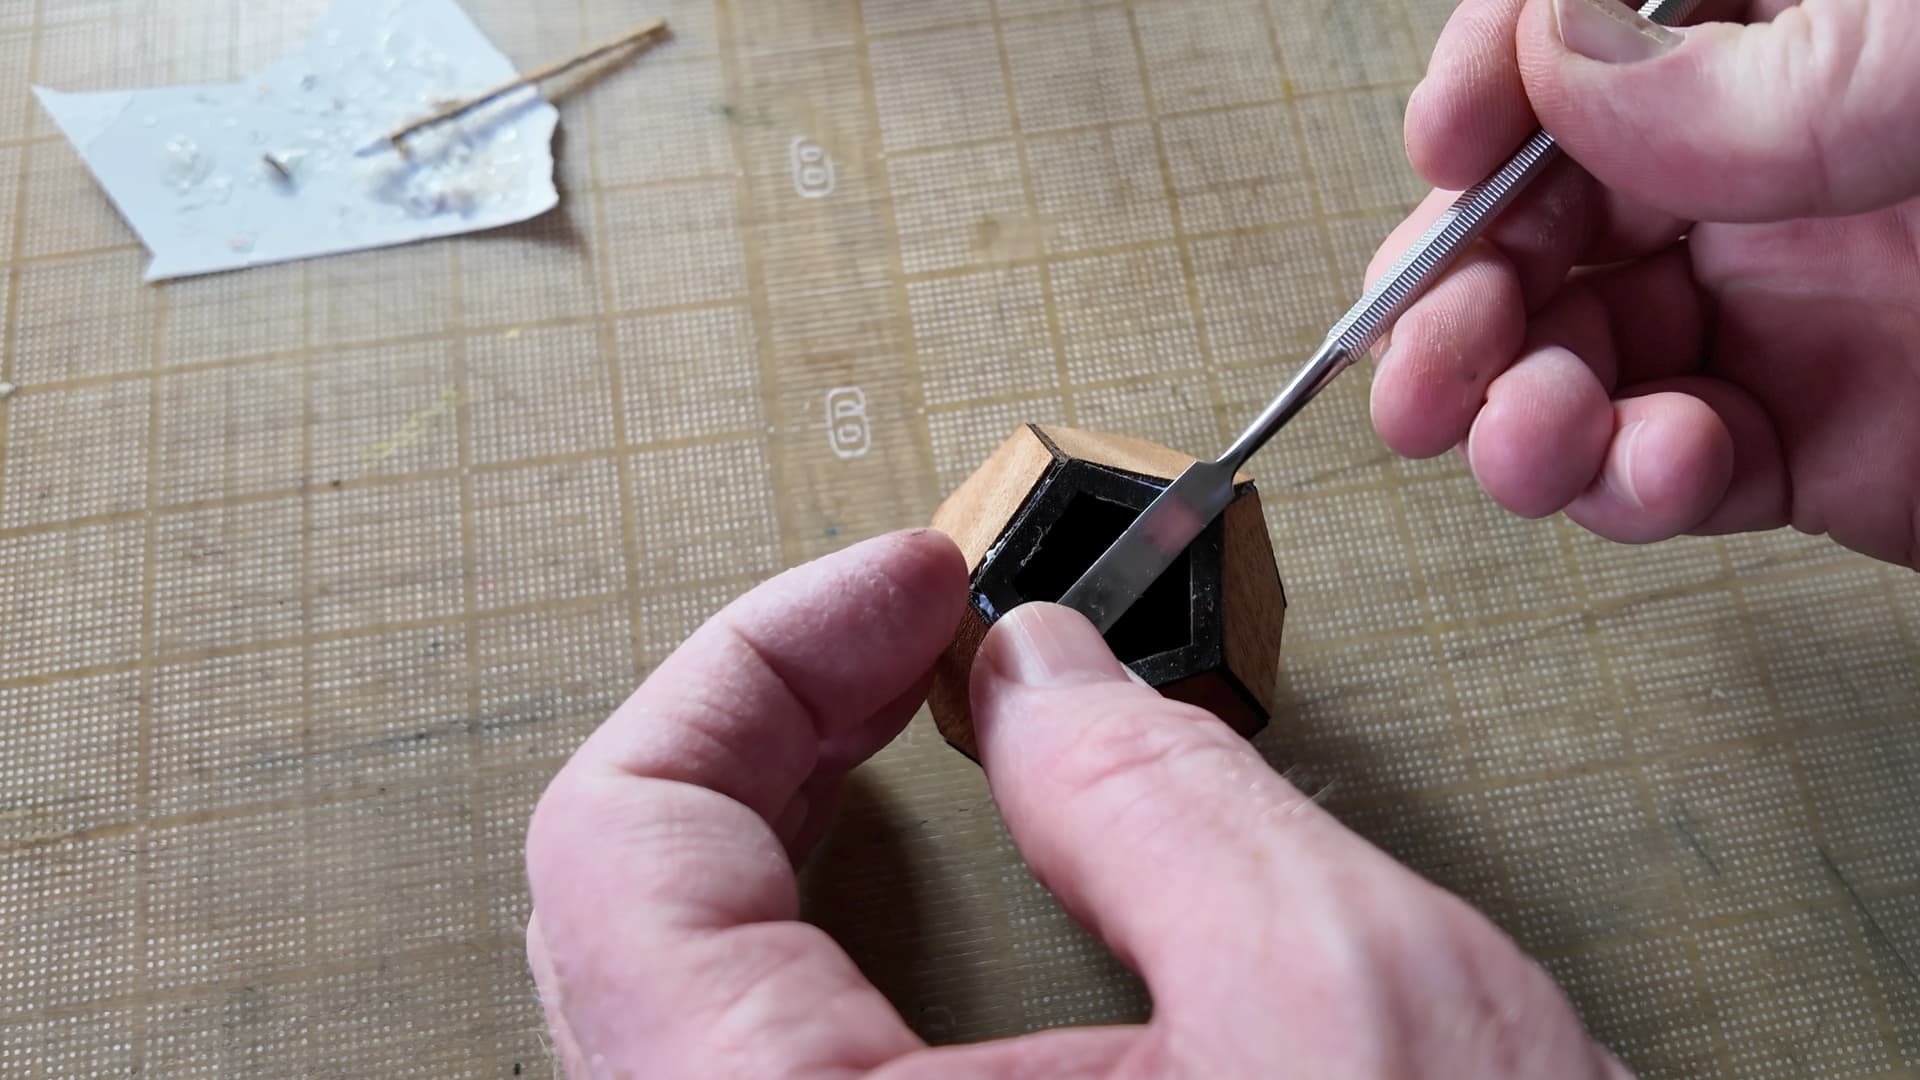
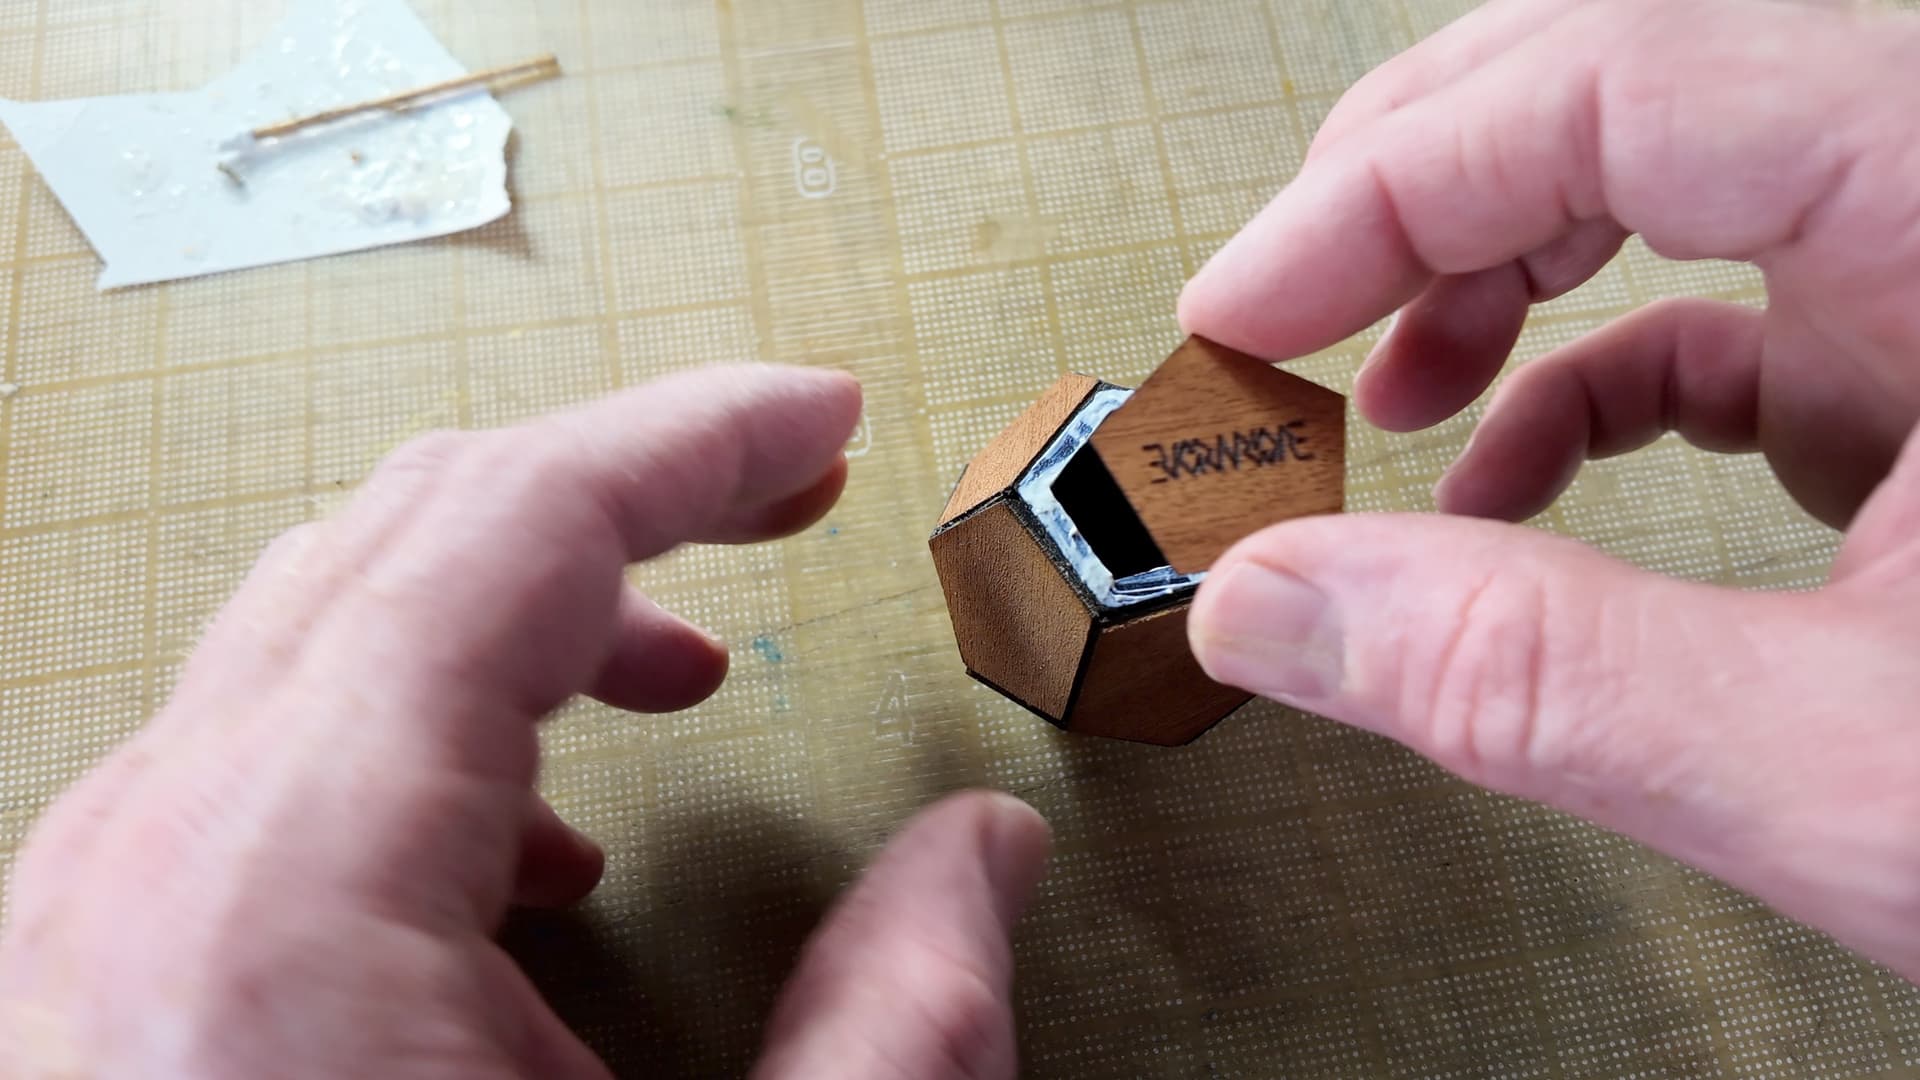
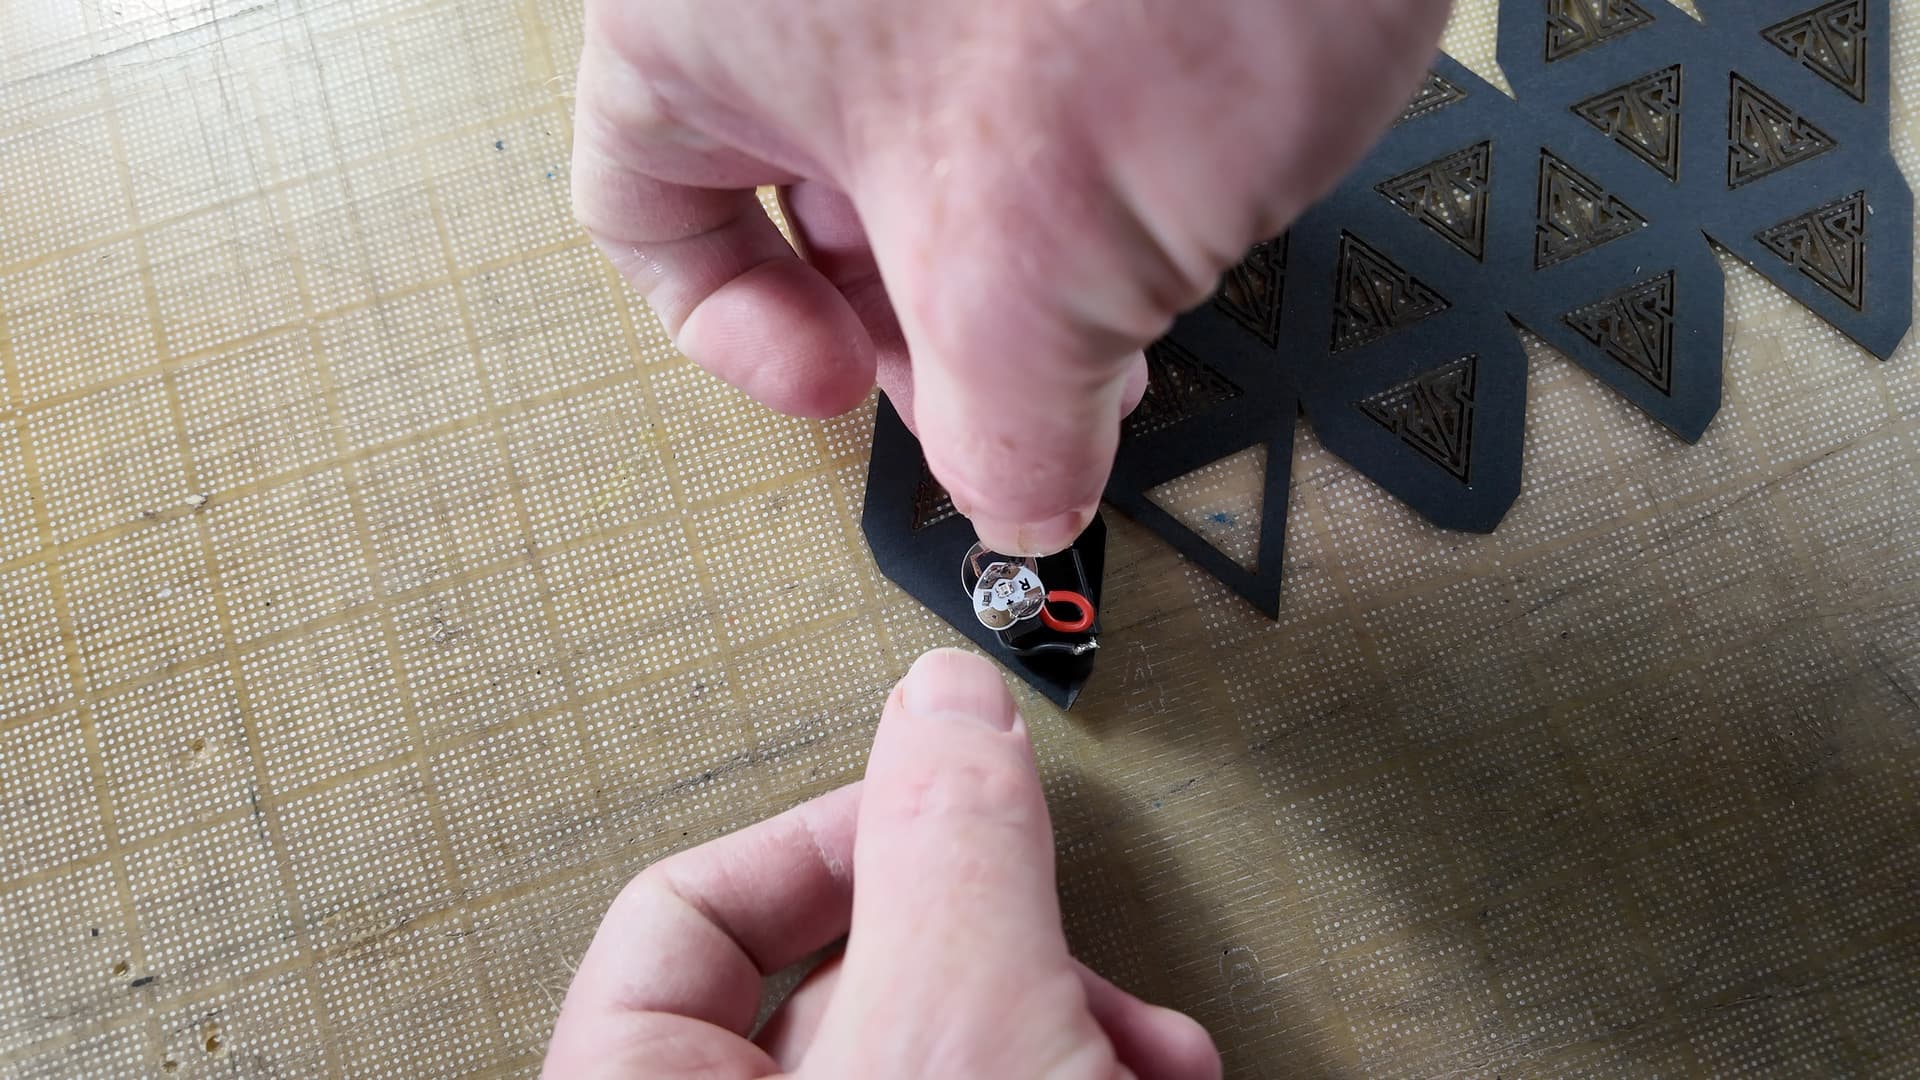
One issue with paper craft polyhedra is that it is difficult to stick the final connecting tabs well because you can’t get inside to apply pressure to both sides. I resolved this by cutting a hole in the final face, leaving just a frame, so that I can get a tool inside to hold the last joints. Delaminating the frame like I do for the tabs makes it possible to put a solid single-layer face piece over the hole to hide it.

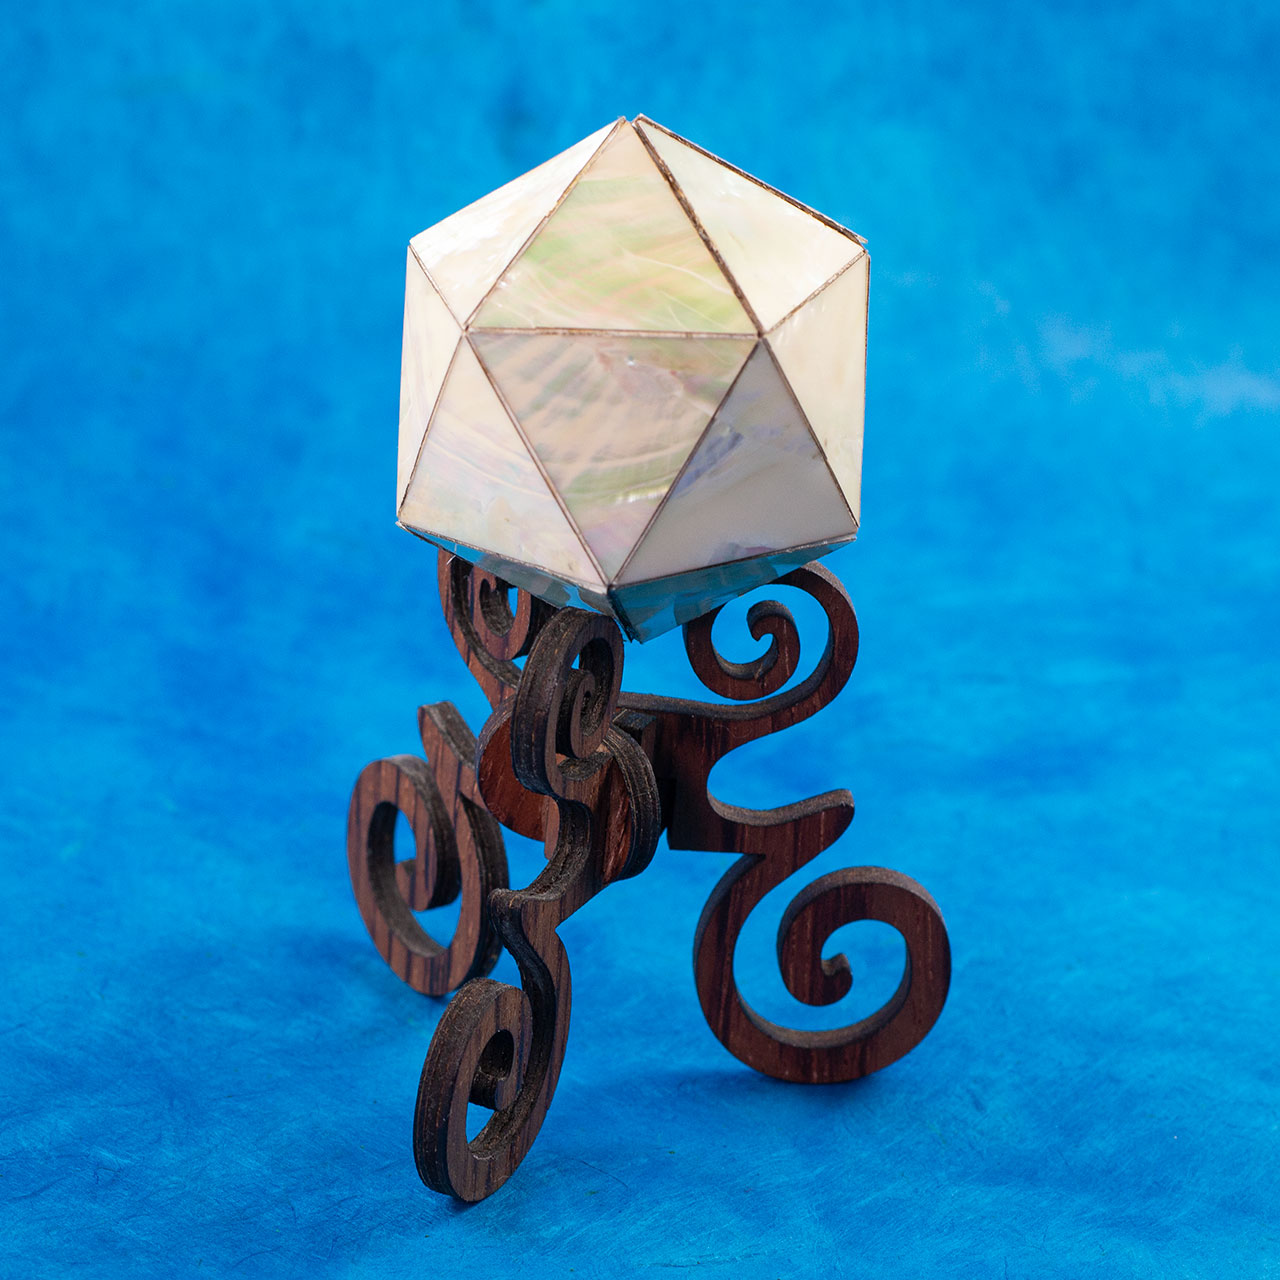
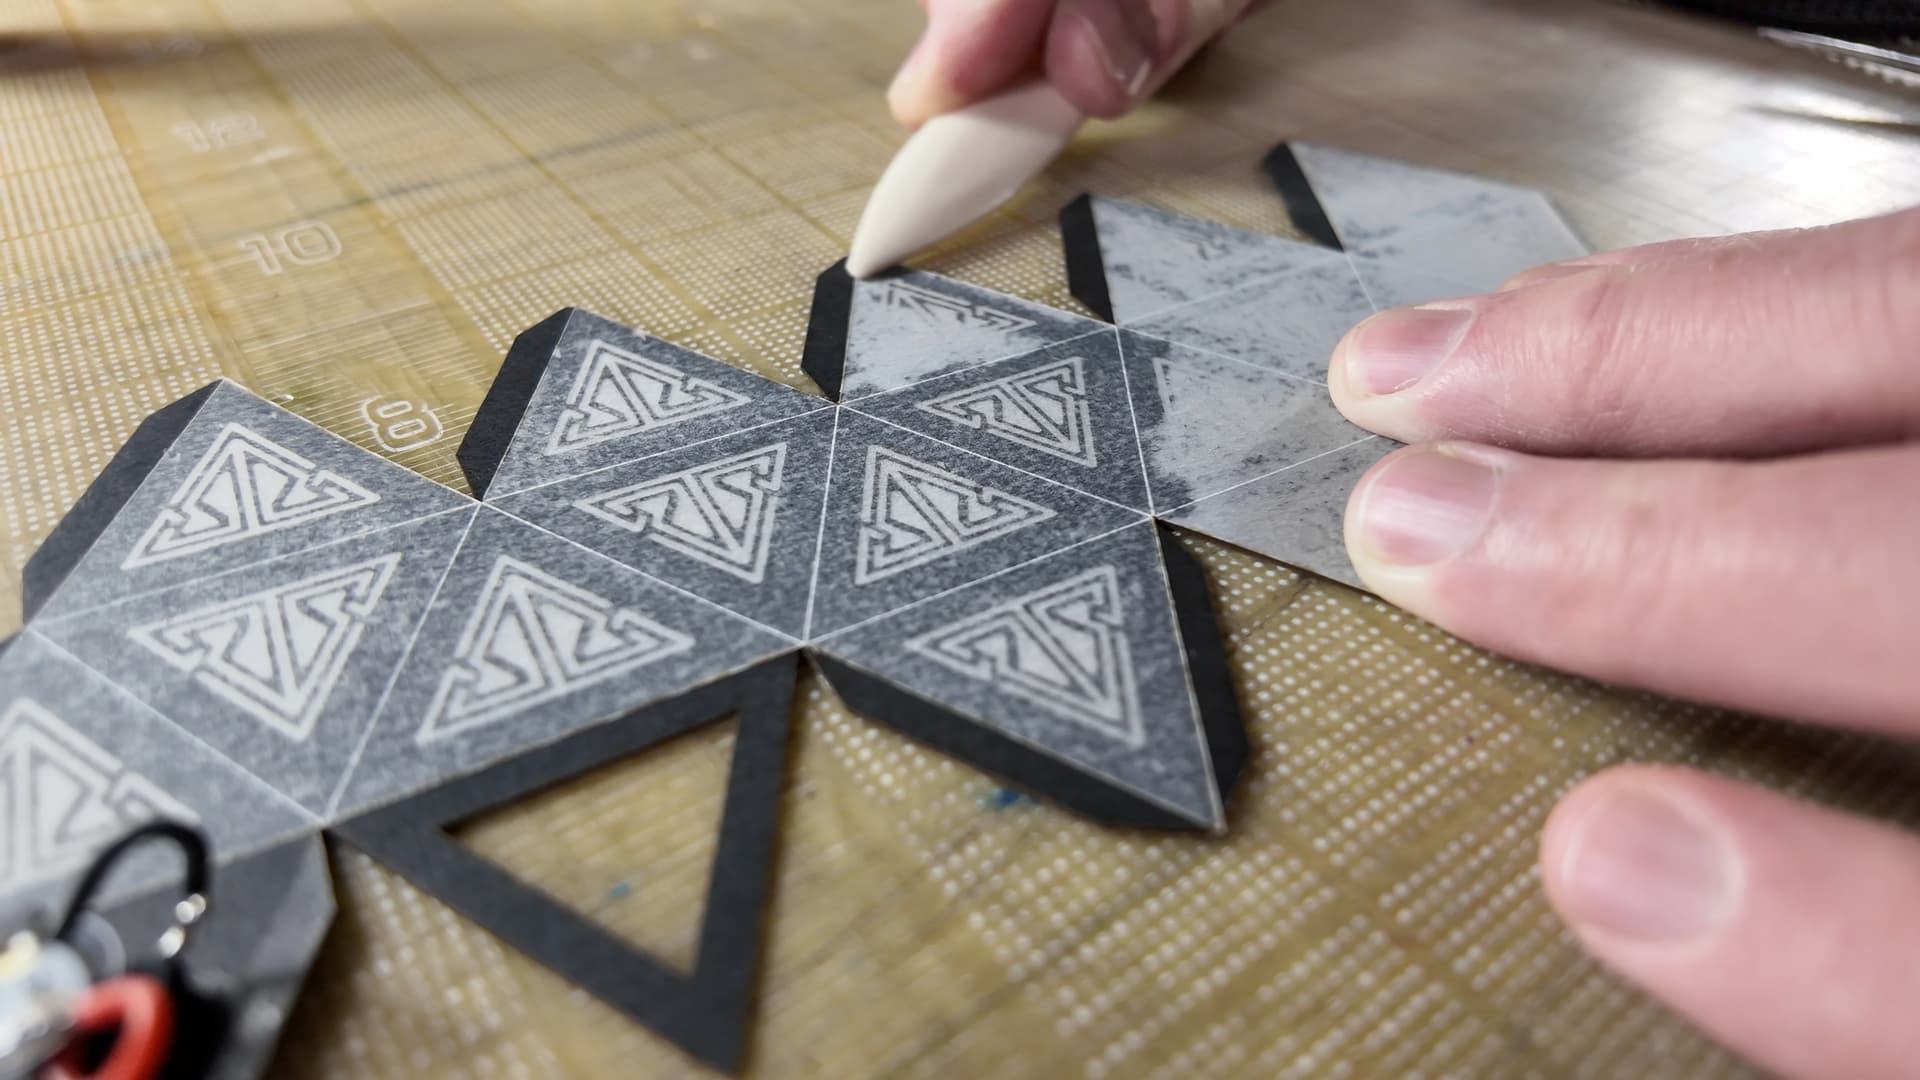
Since these are hollow, I thought it would be fun to put LEDs inside of them. I designed a triangular key pattern for the faces of an icosahedron, cut that as latticework into the faces and, added an inner layer of translucent vellum as a diffuser.

I built a couple different circuits using CR1216 coin cells and Chibitronics Circuit Stickers. The first version uses copper tape for the circuit and, leaves the switch on the outside.

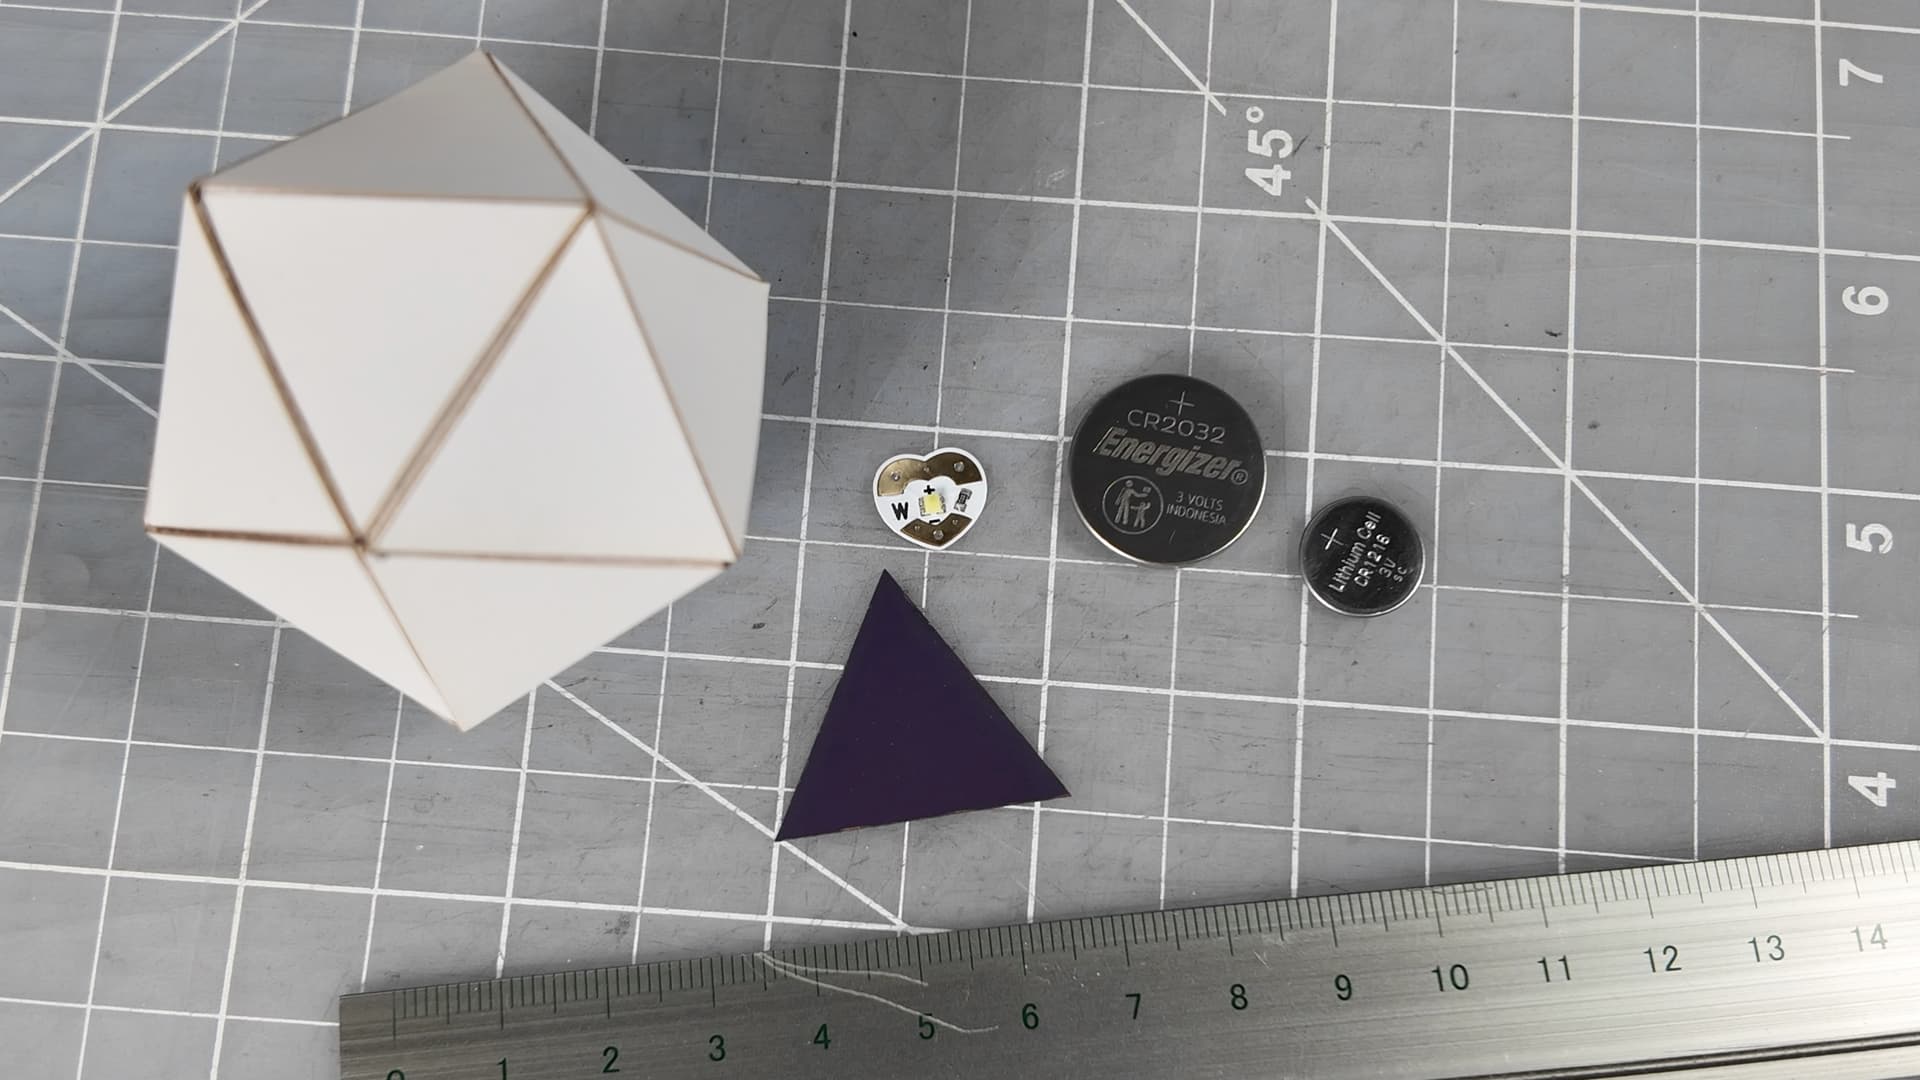
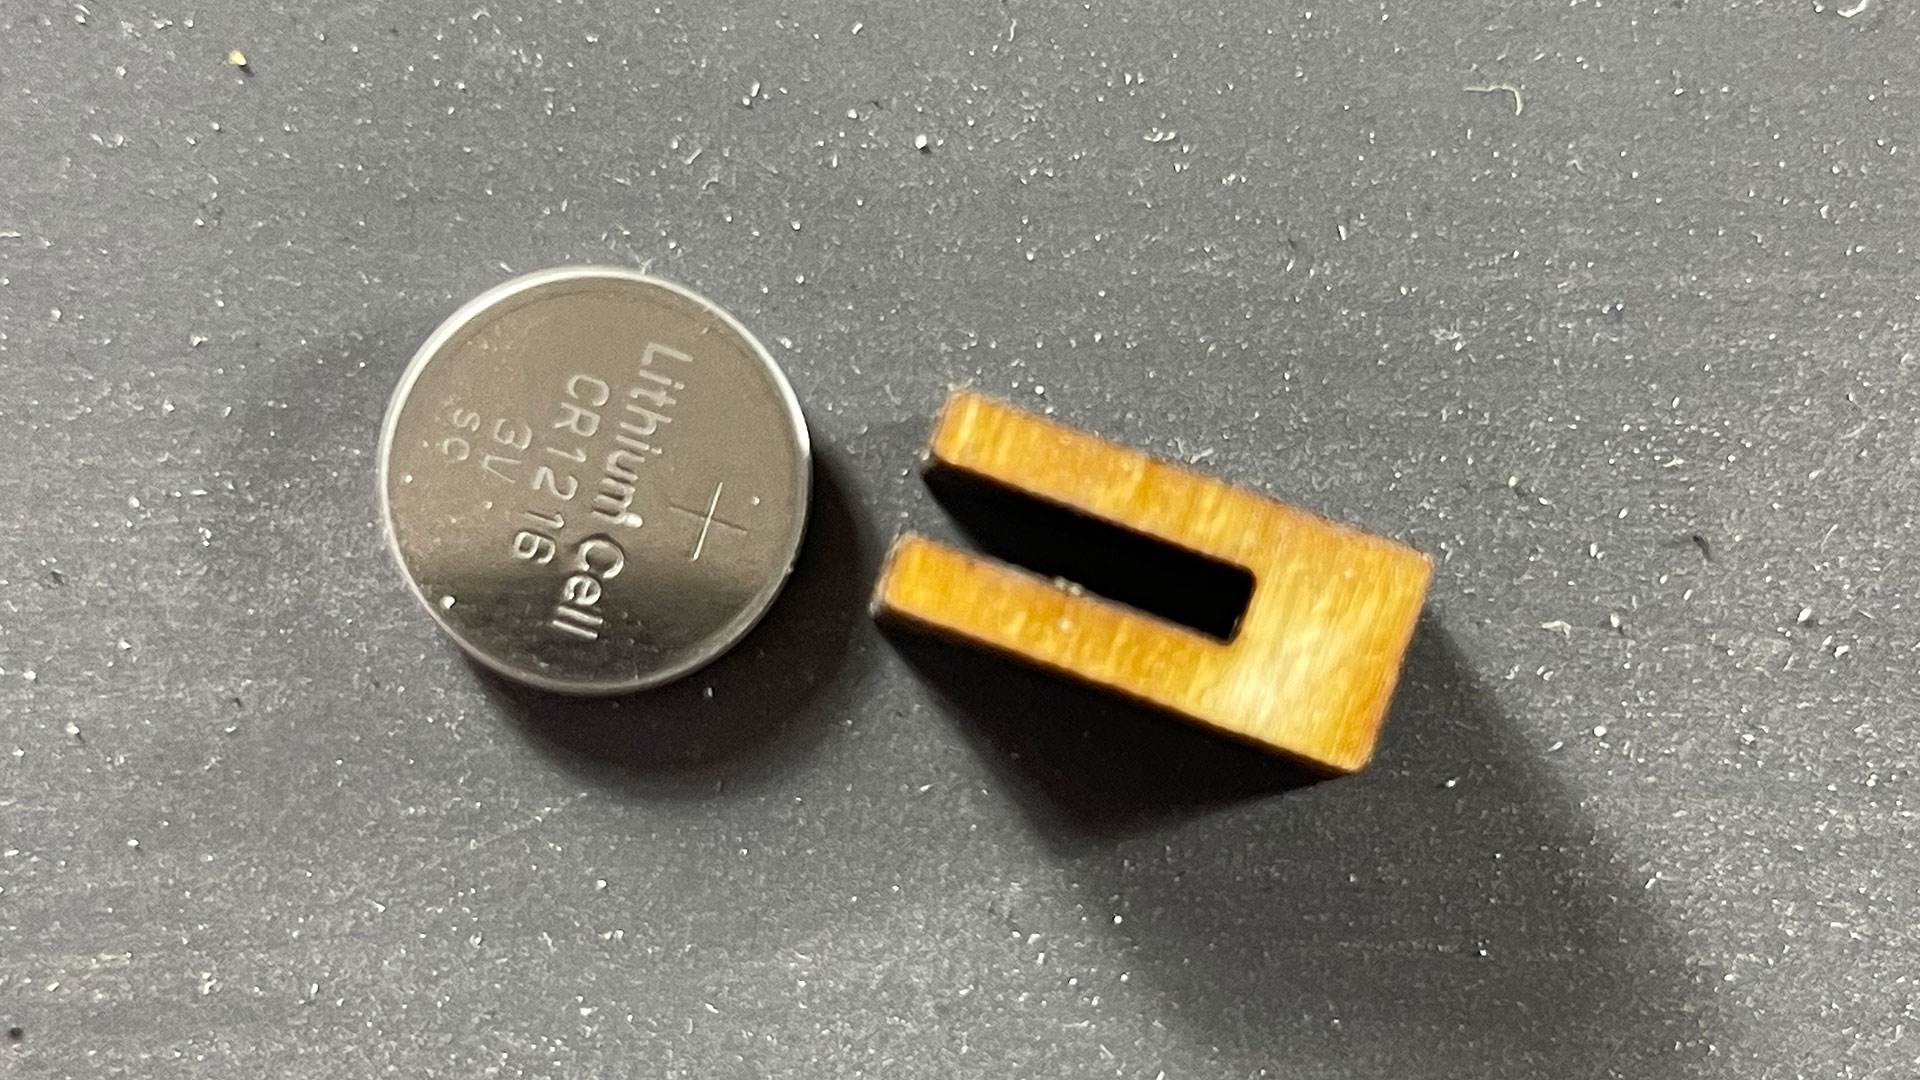
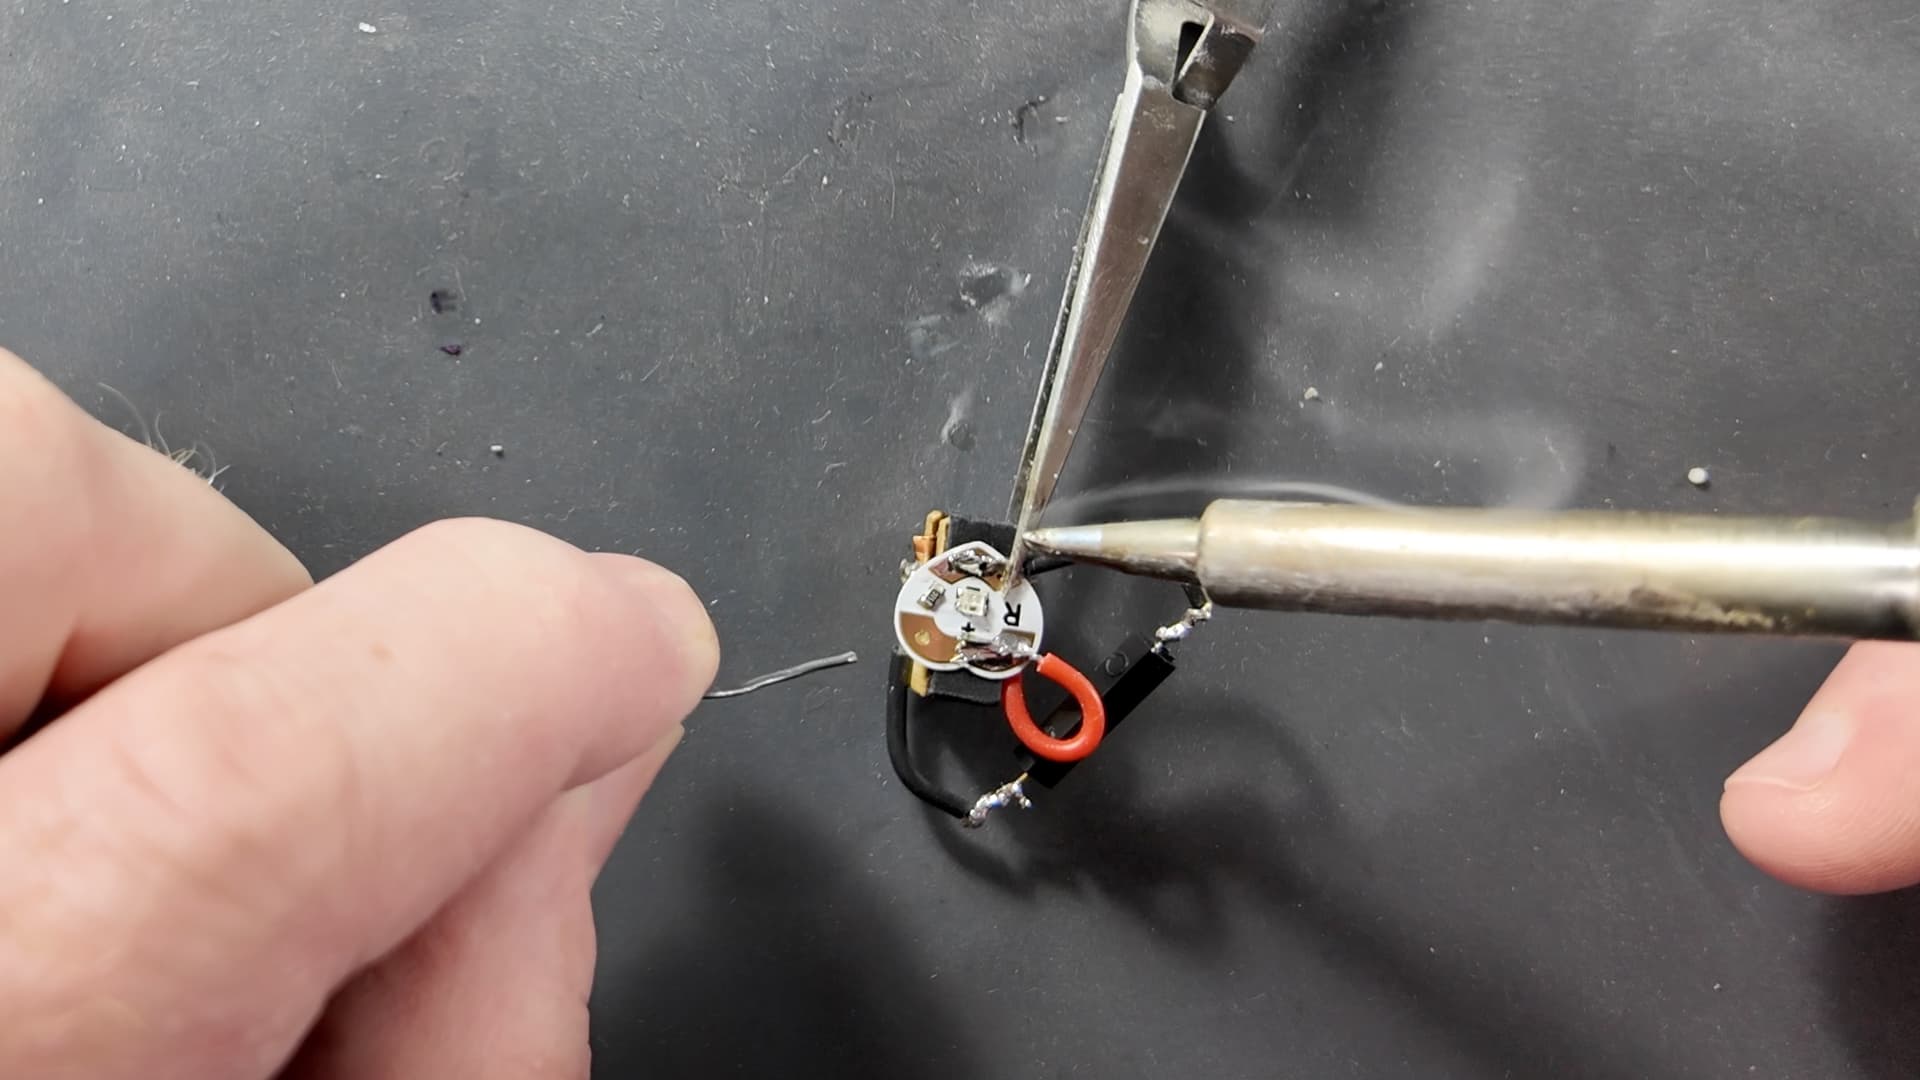
For the second version of the circuit, I cut a little battery clip out of Baltic birch, added contacts I made from copper tooling foil and, soldered it all together with a reed switch. That version goes completely inside and, activates from the outside with a small magnet.

I made a video showing the whole process for a plain wood veneer dodecahedron and icosahedra with both circuit versions.

I also stuck the basic pattern files up on my Evermore Studio site.

Higher res video of the animated icosahedra:

I am still experimenting. So, there might be updates at some point. Let me know if you come up with any clever variations or changes!


  1. Scotch Quick Drying Tacky Glue ↩︎

51 Likes

Wow, thanks @evermorian for sharing your write up and video.

The base is also lovely with an interesting fixing mechanism. Did you design the base also?

I love that each of us has a different way of doing a similar thing and are willing to share with the rest of us.

That is the wealth of this forum.

11 Likes

I love write ups on new techniques! Very cool.

11 Likes

Yeah this is clever. Well done!

On a scale of don’t let the four-year-old touch it to I’m gonna throw this against the wall, how tough do you suppose they are in the end?

13 Likes

Thank you for sharing all of this useful information and the pictures. The results are quite nice to look at.

11 Likes

Amazing as always

9 Likes

They are tougher than I originally expected.

I just tossed one across the room. It bounced a couple times. Seems undamaged. Part of that is that they are pretty light.

You wouldn’t want to sit on it. I could crush one in my hand if I tried but, not likely to do so accidentally. Holds up a hardcover college chemistry textbook (with balance being a challenge) just fine. I’m hesitant to try the unabridged dictionary.

So, closer to the “don’t let the toddler play with it unsupervised” end.

18 Likes

Awesome. Tiny papercraft polyhedrals are so cool!

8 Likes

Such an excellent write up, thank you for sharing all the experimentation and results!

6 Likes

If strength was needed I wonder if one could brush some epoxy along the inner joints. The faces, I guess, would be strong already if they were properly glued.

5 Likes

I wasn’t hoping to hear strong so much as “not flimsy”, so I’m pleased to hear it.

Also as you go to larger sizes and/or higher-order polyhedra with something like this, you have less dihedral angle between the faces which will lead to naturally less strength. E.g., a tetrahedron (4sides) is quite strong compared to an isocahedron (20 sides) with identical face sizes and materials. Start stellation and truncating to get into the 90+ faces area and they aren’t nearly as rigid.

Besides, in the end this is lightly reinforced papercraft and there are fundamental strength limits due to the material. I think these are great and the method is really innovative and interesting. :slight_smile:

@evermorian if you’re not already using stella4d, it can generate templates for a huge number of polyhedra. You could easily crank out a wide array of these.

Pepakura sites also have a bunch of available templates, I bet you can find some that way too.

7 Likes

I have Stella4D installed from when @pubultrastar did a zoom class on designing polyhedra in early 2020 and, have been thinking about using it for some other shapes. For what I have done so far, I have just used Inkscape to lay them out by hand.

When I first started on this, I had thought about using something to fill the models for additional strength. Paper or foam clay might work, maybe even just in the vertices. Maybe filling with something like plaster would work. Careful application of spray foam insulation might also work (the trick being to gauge the correct amount so that it doesn’t expand too much and cause distortions). After making a couple, I decided they were sturdy enough without additional measures.

They don’t read as paper craft and, don’t feel flimsy. Even with the 380 gsm card stock base, there is probably an upper size limit for that.

The strength of the connections of the tabs is critical, which is why I mentioned the specific glue I am using.

12 Likes

My first new bookmark in a while… Thanks for sharing your techniques!

9 Likes

This is just ‘wow’!! I love the base you designed as well.

4 Likes

I’ve refined my process quite a bit since those early days. I should do a new demo to showcase the process improvement. I’m way better at Fusion360 these days.

7 Likes

Great stuff! Love that you mentioned copper tape circuits. Lots to do here.! Great inspiration.

4 Likes

Sign me up!

2 Likes

@pubultrastar I would love to learn from the polyhedra master. Please count me in.

4 Likes

Btw if anyone wants to dip their toes into papercraft polyhedra…

https://www.templatemaker.nl/en/platonic-solids/

9 Likes

This is all kinds of clever! Bravo, and thanks for sharing!

5 Likes