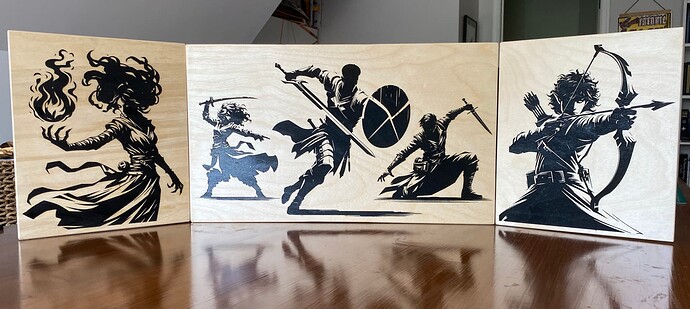
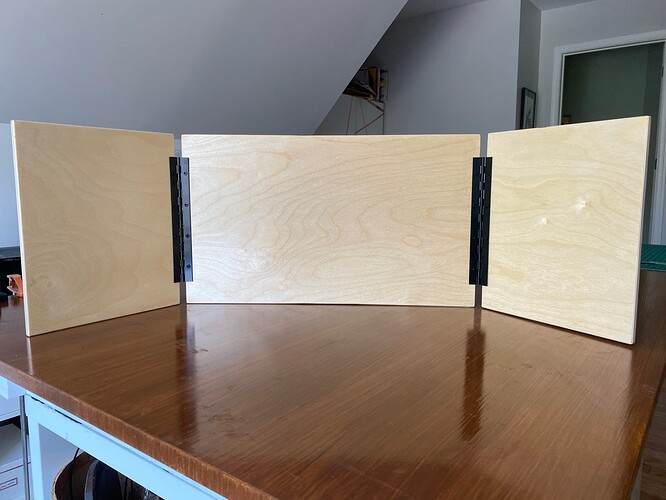
Last year my twins entered middle school. They were really excited for the Dungeon & Dragons club, and when there weren’t enough dungeon masters, I volunteered. I hadn’t played since I was in middle school myself, but I picked it up pretty quickly and it was fun. It looks like we’ll pick it up again this year too. Anyway, after a couple of sessions I decided I needed a game master’s screen, so I set to work designing. Since this was just for us and just for fun, I used DALL-E 3 to generate images of their adventuring party to decorate the front panels (I would not use so-called “AI” art for anything commercial or pseudo-commercial, and feel like I probably made a mistake using it for even this purpose.)
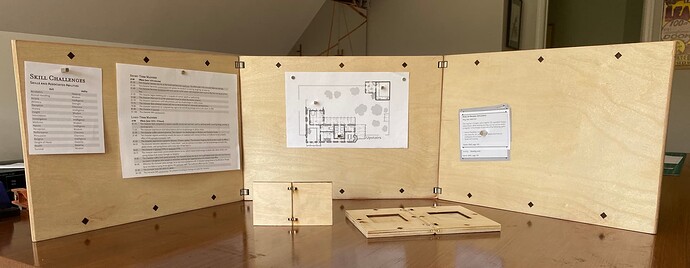
To articulate the panels of the screen, I just used piano-style hinges. But I wanted to do something more interesting for the rear side of the screen. This is where the game master can mount his materials, whether handy rules references, maps, non-player characters statistics, or other elements. Many screens embed a strip of metal across the top of each panel so that sheets of paper can be attached at the top with a magnet. I liked this and did want to use magnets, but I didn’t like the look of embedded metal strips in the wood. I also didn’t want to have a single point of attachment, as I wanted to be able to put magnets anywhere. So I embedded sheets of galvanized steel flashing (for roofing) between layers of 1/8" baltic birch plywood to create a fully magnetic surface in each panel. Without any magnets on it, it looks like this:
There are three layers of plywood: one for the front side, one in the center that is really a frame with windows for the steel sheets, which were Gorilla Glued onto the third layer, where the magnets can go. This worked well enough, though the magnet hold was pretty weak through a 1/8" piece of ply, even with N-52 magnets. There were a few other things that bothered me about the build, and I began to hatch plans for a second attempt.
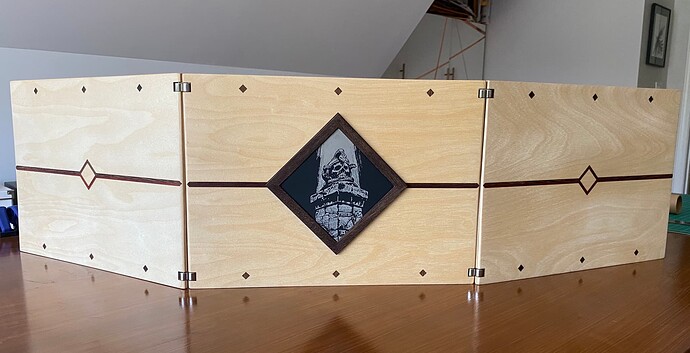
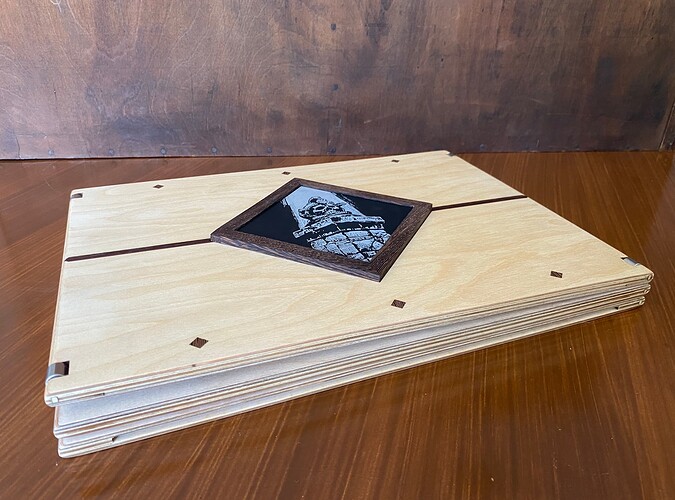
The second screen is more minimalist in terms of design. The panels are all the same size, with simple wenge and padauk inlays, with a single diamond-shaped frame for artwork in the center panel:
(The artwork is a detail of a print by an artist called Brockprint, which I found on Pinterest.)
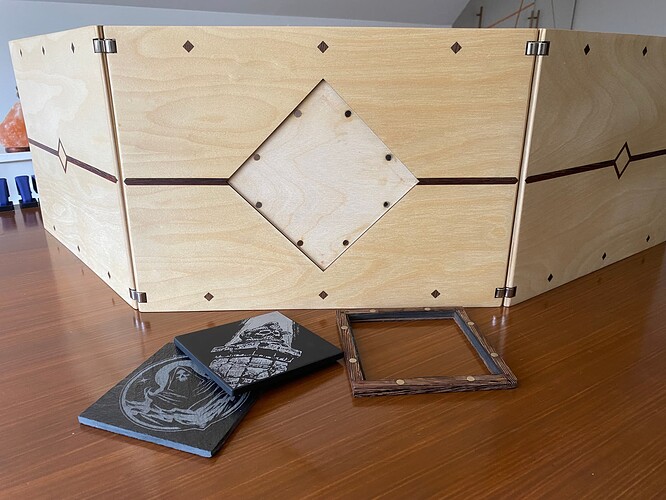
The center panel detaches and accepts a standard 4" tile, which could be engraved or painted or fronted by a design printed on photo paper or … Here it is with a ceramic tile from Michaels and a slate coaster:
I didn’t like standard hinges so I made some magnetic hinges using cylindrical magnets mounted on brass rods encased in the central plywood layer.
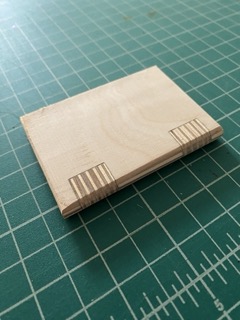
Finally, I liked the all-over magnetic board for the rear of the first screen but wanted magnets to have a better bond, so I found some 1/16" baltic birch ply. This worked well, though it is more costly (1/16" is both hard to find and pricey). Here’s a photo, with bonus hinge prototypes in the foreground:
(I also prototyped a captured hinge using the same design but inside wooden layers. Unfortunately I didn’t get a pic of this.)
The overall thickness of screen #2 is the same as the first GM screen, at 3/8", but for this one the layering in this one thus goes:
- 1/8" birch: Outer surface, with padauk and wenge inlays
- 1/8" birch: Magnets for mounting display frame, hinge rods
- 1/16" birch: Window for steel inserts
- 1/16" birch: Inner surface, with wenge inlays
Here are photos of the layers side by side. On the right you can see that the thinner plies of the 1/16" stock:
Finally, here’s how screen #2 stacks:
You can see the center screen’s unfortunate warping, which I think owes something to the chunk of material taken out for the frame window. The magnets help hold the panels together in the stack, but I probably should have put magnets on the ends of the side panels as well; if I had, the panels would have held together very nicely as a block. Be that as it may, it would be pretty easy to make a carrying harness with some straps around the stack.
I hope this tale of two GM screens is interesting or useful to somebody!
