So Koptis (my ![]() ) has been patiently awaiting for attention (been a while since he got to do something).
) has been patiently awaiting for attention (been a while since he got to do something).
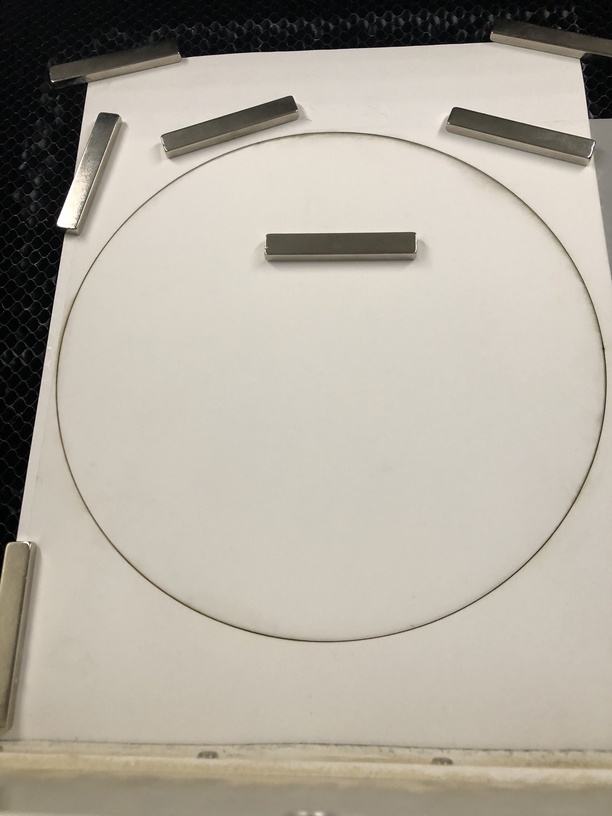
Noticing that Snapmarks are still and beta, but not out to everyone, had to revert to a paper jig design.
Koptis is dead on for repeated cuts (around 10) to minimize material consumption:
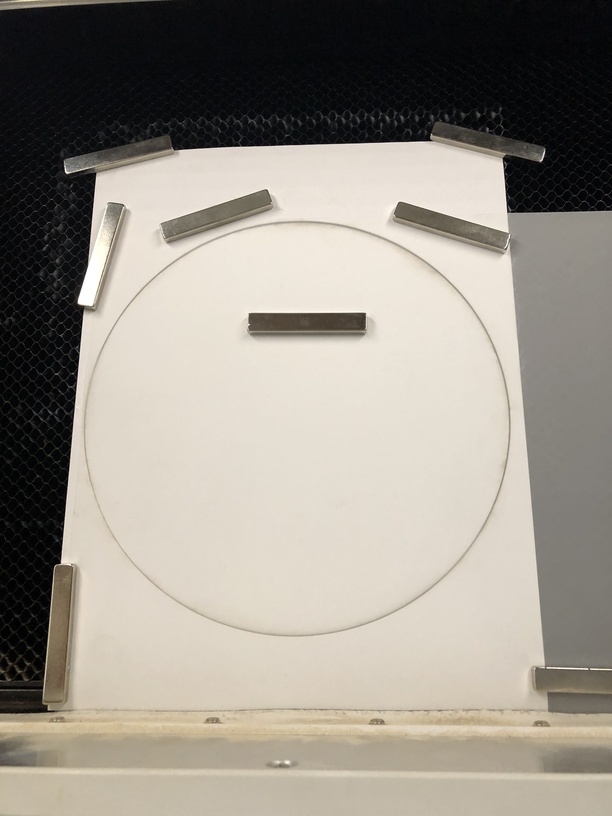
The mylar diffusing filter squares are 12" x 12", but the LED lighting is a round 8" housing and I have LED lighting bars that need 2" strips that can be made out of the scrap (another project to gear up for ![]() ) This requires minimal waste by placing the circle as close to 2 edges.
) This requires minimal waste by placing the circle as close to 2 edges.
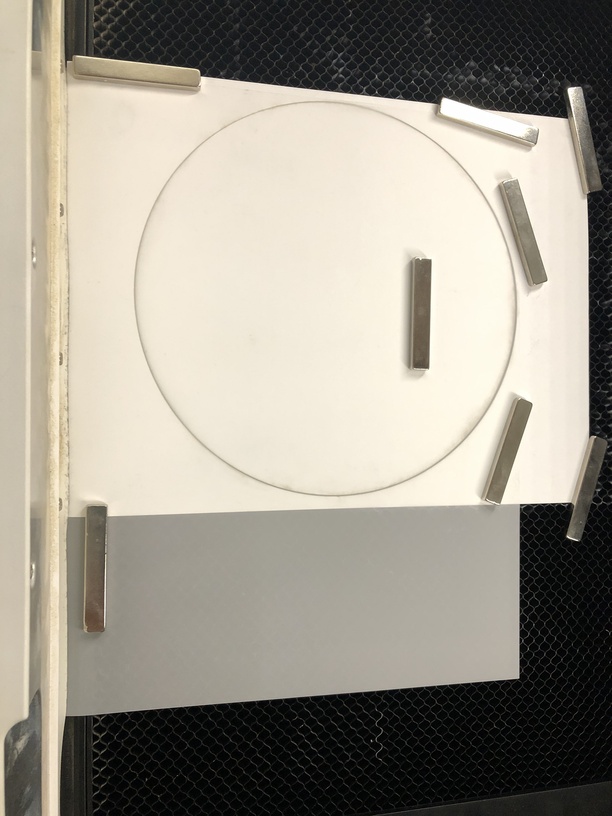
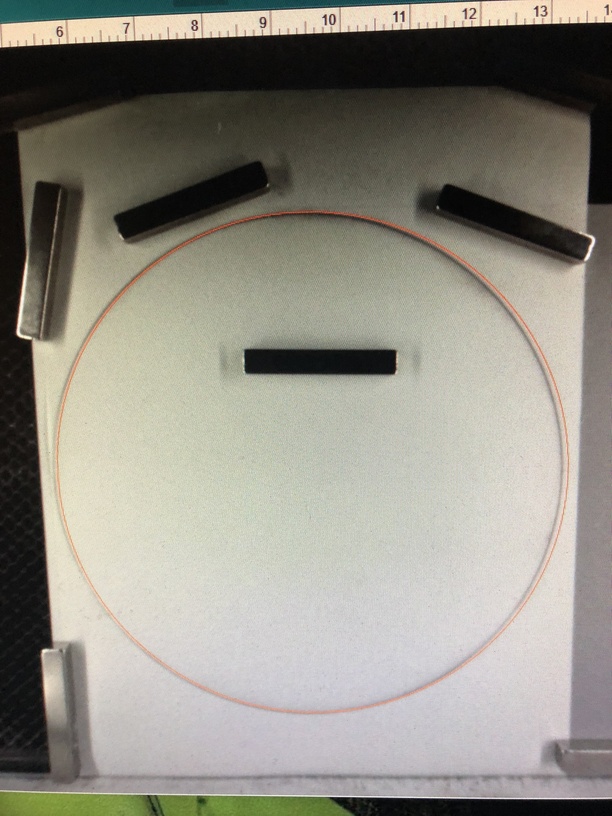
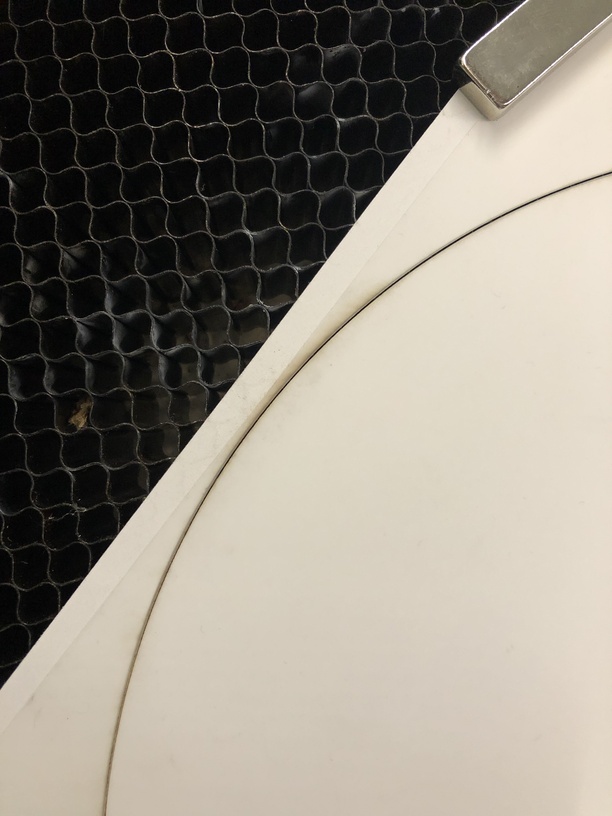
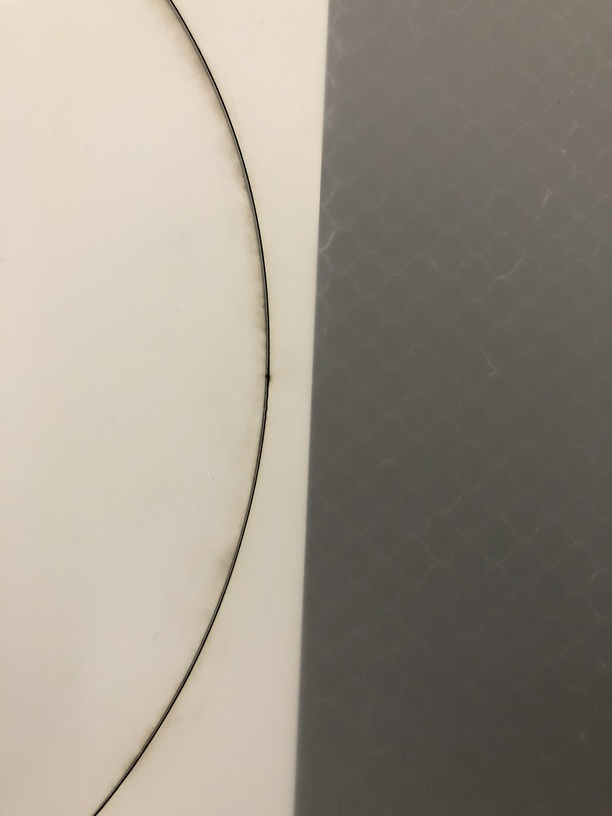
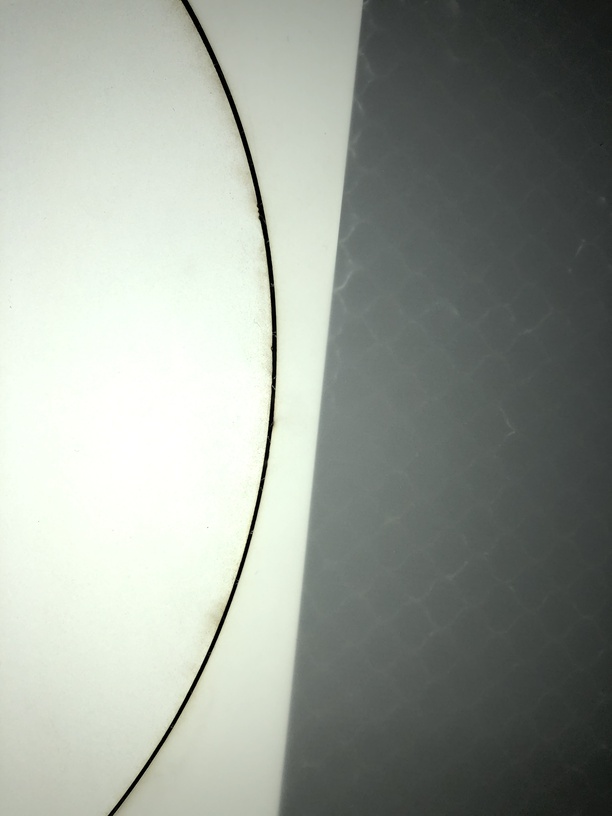
So you can see how close the mylar is at the jig layout. The black gap is because the internal paper circle has bumped around with the 9 previous cuts and gets a little shaved of each time.
Now the GUI interface has not been adjusted for positioning (between cuts), but the display is all over the place between cuts as seen below:
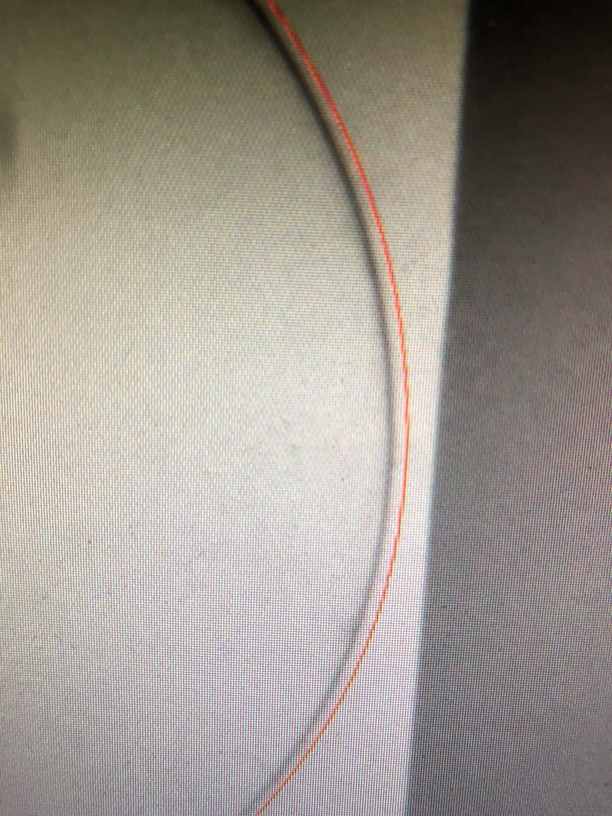
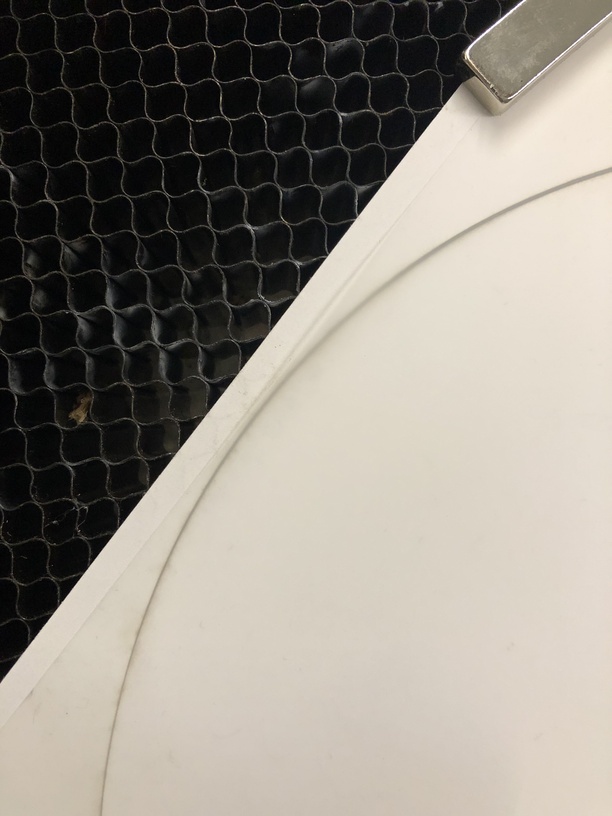
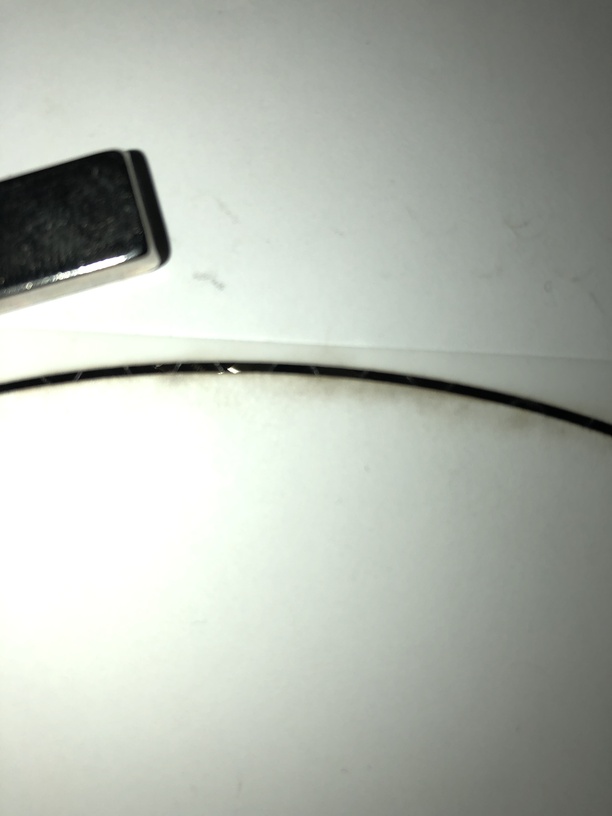
Now the burn goes with dead one accuracy:
With this post picture:
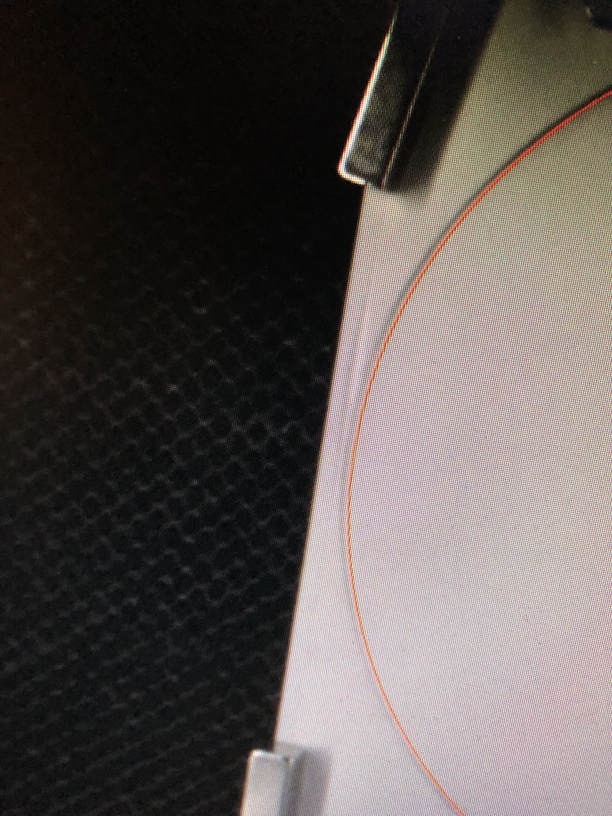
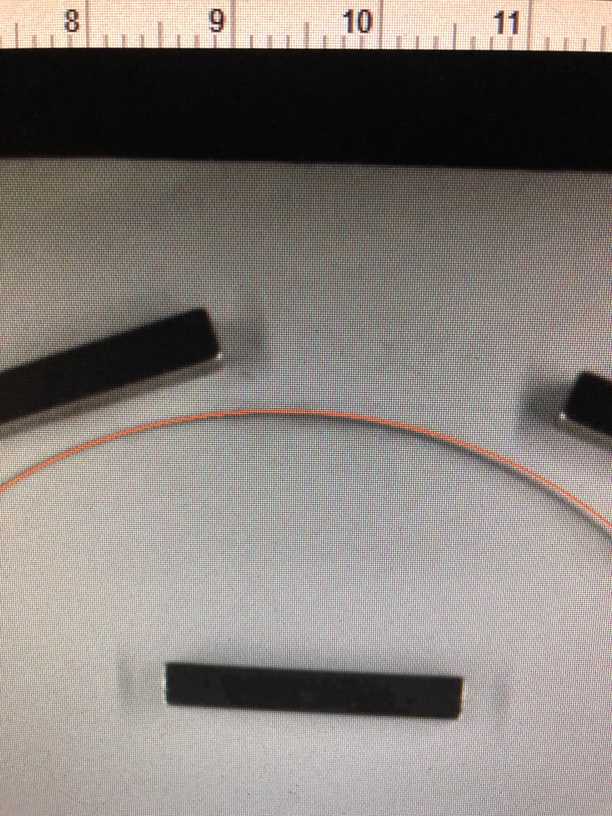
And the detail close-ups:

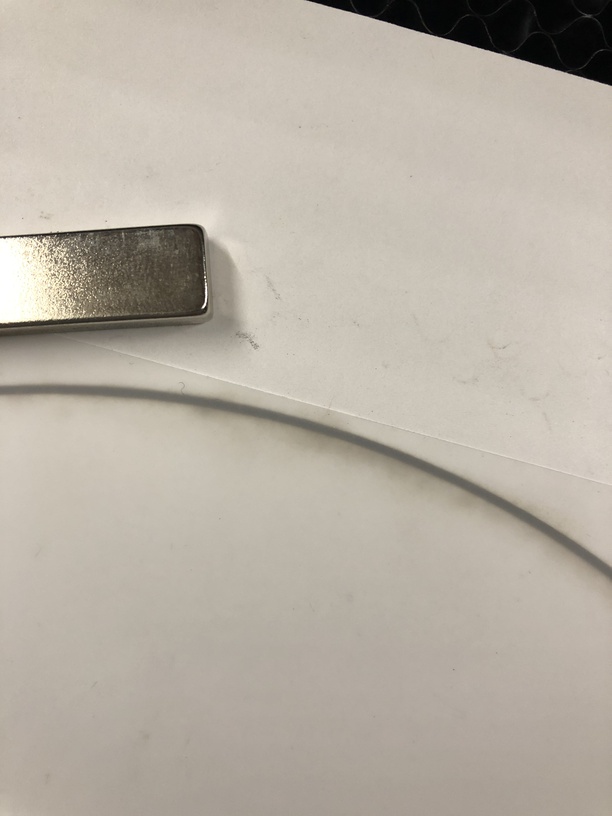
With the 8" mylar circle removed details:

So Koptis (well Glowforge ![]() ) is extremely accurate when jigged, but the GUI definitely needs those Snapmarks!
) is extremely accurate when jigged, but the GUI definitely needs those Snapmarks!
Looking forward to making use of them.
