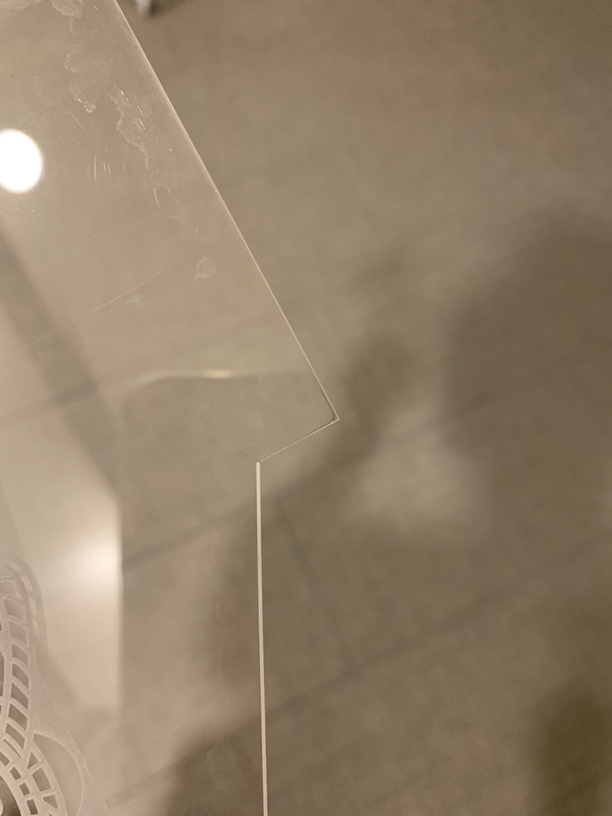
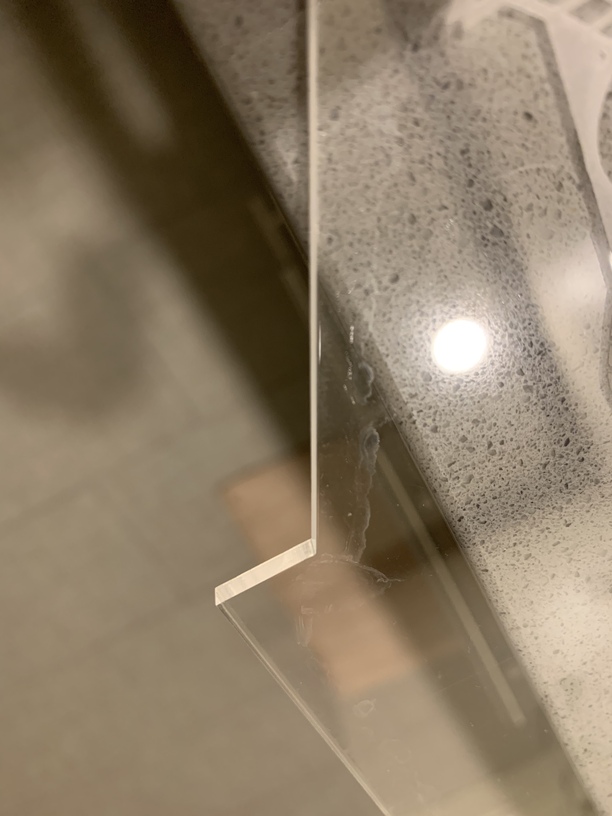
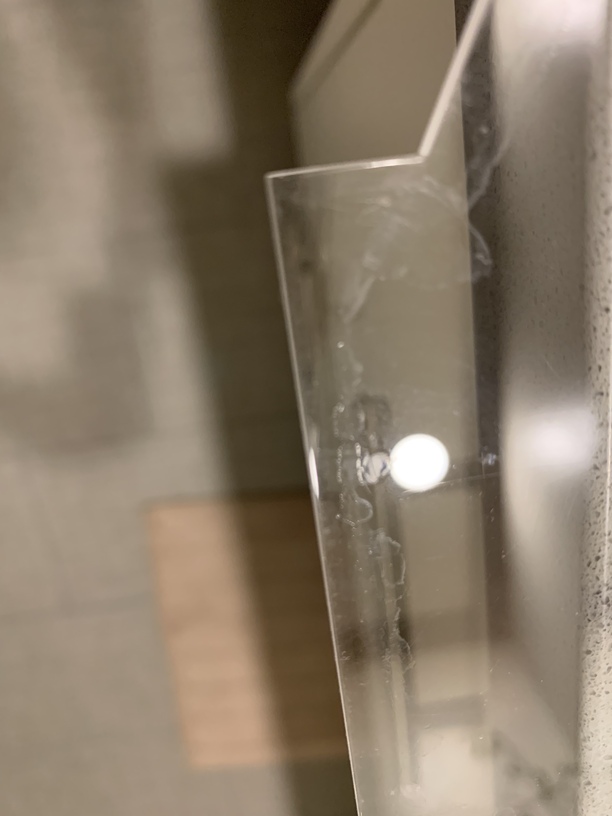
Wondering if anyone had ever encountered what looked like slivers melting residue on the back side of the acrylic. Tried to remove it with soap, window cleaning solution, but they don’t work. Help?!!
Hi sam6, welcome to the forum! Unfortunately the hazing you see typically won’t wash off. You may be able to polish it off with acrylic polish/cleaner or by heating (annealing) the acrylic, but it can be really tough to get rid of. The good news is it can be avoided for the most part, you just have to dial in your settings. Was the acrylic masked when you cut it and did you use proofgrade settings?
This is a good discussion about cleaning acrylic with some info how to get the cleanest cut.
2 Likes
Thanks! It’s not proofgrade, but I’ve cut other design with the same setting and materials, and didn’t get the hazy result. So it seems maybe the design led to this? I’m just baffled :). Thank you guys!!
1 Like
Yeah, acrylic is acrylic and the settings are generally pretty universal so it really doesn’t matter if it’s proofgrade or not and I almost always just use the PF setting on my non-PF stuff. The file might contribute to it and just for chagrins I’d check to see how many nodes it has. It be interesting to know if there are a lot of them along the cut lines. Something else to keep in mind is how much even the same piece of acrylic can vary in thickness. It can be as much as 10% variance so it might be worth seeing if you can up the speed or lower the power and still cut through without so much heat. It might even be worth lowering the power and doing two cuts if you just need to get a clean cut without working on the settings. (Maybe shrink the file and make a test cut inside of the ruined piece so you don’t waste material?) If you didn’t already use it, masking also helps the haze from forming and raising the material off the tray slightly so the backside doesn’t get so hot works too.
Good luck!
3 Likes
To me it looks like that acrylic has a thin plastic mask already on it, and that is what is causing the weird edge hazing. Some non Proofgrade brands do include a plastic mask, which is something you should always remove (and replace with the paper masking if you want it masked) before lasering.
5 Likes
Thank you so much everyone!
I have had that with some unmasked acrylic. It is worse if you are cutting with overpowered cuts, but almost all acrylic will have this melt zone. Think of it as the laser pushing through the bottom and the vaporized acrylic fumes aren’t drawn away totally through the exhaust. It is hot and rises up on the bottom surface of the acrylic.
Note also that the anti bacterial alcohol hand cleaner has ethanol and not isopropyl alcohol and is an excellent solvent for most adhesives. I use it mostly on wood but have left acrylic soaking in it so the masking floats away without any damage I can see to the acrylic,
1 Like
Toothpaste might polish off some of that, if you don’t have acrylic polish handy.
1 Like
Thanks all! Decided to lower the power a tad bid, and also use four pennies on four curves to the crumb tray, it works wonders.
Copper will reflect the laser if it is hit. Pennies may not be your best weighting option. Although shiny pennies (polished copper) is best at reflection, even tarnished copper will reflect.
U.S. pennies minted since late 1982 are only 2.5% copper (and 97.5% zinc). Not sure zinc is a particularly good choice in a CO2 laser, either, though.
True enough but it’s not a homogeneous mix, it’s a copper plate so the surface is a pretty pure copper that is a good reflector. Some CO2 laser d-i-yers & K40 tinkerers use them as mirrors after putting a high polish on them.
3 Likes