Well, inspiration can come from anywhere, especially your roommate that you’re married to.
My wife was wanting to get holiday magnets rather than just plain cards, but theyre much more expensive. She opted to buy photos instead (completely forgetting I have a photo printer), and it was because of this that I had an idea.
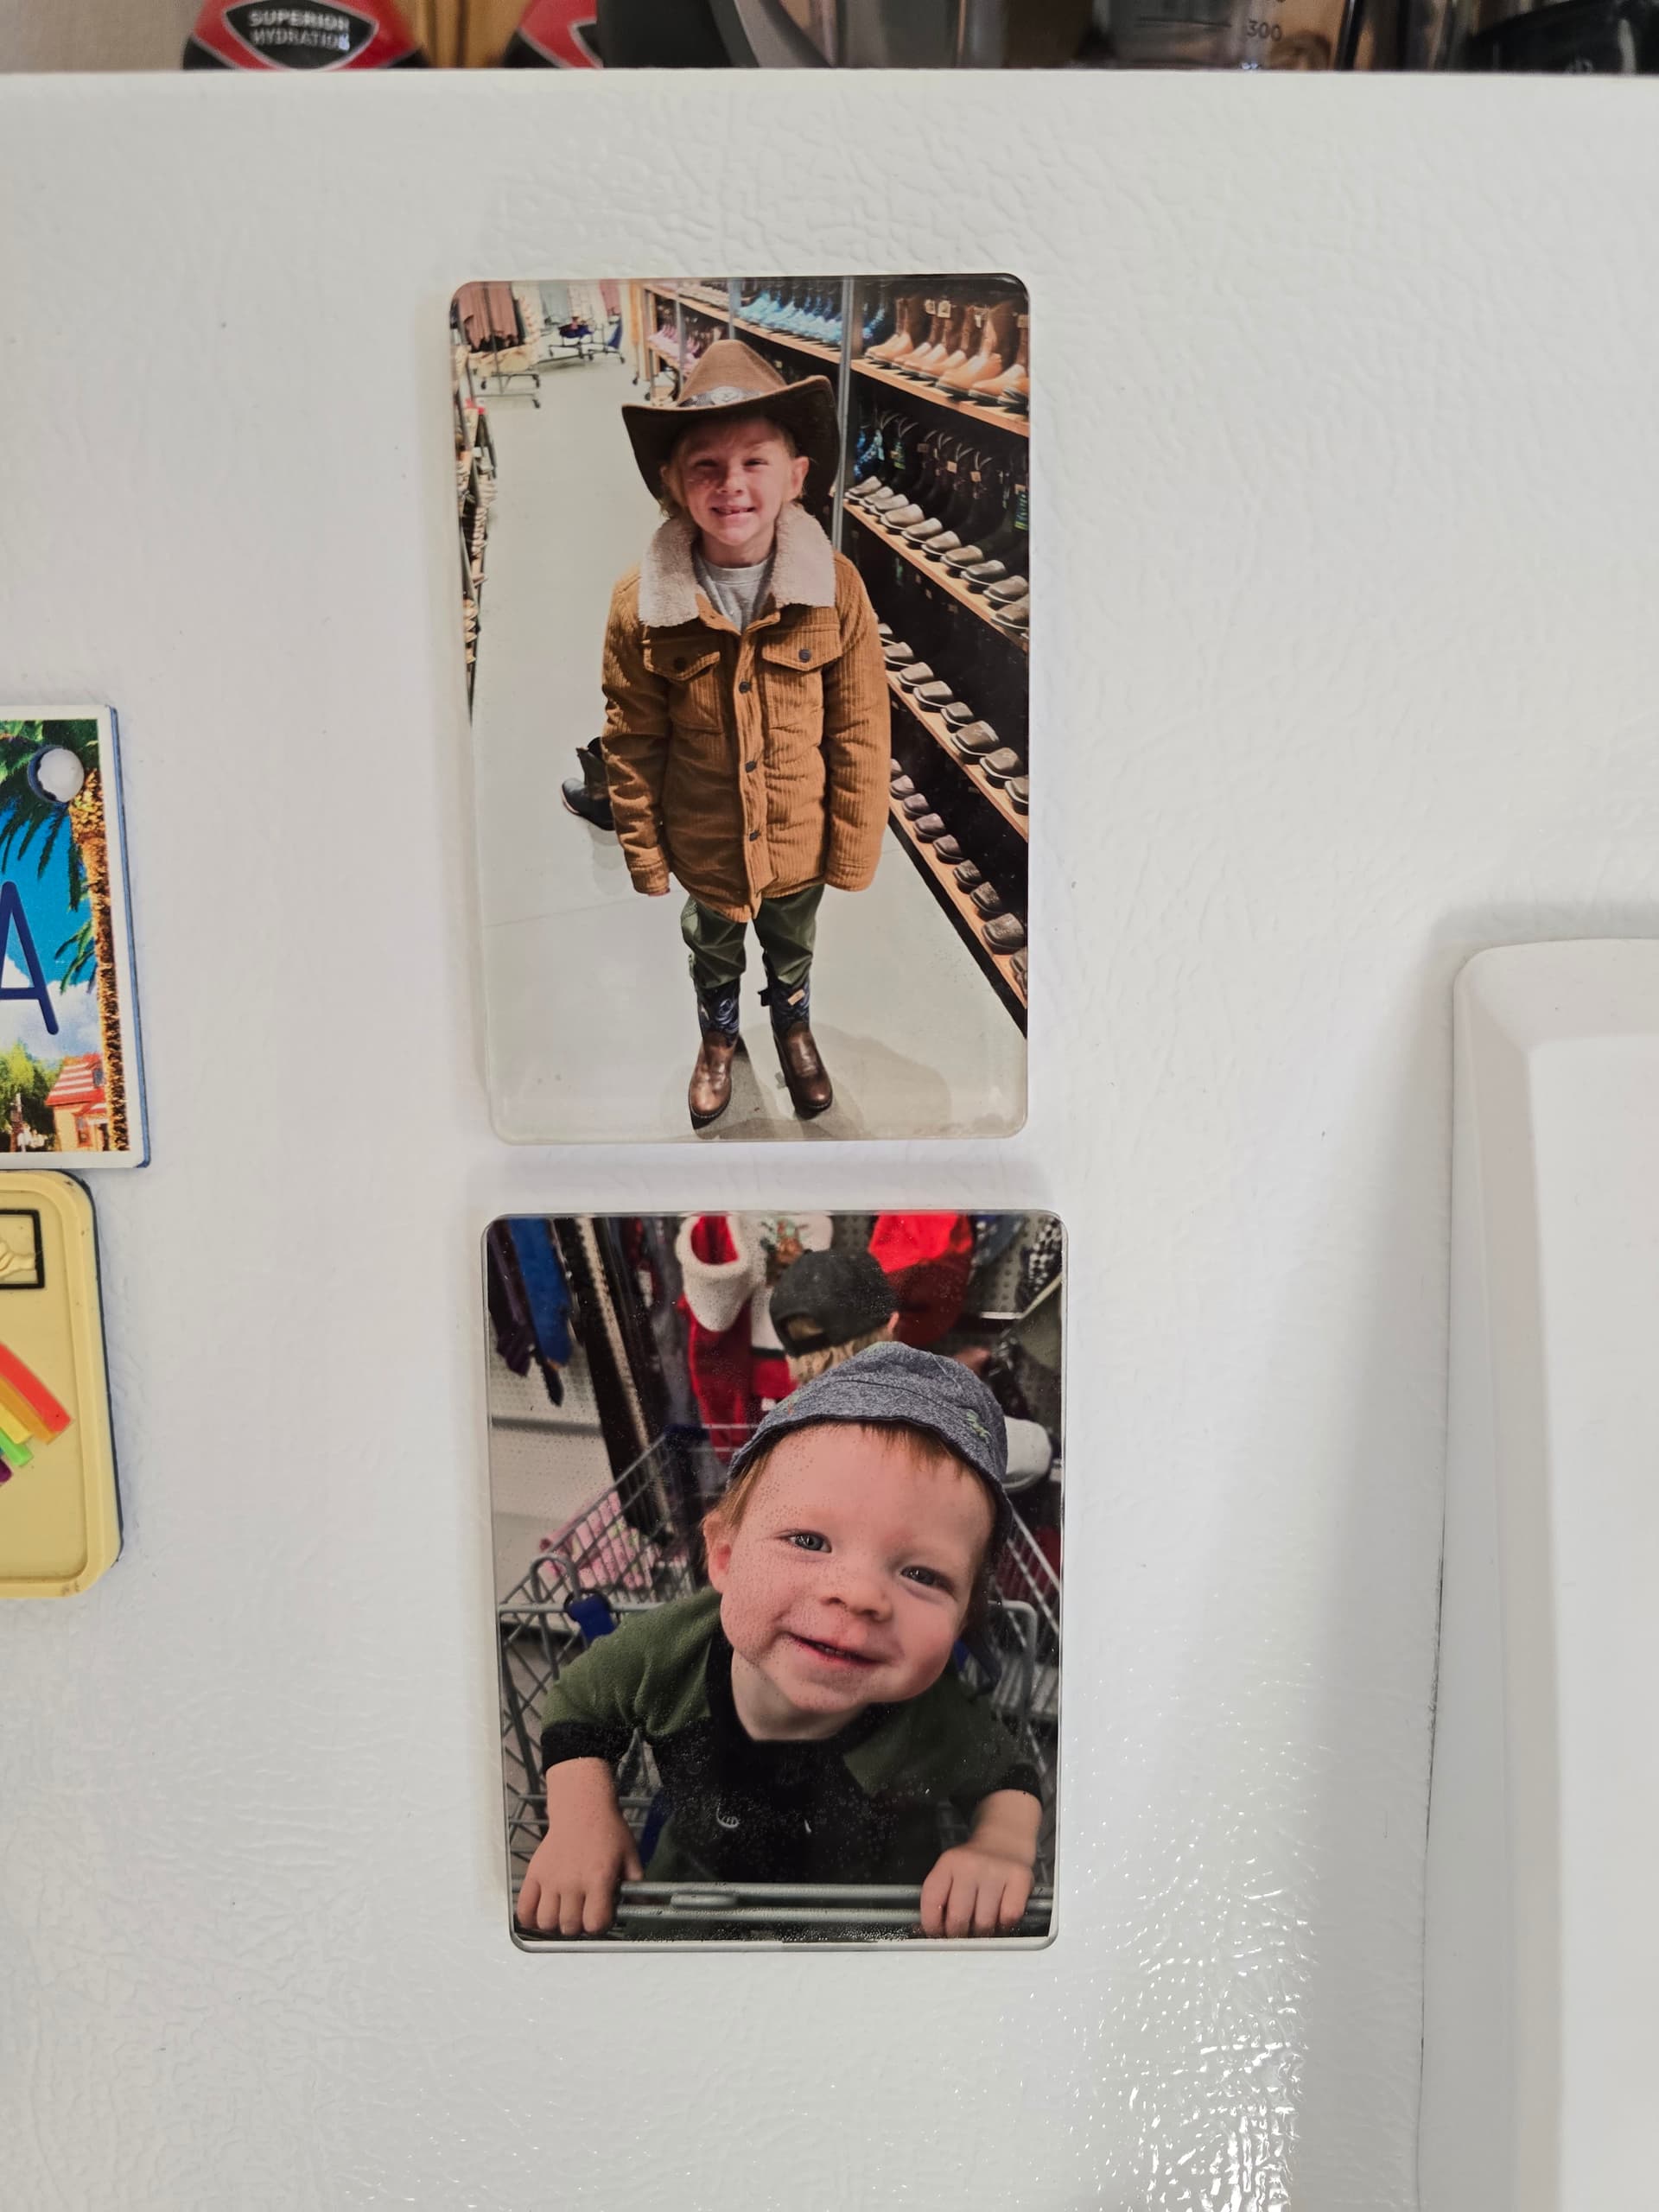

A few weeks back I was wanting to use UV resin to adhere magnets to things and then realized that underneath the magnet would never get any of the UV to harden it and scrapped that idea. Having already bought the resin, it occurred to me it would probably be a great way to adhere photos (that I print) to clear acrylic, then put magnets on them.
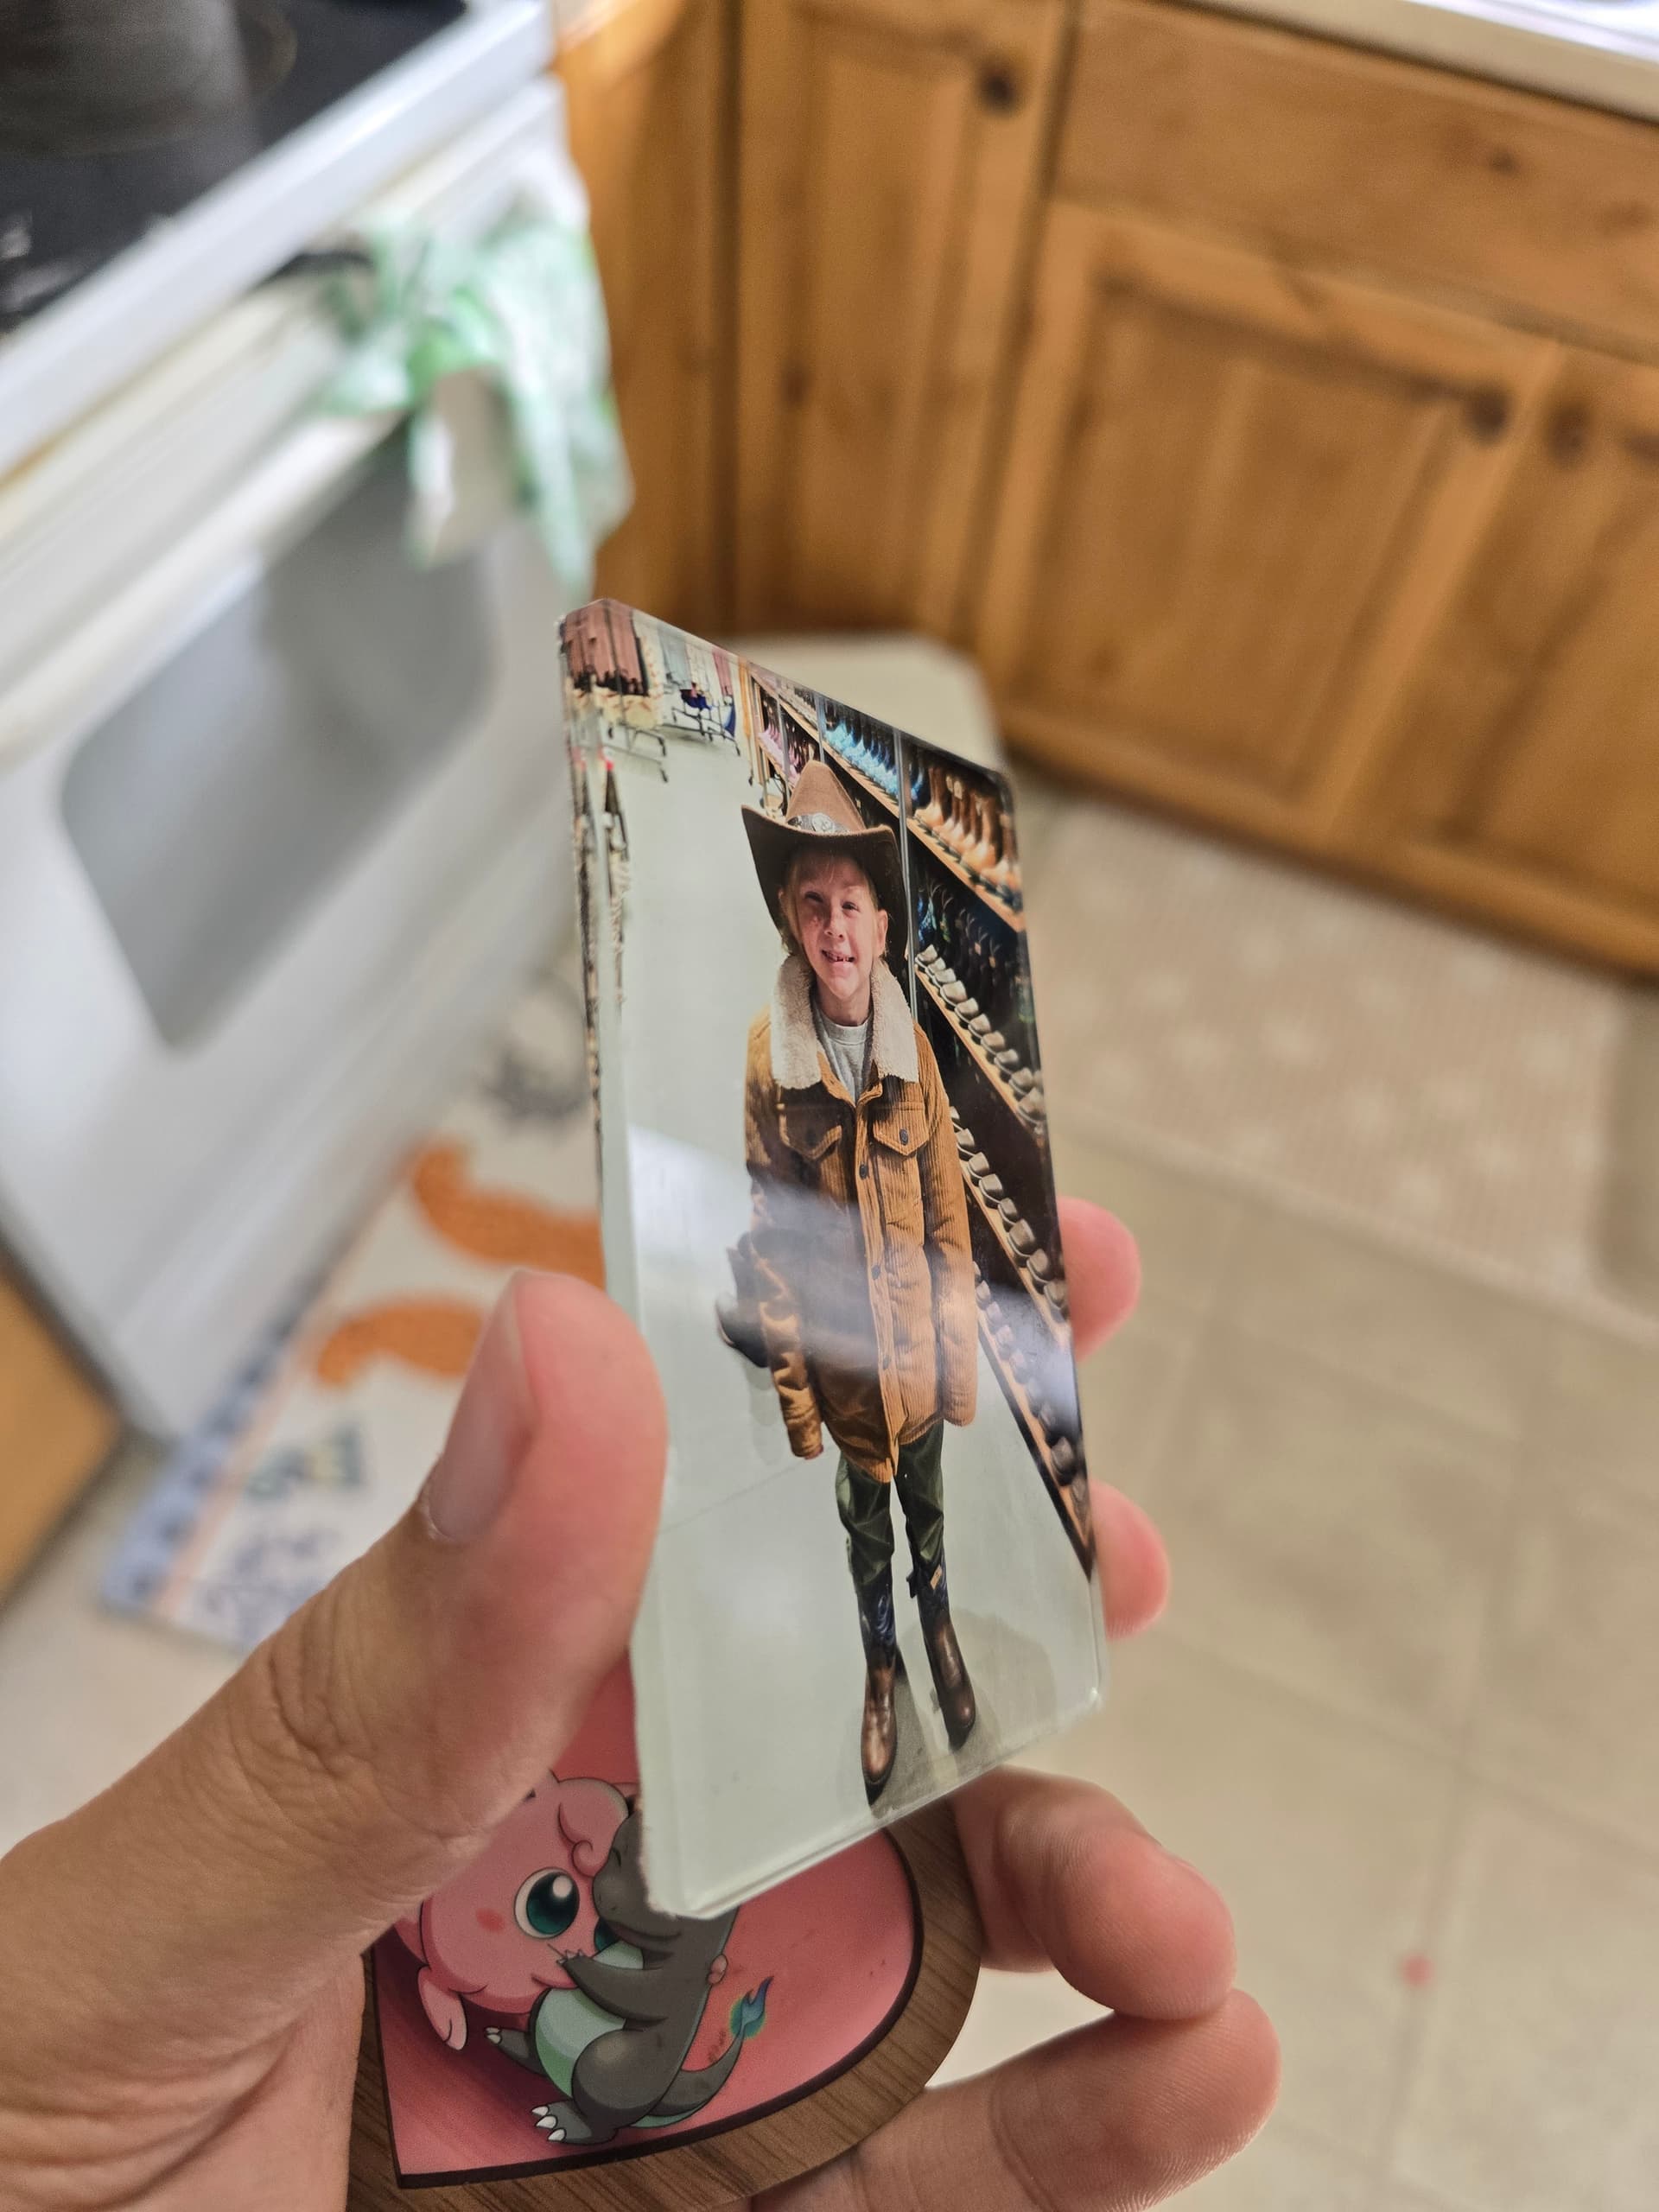
I have a little experience from cellphone screen refurbishing, but it’s been 9 years since I’ve done that - turns out, it’s a very similar process. Place the resin in the center of the photo, I found that instead of letting it pool into a coin shape, doing an ellipse or oblong circle works best with the resin. Very slowly put the acrylic down at an angle to not trap any air bubbles, then let it rest for a while naturally moving to the edges.
The first issue is trying to gauge how much resin you need, I’ve found that too much is fine, but makes a sticky mess. Any that gets on your hands, and consequently, the face of the acrylic can be problematic. I used clear packing tape to protect the acrylic, but only after having made a couple and learning the hard way. The second issue is air bubbles - which are very hard to remove. If you mess up and try to peel the acrylic off, you’ll only create valleys and peakes with the resin and create even more bubbles.
I handled it by doing what I said earlier, applying the acrylic to the photo and resin at an angle, letting it settle for a few minutes, then coming back and manipulating it to each corner. I took the picture and acrylic, and then put the corner of my table on the back middle and slowly pulled down to get the resin to flow in the directions i needed it to. Any miniscule bubbles can be pushed out by rolling your fingers toward them and pushed out toward an edge.
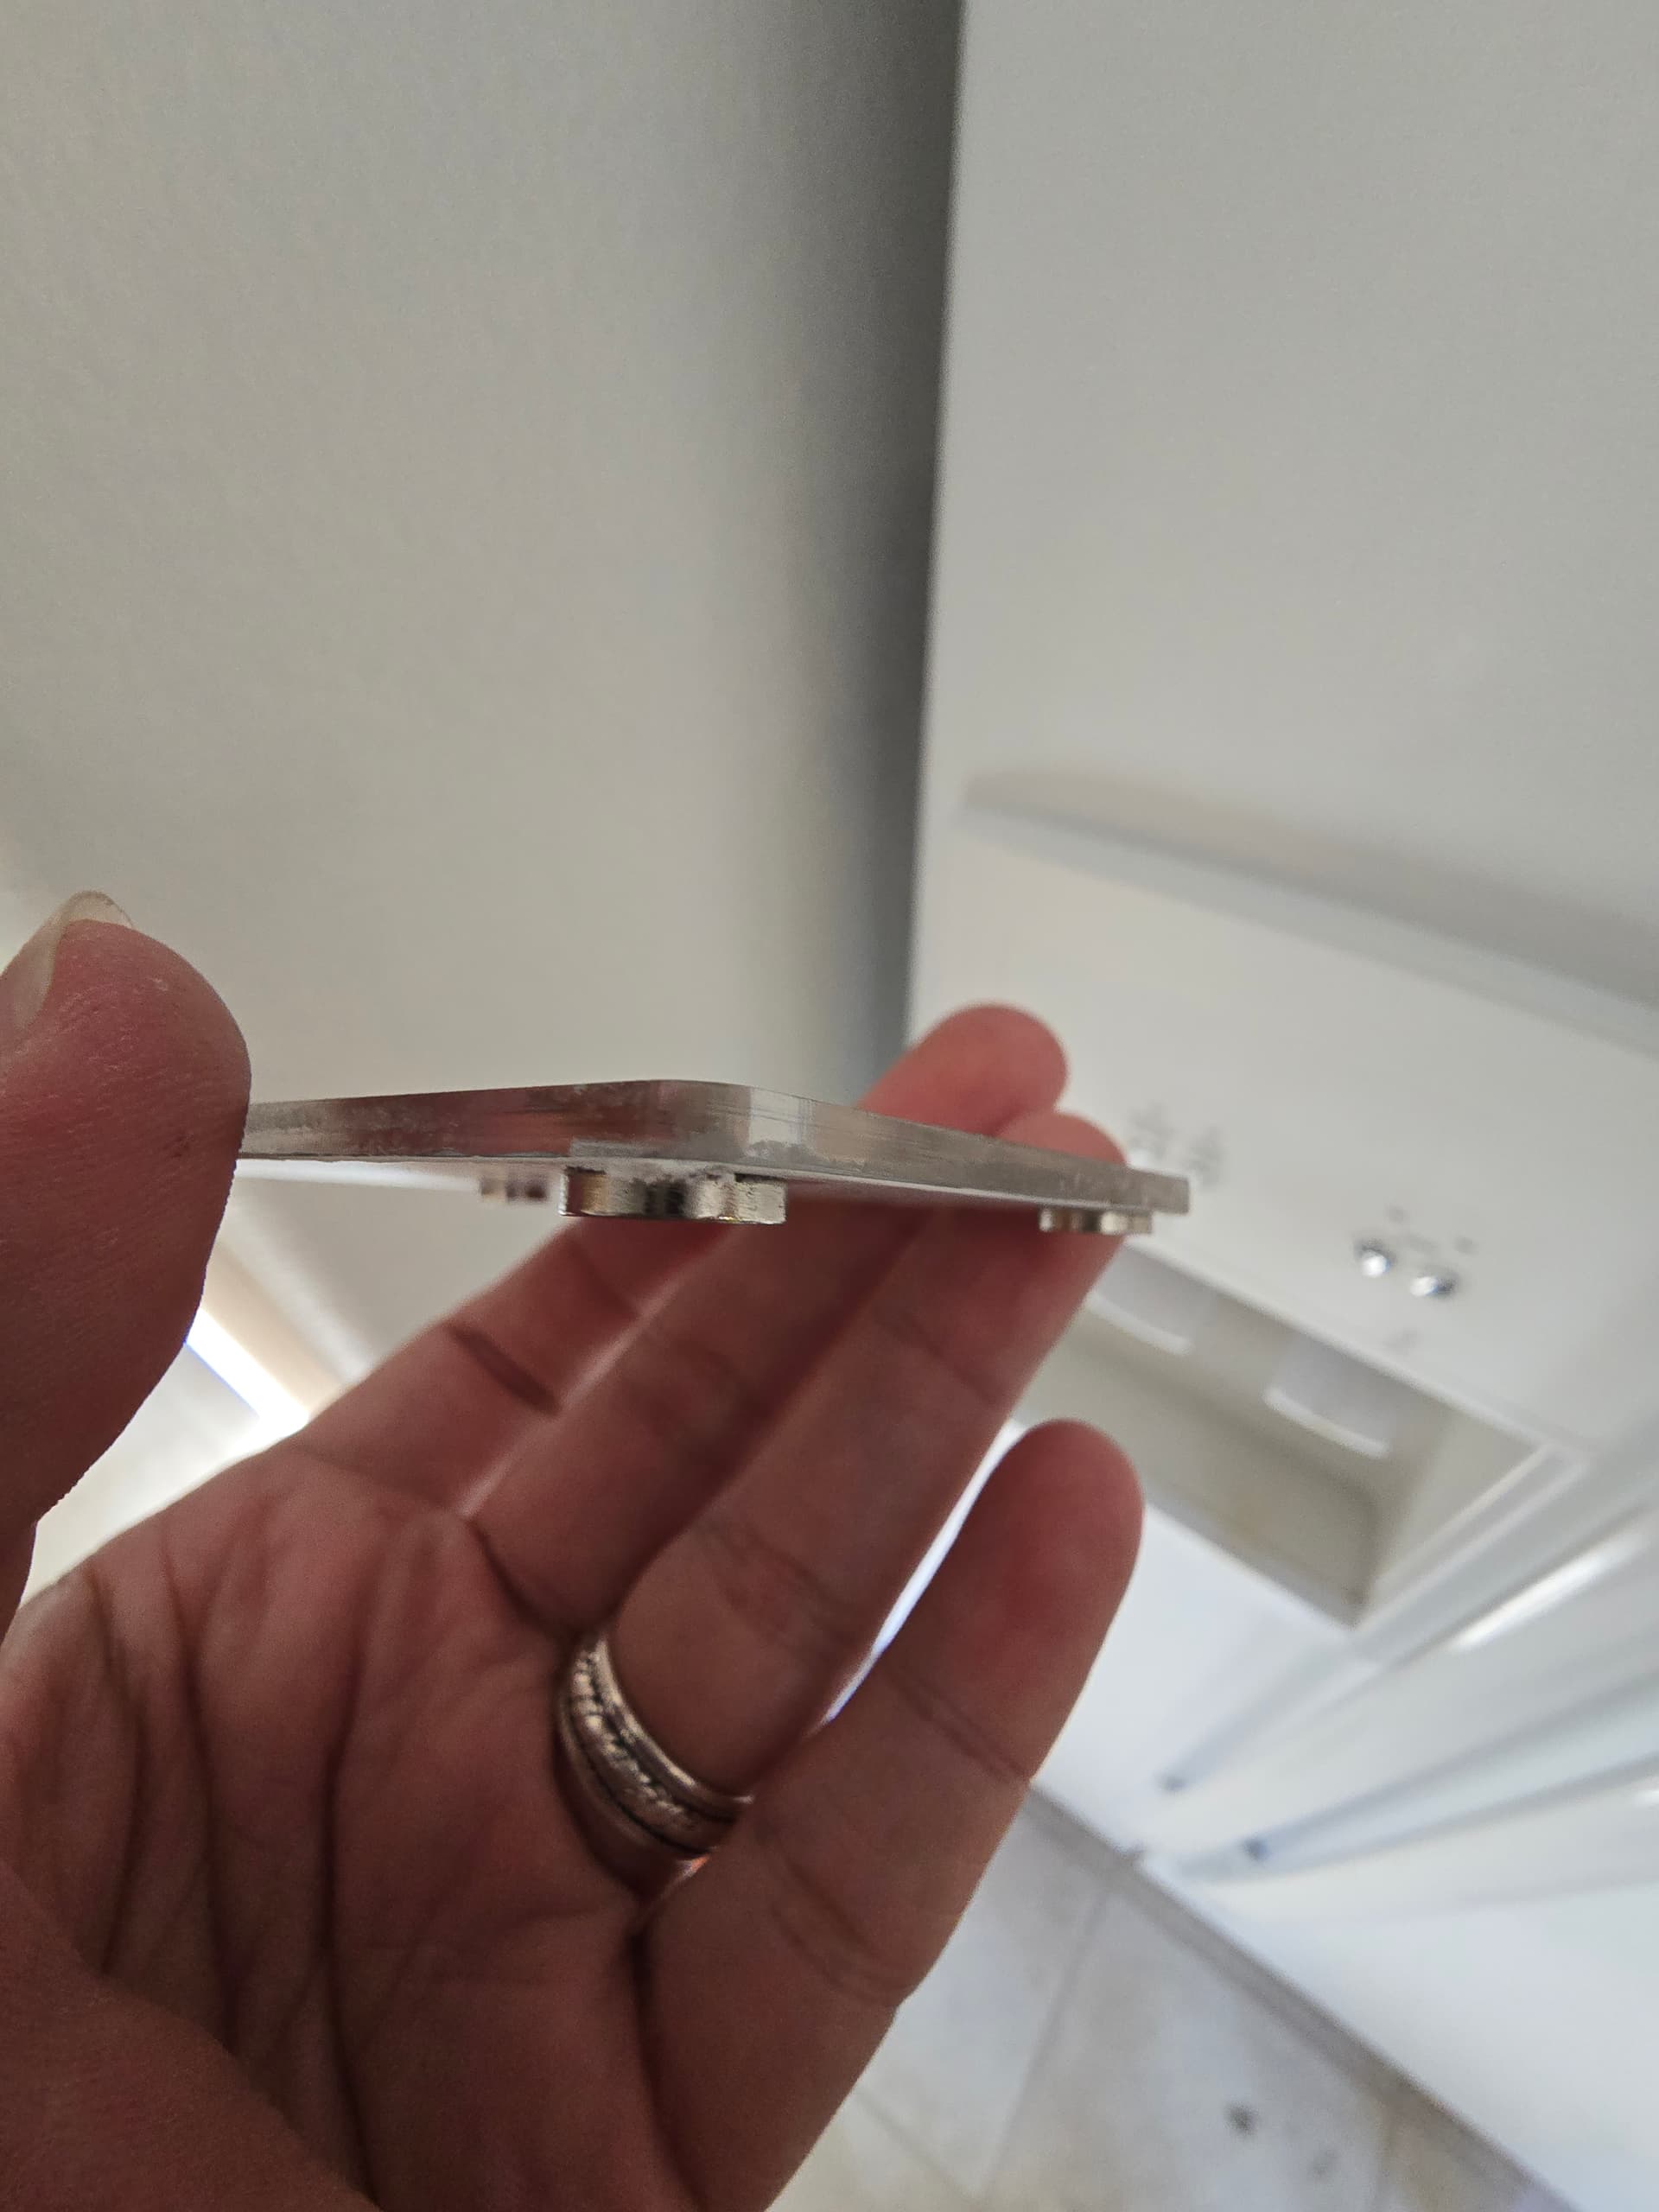
My wife has a UV hardener for her nails, which I used, then used a knife to cut the excess hardened resin and overhang photo from the edges. Super glued magnets to the back, and peeled the packing tape off. I’m actually really surprised by how good these turned out, and wish I could take better pictures to show it.
As fun as it is, it’s fairly tedious, but I think I can eventually get better to the point where it won’t be so annoying to make ![]()
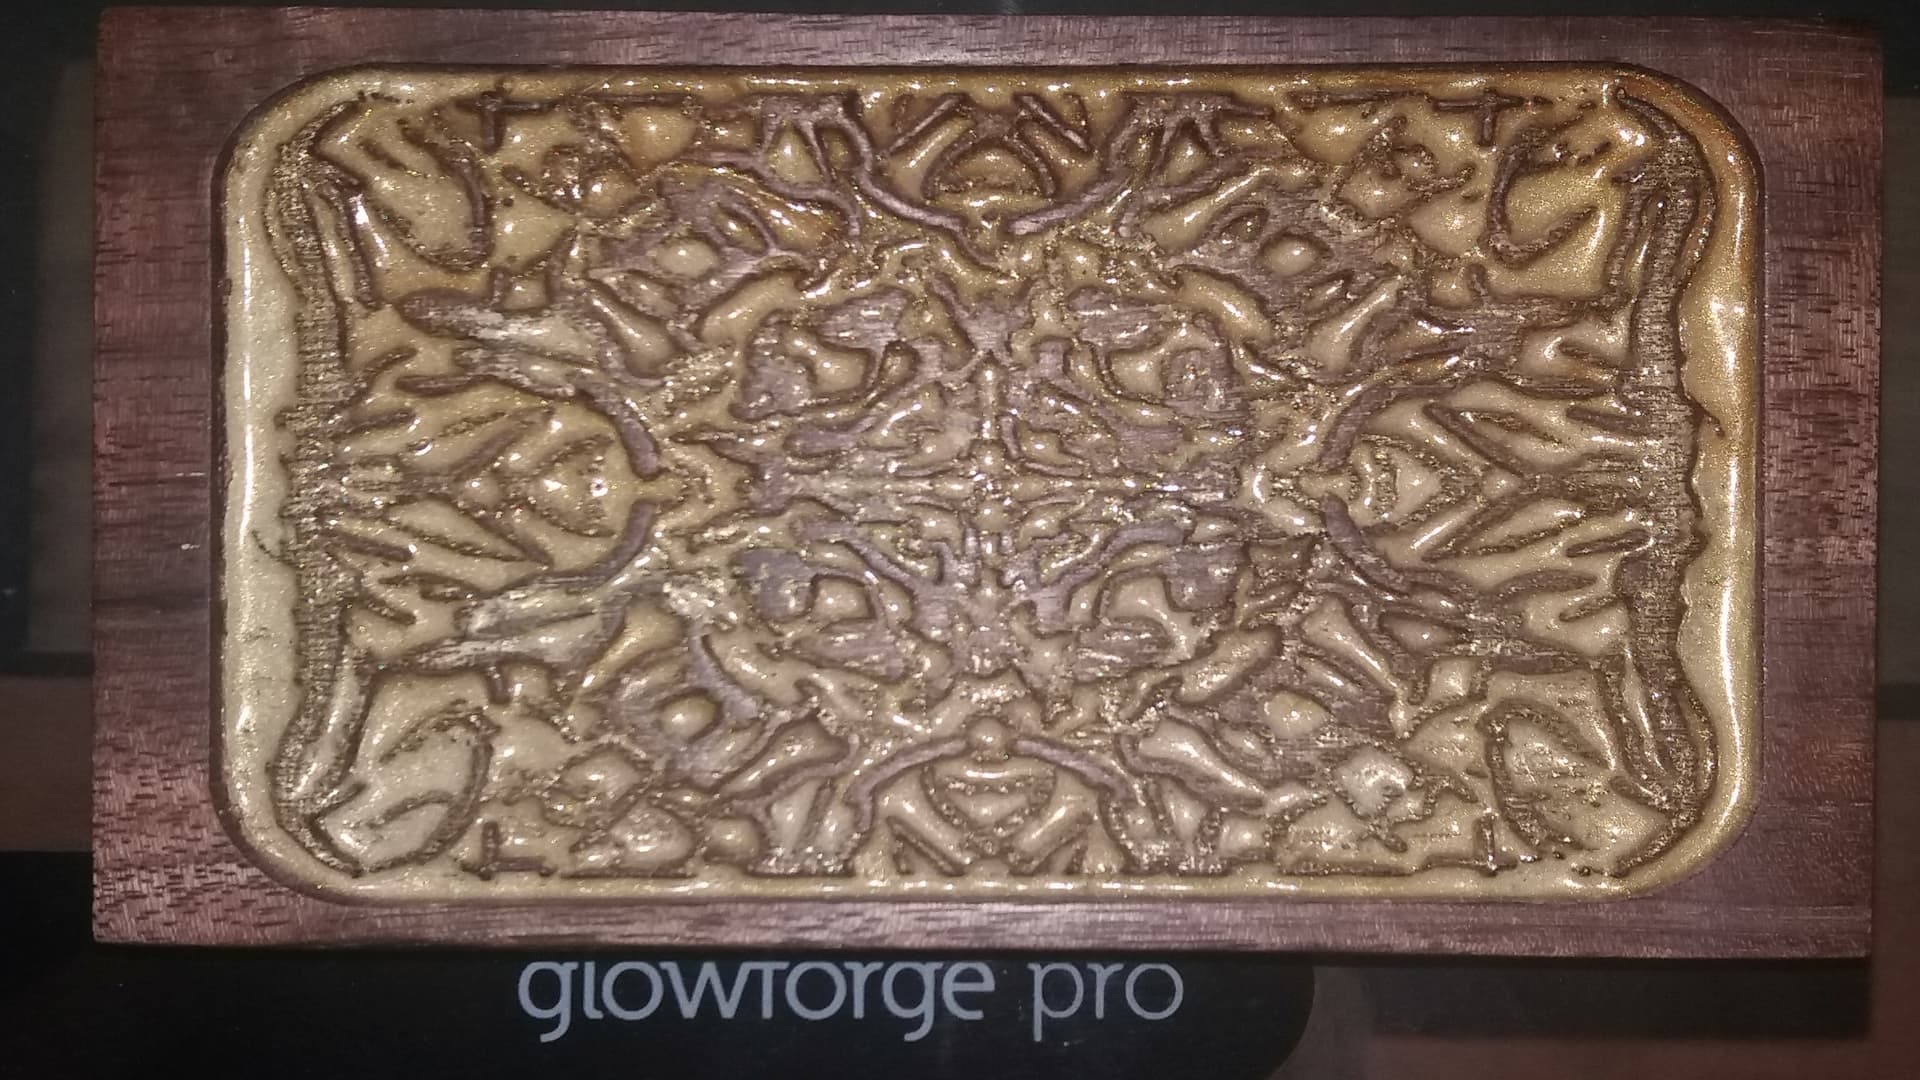
If you’ve made it here, then you get to see the bonus pic. My wife made a wreath for our door and I wanted to contribute to it. I found a reeeally basic sleigh svg, spruced it up by adding many of the lineddetails, then added our last name to it. I may make a second one that trims the excess borders and opt to have it slimmer though I haven’t decided yet.
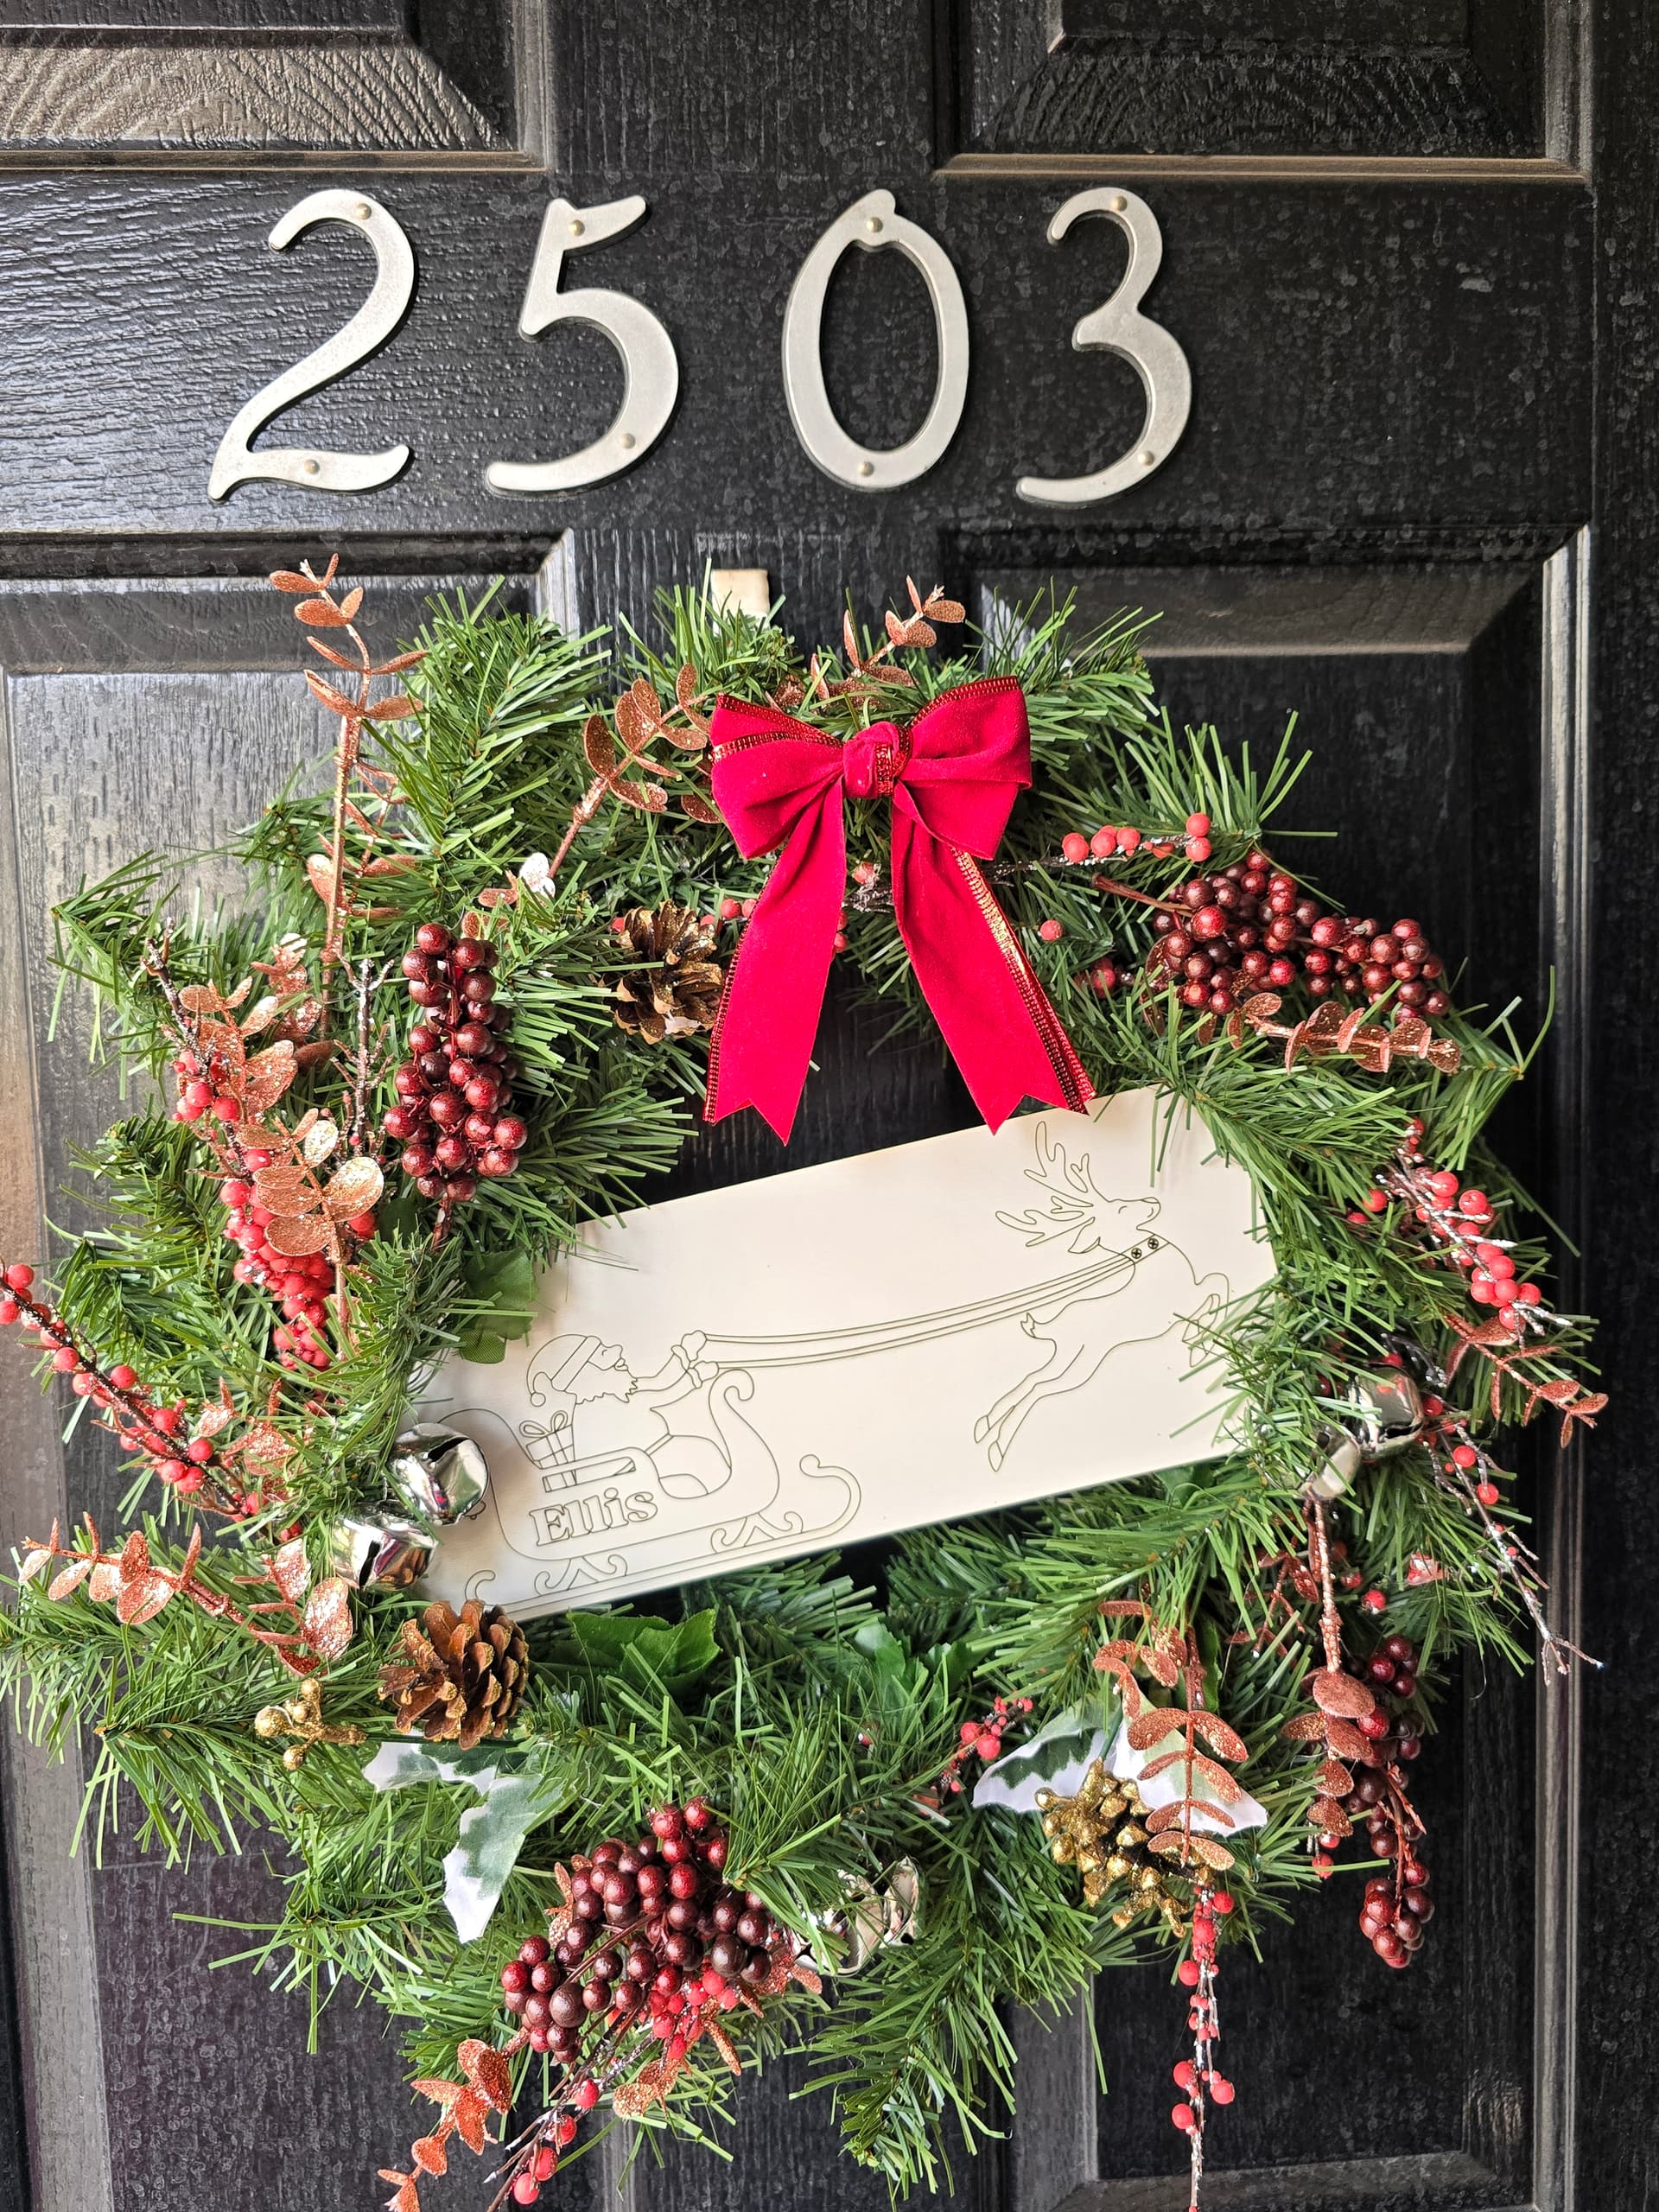
Edit: seeing it posted, I’ll definitely make one with trimmed borders. If I hate it, I don’t have to use it. The glory of owning a glowforge is being able to make what’s in your head, even if it doesn’t turn out how you’d like ![]()