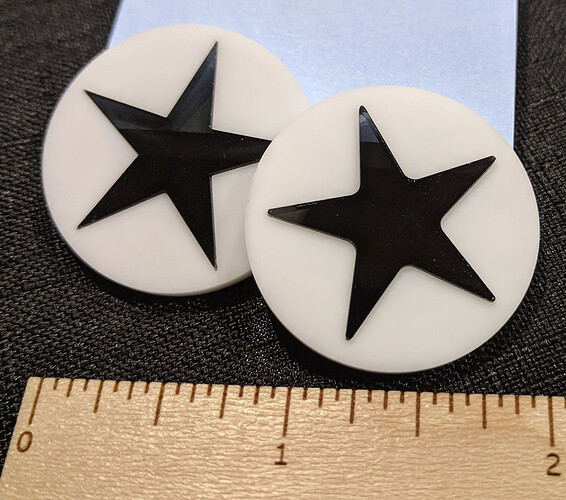
I finally got around to playing with this today, thanks for the tutorial. I had a couple of comments for future readers, specifically folks who may want to make arbitrary press-fit shapes, which also require kerf compensation.
All is Not Always as it Seems: Use “Expand Appearance”
If your shape has any effects applied to it, like the handy Effect > Stylize> Round Corners, then the paths created by Object > Path > Offset Path will follow the original shape, not the stylized shape.
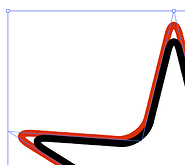
Here’s what rounded corners on a pointy star look like when you zoom in. You can see the original pointy paths are still there.
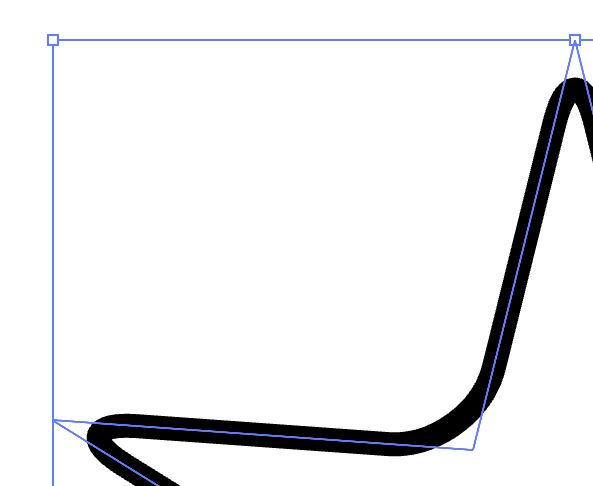
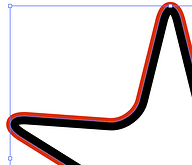
And here is what you get when you do Offset Path. It is easy to see this isn’t what we want–the offset path is not perfectly hugging the inside path.
If we do Object > Expand Appearance, the path we see in black becomes the true path, and then Offset Path produces the desired result.
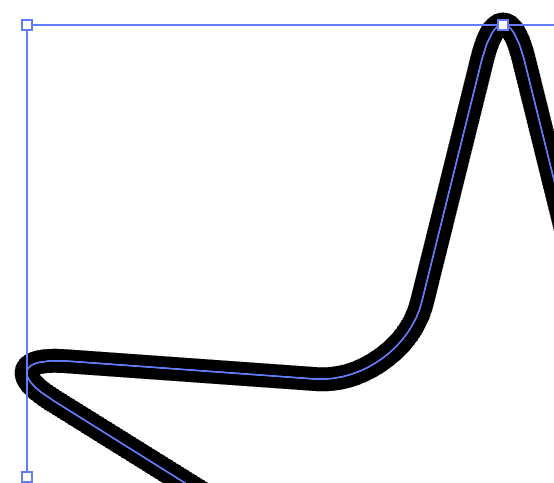
Offset Path and Miter Limit
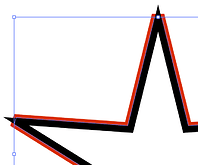
Some sharp angles may not give you the Offset Path you expect. Here’s a pointy star with an offset path in red, which you can easily see is not quite right.
The culprit here is the Miter Limit in the Offset Path dialog. It defaults to 4. If you get a weird-looking offset path, try increasing it to 16.
Press-Fitting Arbitrary Shapes
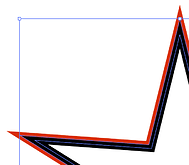
I found that to get a good tight press-fit, like embedding letters into letter-shaped holes for a sign, I still had to determine the right kerf compensation experimentally. I cut a 0.5" square box in acrylic and then started cutting ever slightly larger boxes until I found the size that fit correctly. I determined that the inner shape needed to be .016" bigger than the enclosing shape. In other words, I had to use an Offset Path of .008" to get this result:
Hope this helps someone!
