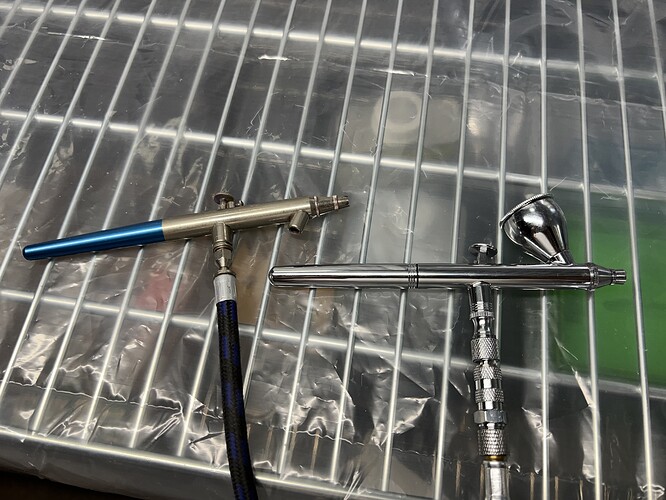
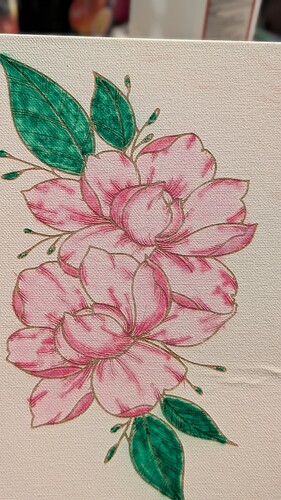
Another fun tool! Nice work!
That is great, my airbrushing attempt/rabbit hole was not as successful, now the pump is used to inflate balloon animals for my daughter and the rest of the set up is in a box in the garage.
Still awesome that it was able to be put to use
My airbrush usage was aimed at getting finer control over what a spray can would otherwise provide. As a teen with a raging hobby addiction, the ability to mix targeted colors and dial in specific spray patterns made the leap to (utilitarian) airbrushing a no-brainer. In the 80s, a low-budget setup meant a Badger 150 airbrush & propellant cans! Luckily, after a half dozen cans, I wised up and picked up a cheap compressor.
Fast forward four decades, and early this year I’ve conjured a need to airbrush again, In mulling over my requirements the load-out shaped up:
- Iwata Neo Airbrush - This gravity-fed model should serve as a primary scalpel. The Badger will be on-call as a secondary color.
- Harbor Freight 2-gallon Compressor - Far quieter than that always-on Badger compressor, TWO quick-connects to feed both airbrushes simultaneously, easy gauge controls, & built-in moisture trap.
- Airbrushing station - a dedicated place to minimize the mess
That last part of the equation took a while to figure out, but as of tonight, it’s completed. The part that wallowed in procrastination was the shroud insert. Here’s how it was tackled…
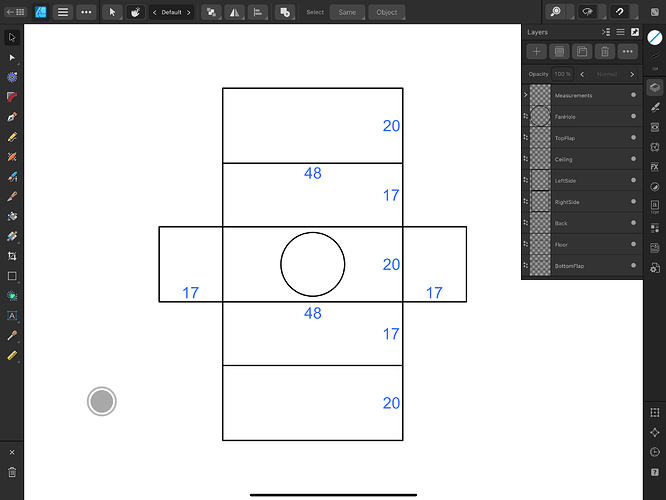
Affinity Designer for iPad was used to help visualize the measurements in inches
Using painter’s “drop cloth” (polyethylene plastic, 2 mil thickness) a sheet is cut out measuring 6 ft 10 in wide by 7ft 10 in tall. Cutting away a 37”x17” panel from all four corners results in the sketched target above. A 17” diameter hole is cut at the center.
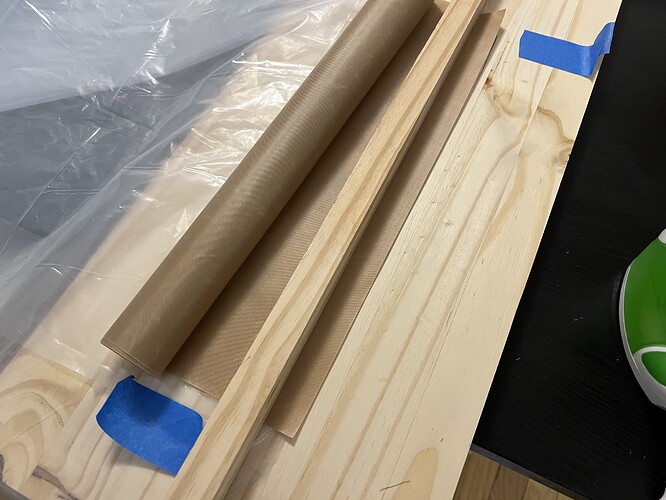
The adjacent 17” edges are brought together for fusing. Polyethylene will stick to a hot iron, so the spouse hands me a roll of Teflon cloth(?) I use it as a shield with the two plastic edges right underneath. Some wood is used to clamp down the pieces. Iron is set to Silk/Synthetics and after only a few drags, the edges are fused exactly how I want.
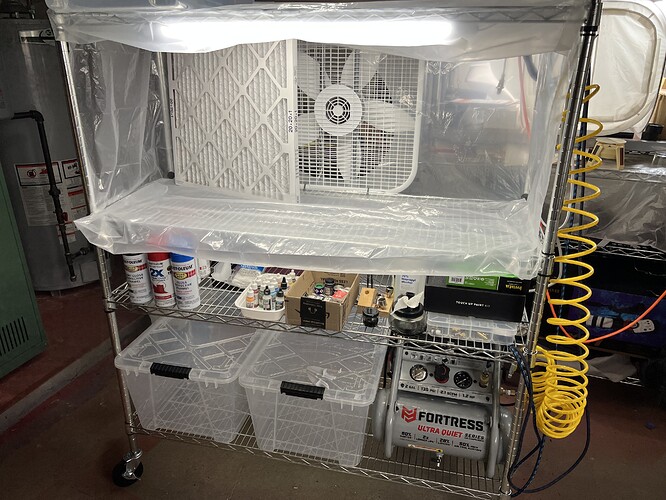
The resulting “open box” plastic shroud is the insert for this airbrushing station devised from a rolling wire cart. Strategic placement of neodymium magnets pin the plastic insert to the metal. The hole clears the way for a zip-tied 20” box fan. Easy access to various paints and airbrush maintenance tools just below deck. The Harbor Freight Fortress compressor rides on the bottom shelf just fine.
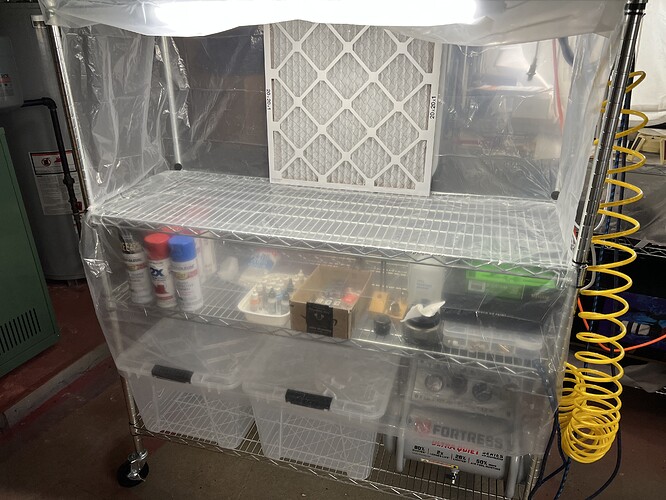
Additional polyethylene curtains at top and bottom can be deployed and buttoned into place with more neodymium magnets to control any overspray. A 20x20 filter fits due to the tailored compartment height, but moreso when the fan is turned on sandwiching the polyethylene in place.
A lot of the other “airbrush booths” had a tiny working space by comparison and wasn’t designed for keeping everything in one place.
Some great information! I’m definitely not ready for all that just yet, although I did see a few things at Harbor freight I’ll be grabbing when I can to make my crafting easier for sure.
What a great comment! Thanks for the details; I bookmarked this for future reference. People like you make this forum a great place to hang out.
