Adventures in 'forging. (show and tell)

I wanted to have a topic where I could just photodump all my recent projects to show off a little

Google Photos
Inspired by someone here I recreated this keychain/ keyplace thing as a gift to my friend. They are big HP fans and this was a very easy project in plywood. I had some junk keychains that I butchered to get the metal parts.

Google Photos
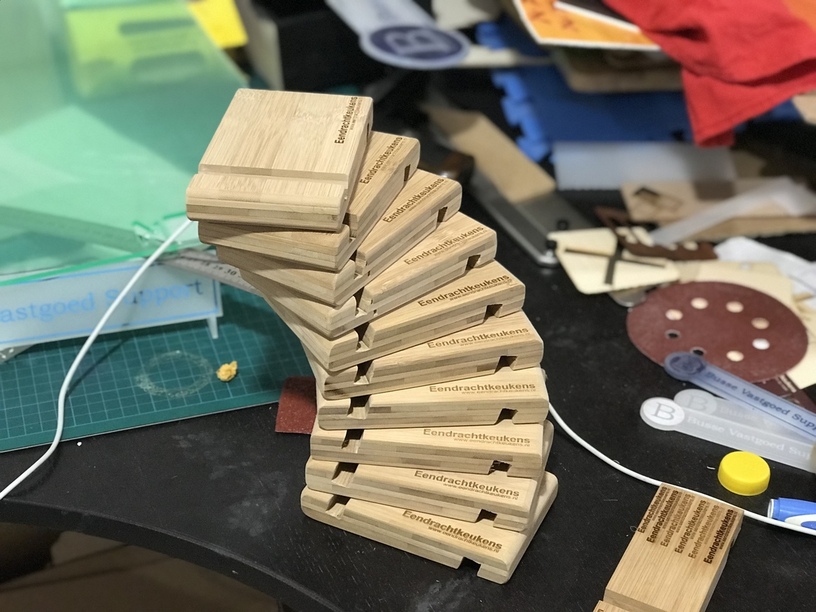
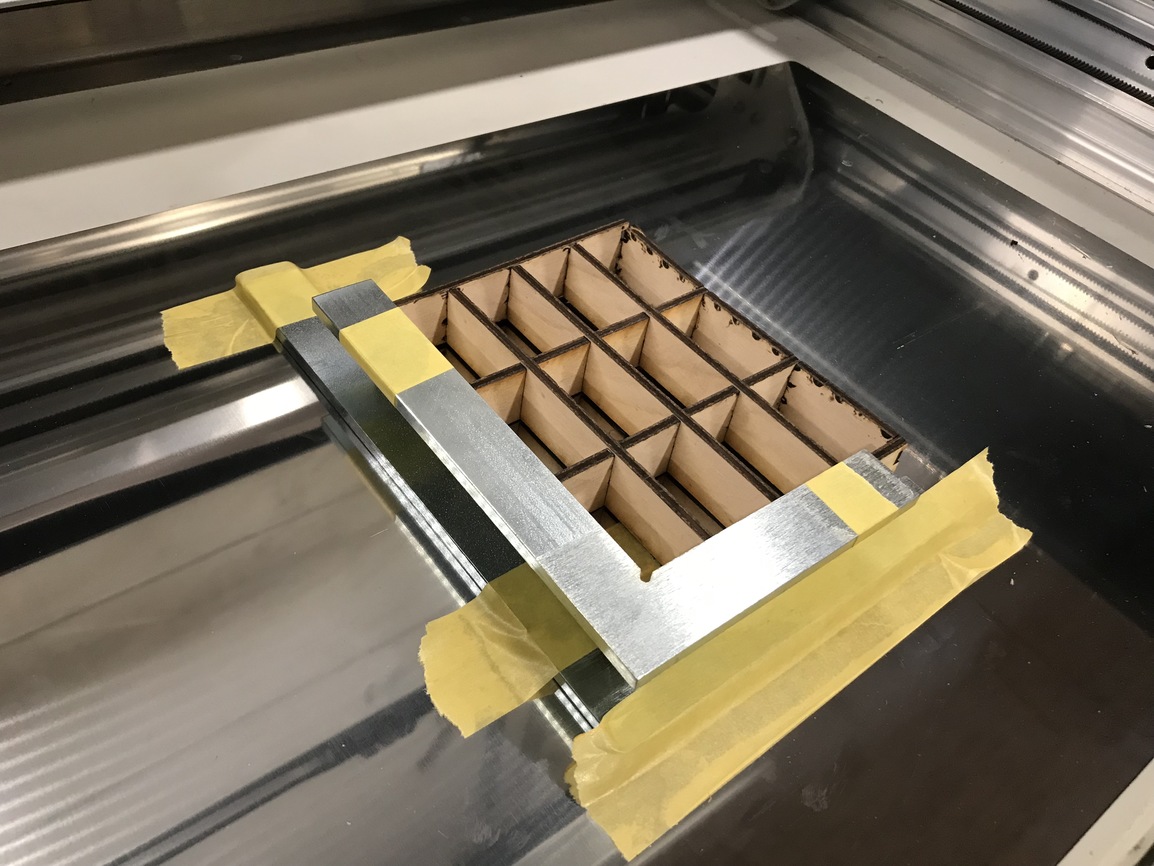
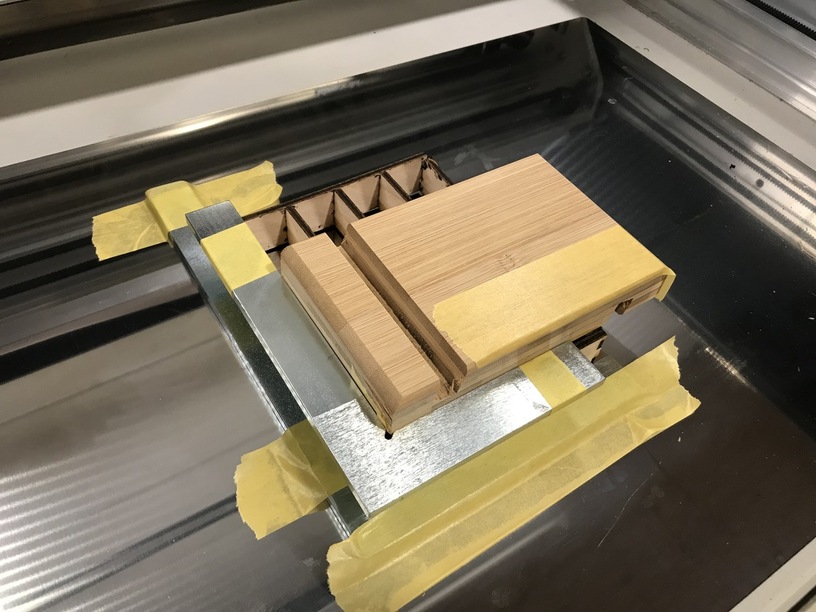
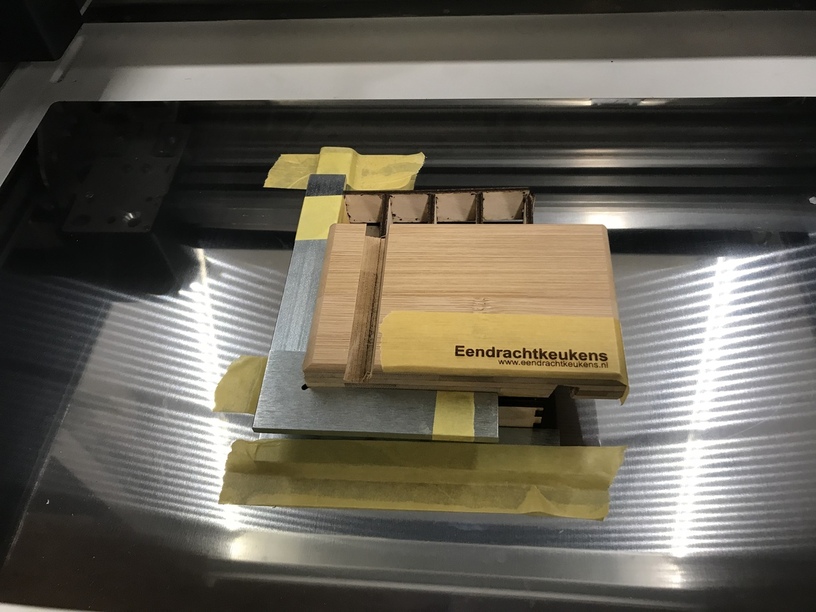
I’m building a house right now and our contractor is also a windmill specialist. Proper 400-500 year old windmills. I wanted to do a project in thin veneer and his logo was perfect to create in layers. I gifted it to him and it now resides on his desk.

Google Photos
Needed to address the clutter on my desk. The design is from thingiverse in 4mm poplar plywood.

Google Photos
Pass through project! with manual indexing I could not get it to line up perfectly. Since the error was the same with all the cuts I think my indexing ruler was off or shifted.

Google Photos
(top left)

but…

Google Photos
Made myself a twohanded powersword!

Google Photos

I tried again after and scaled it down quite a bit to the correct size but I still can’t get the indexing right.

Google Photos
My first real test using acrylics. This is a friends company logo. light to deep engrave. The light engrave is perfect for straight use but not visible enough on this material and I wanted to do an epoxy fill so I needed some depth. also. defocus that laser! the engrave is so much nicer! Instead of lines you get an actual surface.

Google Photos
Big one with epoxy. The big mistake here is that I should’ve used transfer paper before the engrave so I could clean up the epoxy afterwards. I tried sanding but soon scrapped this as a fail. I’ll retry in the future using transfer paper.

Google Photos
Tried again with acrylic paint. The paint cured and cracked. It was still a mess. I should’ve used transfer tape…

Whenever I feel a bit in a corner designing for the forge I go back to cardboard and whip up something easy. The material is so forgiving and easy to work with.

Google Photos

Google Photos
(Notice the inside of the small ‘A’ fell out! it’s right in between the supports…

Google Photos
My favourite alien robots needed to be represented. I might even go ahead and make these into some coasters.

I’m just going to start posting my makings in this topic to have a place to show off here (instead of littering the forum with topics)

also: Proper write-up on the kittyseat: A proper seat for a king to sit on. (Black Panther Throne in Acrylic)

48 Likes

Wow, amazing array of projects! Nice to see a passthrough project, we don’t see enough of those. And you totally picked the right incantation for the key holder!

3 Likes

Great set of pieces so far! (And thanks for the one place to post… I did the same… crazy amount of topics and threads.)

Will definitely be following your creating!

1 Like

Sweet! I’m learning also and love the cardboard so I don’t waste :proofgrade:. I’m being accused of hoarding cardboard :sunglasses: I argue I’m recycling, but when you open a closet and it full of cardboard she might have a point :joy:

Looking forward to seeing your upcoming projects!

2 Likes

Haven’t used the pass through except to make better /easier use of a material … nice to see yours.

You are on a roll, for sure!

Oh, those are fantastic! (Especially love the little dimensional windmill.) :grinning:

You have been busy. Those are great.

Engraved some business gifts for a friend

I had to craft a jig for the fan to not knock into the material (bamboo)

IMG_8826

engraving bamboo gets nice contrast. But the grain will interfere for a uniform look. I decided upon these settings : 1000/80/1 with a 2x focal depth. I had to use the -0.5" riser for this.

And I quickly crafted a makercase cardboard box (it’s not perfect)

6 Likes

Before pulling off the masking (mask before engraving) give it a spray of Minwax Mission Oak poly. That will give you a nice even dark shade.

2 Likes

I don’t know what that is but we’re sure to have some equivalent product in Europe. I don’t think it needs it though.

It’s a polyurethane & stain mix so it’s one-step. It matches the color of lasered bamboo so if you have uneven results due to the grain of the bamboo you can make it uniformly dark.

Here’s what it looks like, it’s available as a brush/wipe-on and in a spray can in both satin and gloss finish.

https://www.homedepot.com/p/Minwax-1-qt-PolyShades-Mission-Oak-Satin-1-Step-Stain-and-Polyurethane-613850444/202061450

Similar to a Danish Oil finish - not sure who manufactures those in Europe or what colors you might find that can match the bamboo engrave color.

Is it food safe? If you put that on a cutting board for example, will I have to worry about toxity when dried and cured?

Don’t know. I use a butcher block oil treatment for cutting boards & wooden spoons. Danish oil & Minwax for other non-food projects.

1 Like

I’m trying to figure out how to even out the color on bamboo for cutting boards. Hmmm.

Usually I figure the engraved side of a cutting board is just for show so I’d use it.

I did look and Minwax says it’s food safe when fully cured. The FDA says hard film finishes including polyurethane are considered food safe as well.

1 Like

That’s what I’ve been doing. I label one side for food and one not, but if poly is non-toxic when cured then BONUS!

1 Like

I just did a search of “defocus” and, honestly, am still confused. Can you tell us more about this?

What specifically are you confused about? Might help to fosrmulaate an answer. The basic idea is you enter the “wrong” height, focusing the laser either too high or too low, which makes the beam wider and weaker at any given point where it hits the surface. It has its uses, which I won’t get fully into yet.

Just let us know specifically what you want to know and someone can flesh the concept out for you.

Thanks for the reply. Specifically, I’d like to know when it makes sense to defocus and how to do it correctly. Assuming it means adjusting the setting for the thickness your material, do you move the lens closer or farther away from the workpiece?

Yup!

I’m not sure it matters too much physics-wise. Think of the beam as an hourglass or X shape (it’s really 2 cones that are tip-to-tip), where the focus point is the narrowest part. If you move up or down from there, it should widen by the same amount, so I think all that matters is how “wrong” you are. As in, if you move it 1/8" too high or too low it should be the same result.

This is all theoretical, I haven’t done it, so someone with more empirical evidence might disagree. The physics check out, though.

1 Like