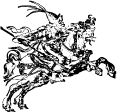
Hello! I’m trying to engrave the attached image on to thin leather. I’ve tried dozens of combinations of speed, power, lpi and dots/pattern/vary settings. Nothing is giving me the level of detail that I can see in the image as it’s displayed in the GF interface. Any thoughts?
Maybe if you uploaded an image with the setting used people could offer insight. It is hard to offer suggestions if you have already tried so many things without seeing what it is that isn’t working for you.
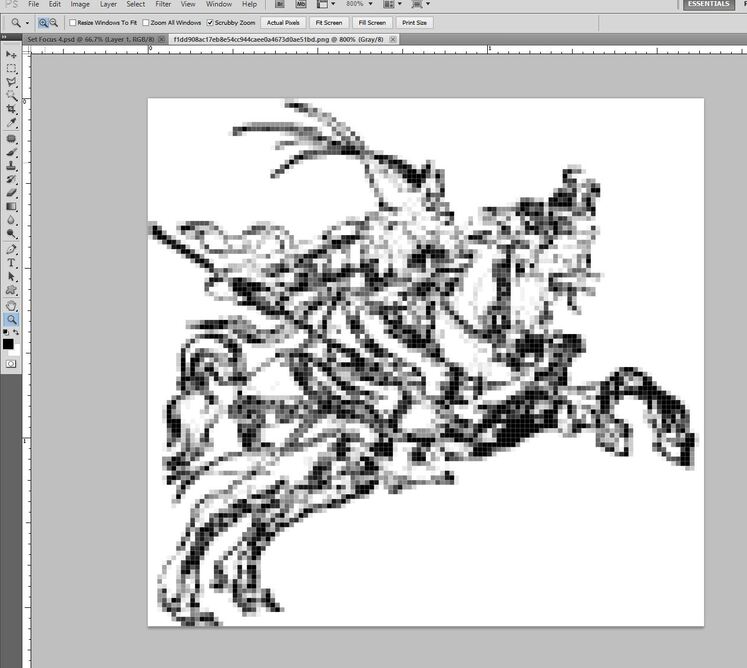
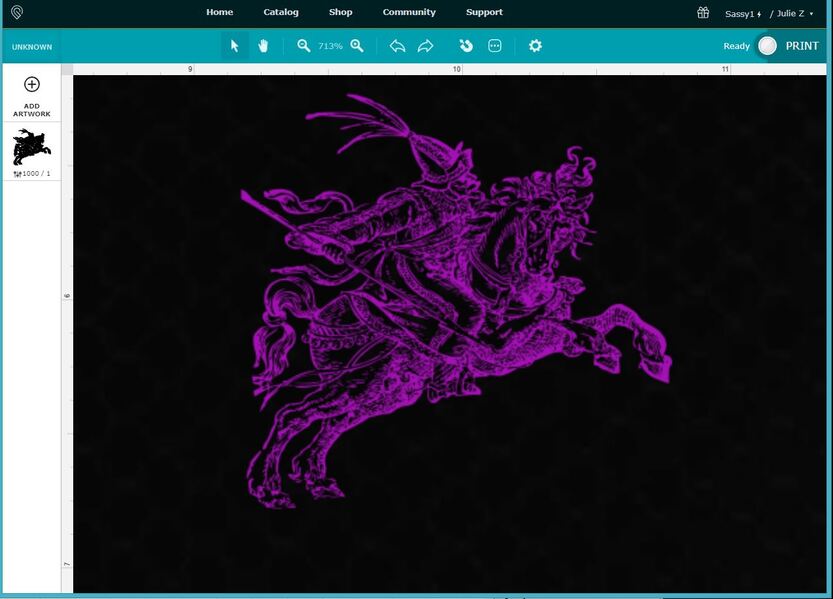
Is that the actual image you used? It’s at incredibly small resolution, and it’s only a little over an inch square in size. Here’s what it looks like blown up larger in Photoshop so you can actually see it, and you can see the scale for size up at the top:
The Glowforge can only work with the data it’s given…if you’re trying to print it larger than an inch or so, you’re going to get a pretty pixelated image. Most images culled from the internet are pretty bad…it costs money to store data, and images tend to run only 72 dpi on the internet. They display well on screens, but they print lousy.
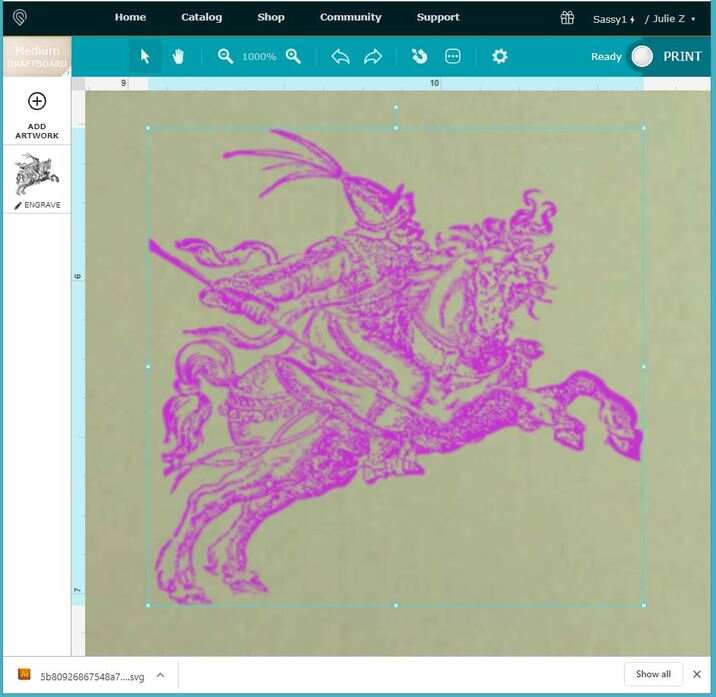
@Jules that wasn’t the actual image – I didn’t realize I could upload svgs here. Attached is the actual image, actual size. It’s small, but there’s plenty of detail.
Your SVG file is a vector, not a raster image. That’s good in a way, because you can scale it to any size without losing clarity.
Bad news is, two things:
It’s obviously the result of an auto trace, and when it was traced, the white space was selected along with all of the dark colors. That makes a real mess that needs to be cleaned up before using it in vector form. (The GF will treat white filled shapes exactly the same as black filled shapes…it will engrave as a solid block of color.)
The second issue is that the image you have chosen is incredibly complex from a vector standpoint…there are a lot of little paths for the software to try to figure out how to move the laser head. So it might hang up in the buffer.
So…the one easy fix for that kind of image is to rasterize it (turn it into a PNG file) at a high DPI before you try to engrave it. Since the size is very small at about an inch and a half, you’ll want to use an extremely high DPI if you want to capture the details in it, and you’ll need to rasterize it yourself before you take it to the Glowforge. The Glowforge is likely going to rasterize it at 96 DPI (default). But you’ll want to use from 450-600 DPI on that tiny image.
If you do rasterize it, be careful of the background white space that was created with the auto-trace. You will likely see a rectangular border created around the image. If that’s what you want, it’s fine, just be aware that it’s going to be there because you are going to rasterize it into the image. Delete it if you don’t want it there before you rasterize.
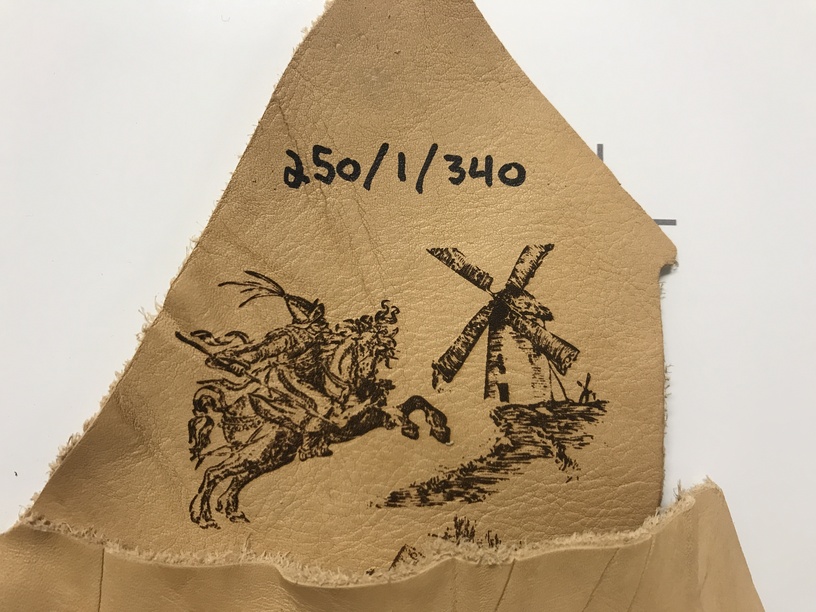
This is what you can get with the image turned into a high resolution (600 DPI) PNG file. (I got rid of the outline square before rasterizing it. If you still want a border, draw it back in with your drawing program.)
@Jules First, thank you so much for your time. I really appreciate it.
I’ve tried the file you posted a number of ways, varying power (from 1-4), lpi (225 to max), and dots/patterns/vary settings. Speed I’ve kept constant at max. None of the results render the details of the image well. Is there a factor I’m not considering? Or am I expecting too much? Again, thanks very much for your time and help.
Unfortunately that might be all you can get out of it at that size. It’s printing with spaced dots to give the illusion of shades of gray, but that really works a lot better with larger images. (It’s a “fool the eye” effect called dithering.)
If you wanted to do a straight up black and white vector engrave, you will get a more uniform burn, but only two colors. Black and white (or burned and unburned).
If you want to do that, you will need to subtract out all of the white areas in that image, turn the whole thing into a compound path with the completely surrounded white areas removed from the black in the back, and you are talking about a major undertaking with that design. And I’m afraid the GFUI couldn’t handle the results…
…And I am completely wrong. (Just goes to show, you really do need to check things before assuming things are still working the way they did…the Glowforge CAN handle that as a vector now. They keep improving this thing all the time. Didn’t even take long.)
All right…final shot at it, and I would recommend masking the material if you don’t want smoke and resin staining on the unburned areas. (Or it’s going to come out looking like a solid silhouette.) You’re going to have a heck of a time getting the masking off, but there aren’t many choices. (You will need to adjust the power for cutting through the masking too.)
I removed the white and turned that into a single Compound Path. Next time you auto-trace one, make sure to select Ignore White when you trace it.
@Jules thanks very much, again. After a bunch of tests, I can conclusively say we’ve come up against a limitation of the machine. Which I don’t mean as a criticism of GF; but very good to know about. Again, I really appreciate all the time you put into this. Thank you.
Whoops, sorry, I saw your PM before this one…didn’t realize it still wasn’t working for you.
Did you try that last file I posted? It should engrave with pretty good detail. Maybe you just need to work on your settings. I’m going to recommend some, with a trick, but it means I’ll have to shift this to the Beyond the Manual section.
Okay, my top secret technique for engraving on leather is:
Carefully remove the top surface masking, keeping it intact, because you are going to use it later.
Put separate masking on the back side for the cutting stage. (Any masking tape will do.)
You are going to do this in steps or stages, the first stage is the engraving part, but it is critical that the material not shift on the bed, so cut yourself some of these Honeycomb Pins out of scrap wood and use them to tack the leather down - flat.
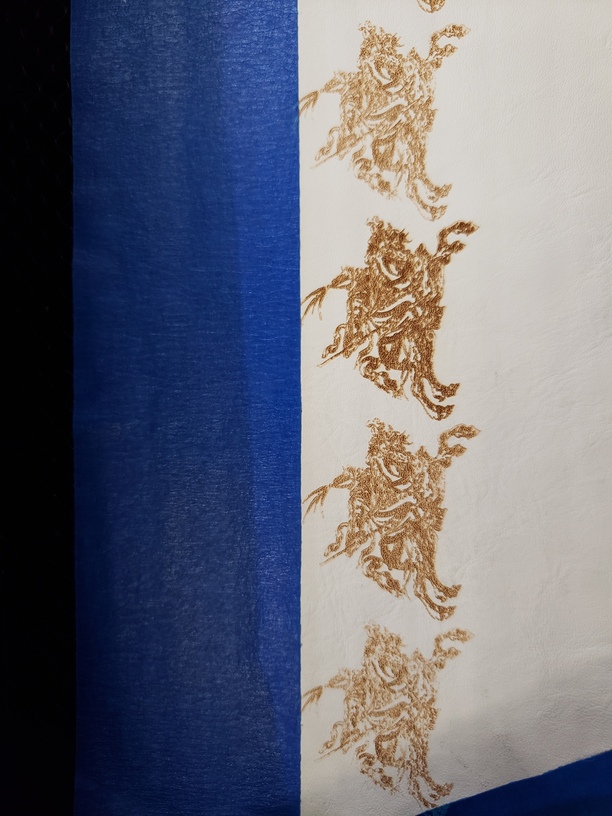
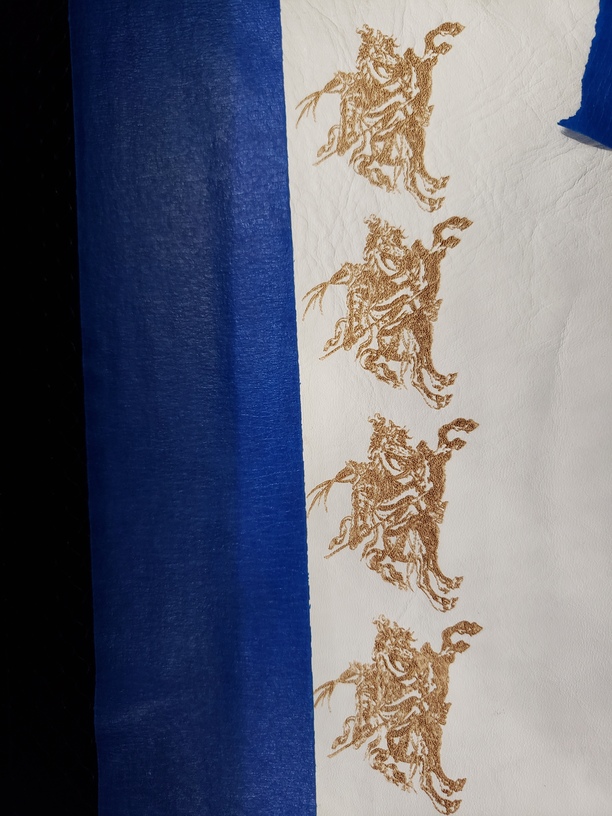
With the top surface exposed, for the veg-tanned PG regular leather, you will use 1000 speed/ 2% power / 195 LPI. (With the convert to dots option. Do not use Vary Power.) If you want a nice even brown result, use one pass. If you want to darken it, send a second pass at exactly those settings after the first pass is completed, and without touching the leather on the bed.
After you have the engraving looking the way you want it, lay the masking back down on top of the leather, squeegee it on with a credit card, and do the cutting part. Do not under any circumstances let the leather shift on the bed, you might need to work around the honeycomb pins. Just make sure there is masking over the area where the cut is going to hit.
Oh! Thank you. I had been using the most recent file, but I will try again with the process you suggest above. I’ve changed tack for this particular project, because deadlines, but it would be very valuable to be able to do this level of detail successfully. More tests, and I will update.
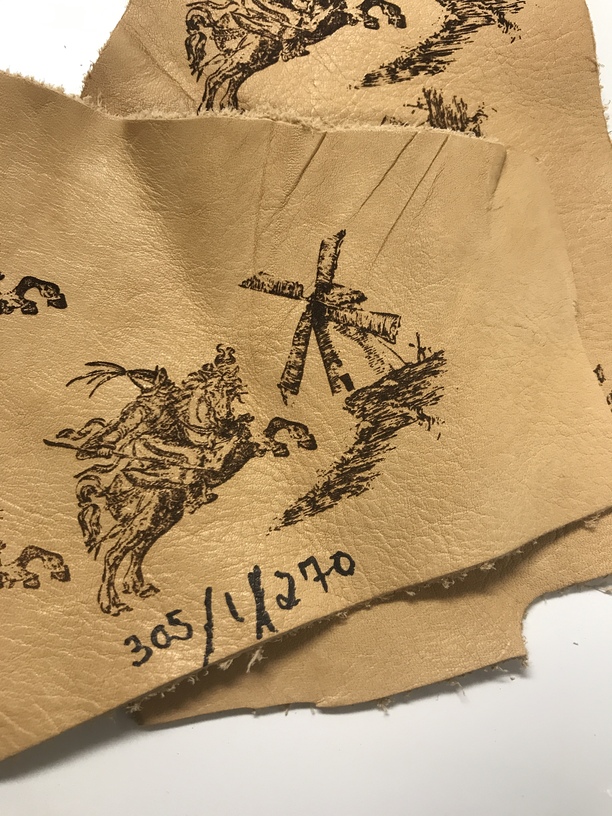
i generally find that very fine vectors, especially vertical lines, can be helped out a lot by slowing the speed down. I pulled the original vector that was posted into AI, and removed the white parts by selecting one of the white layers, and then using the Select>Same>Fill Color menu command, and then hitting delete. I also ran the Object>Path>Simplify command at 97% accuracy, and then put a box around the whole thing (which could have been a cut line, but I just set it to ignore). I ran it a at a few different settings on some scrap Tandy leather that I had laying around, and these seemed to be my best results: