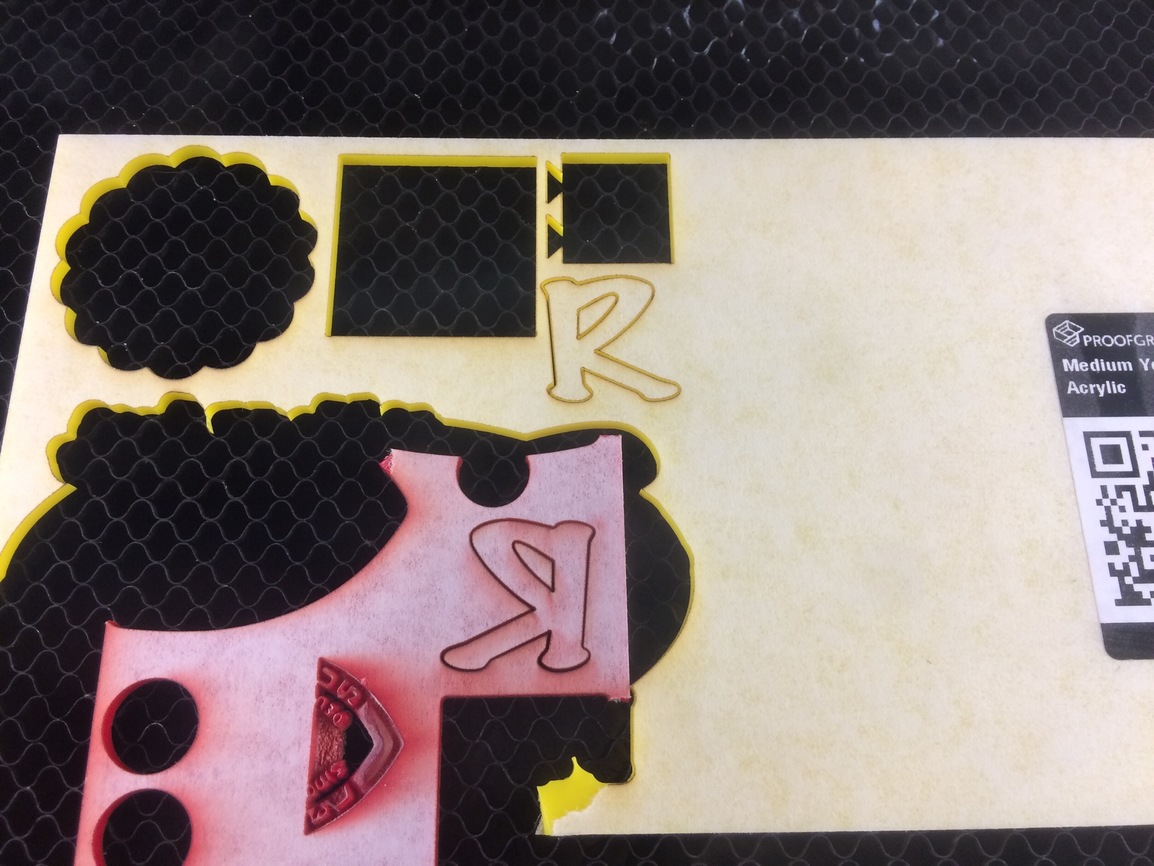
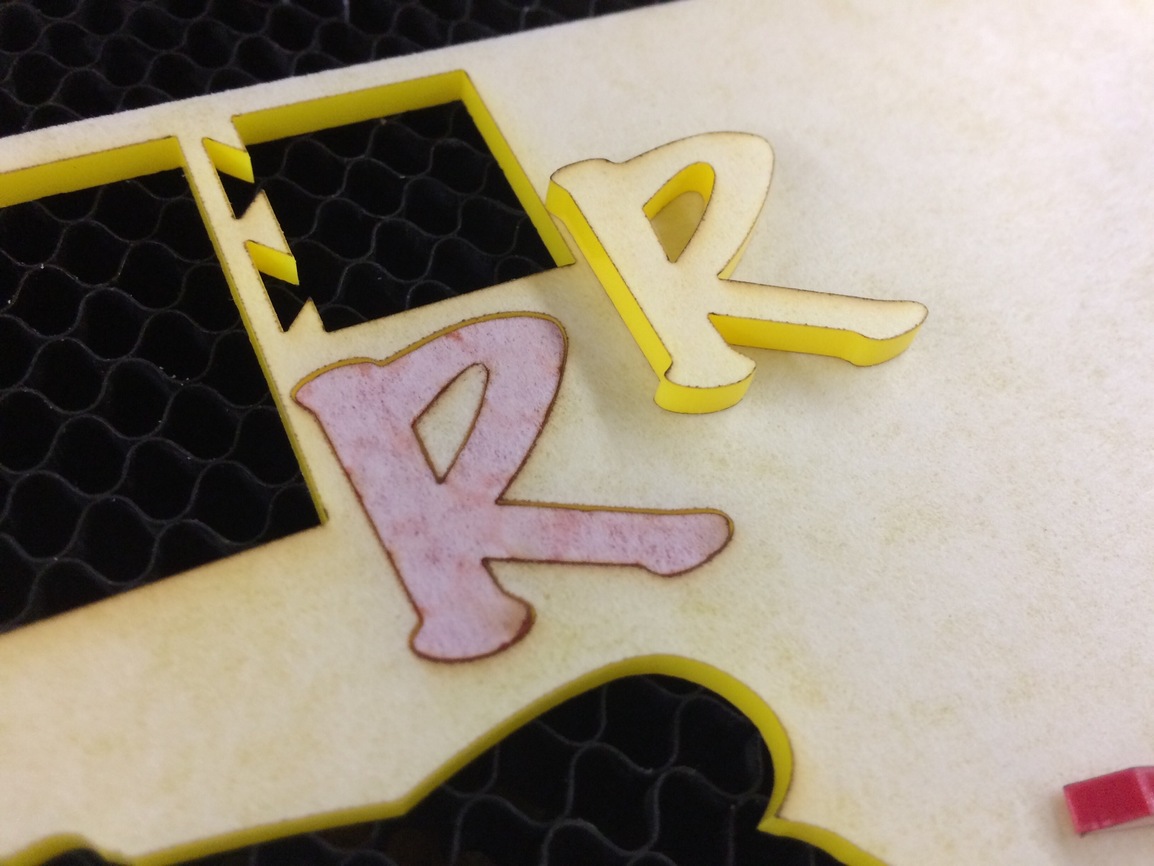
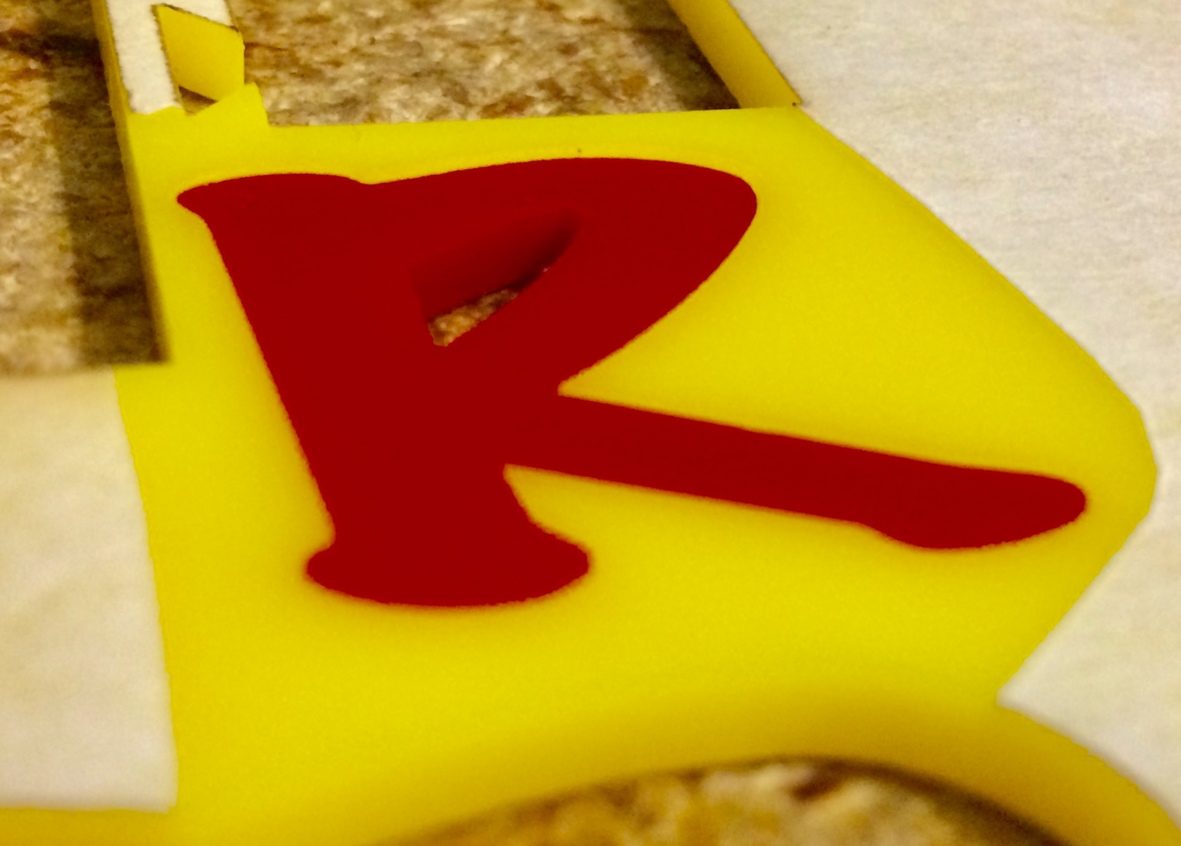
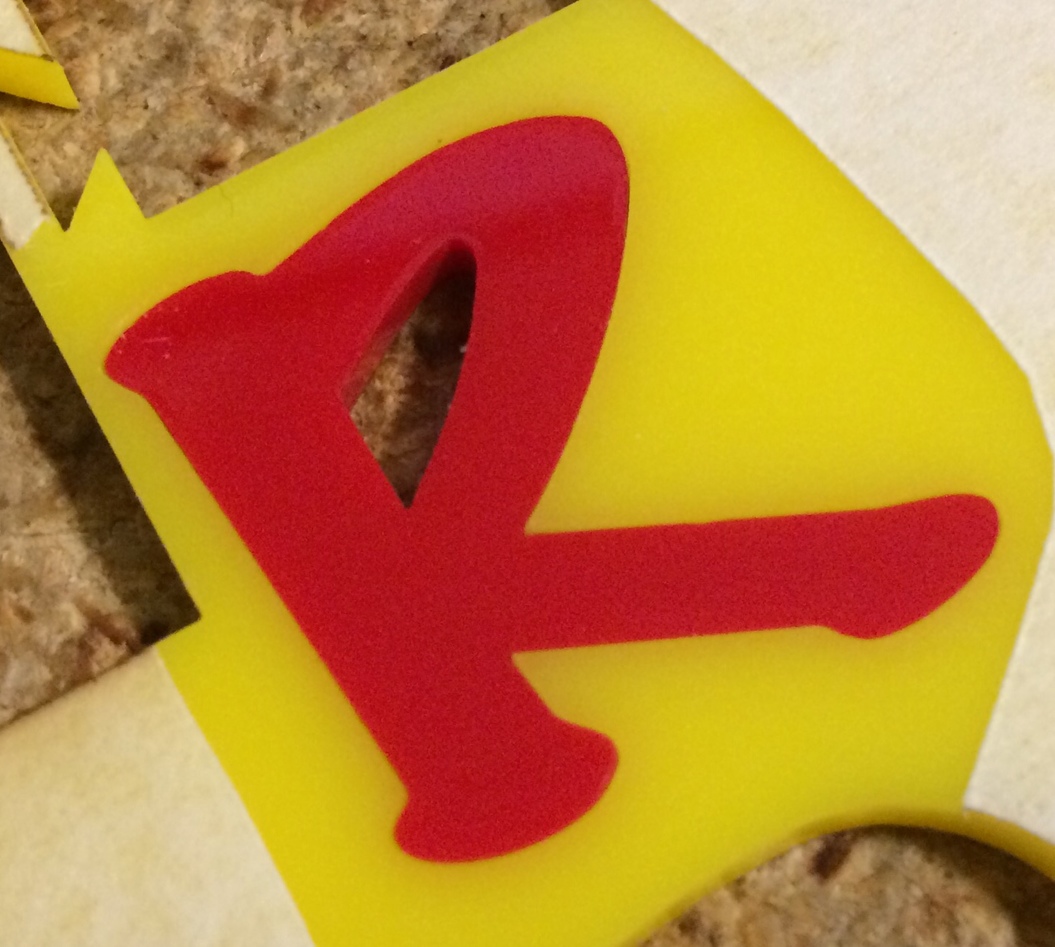
I have a project where I am making a back lit sign. I want to use white acrylic for the background then use red acryilc for the in-set lettering. I guess I would call this an inlay. I have done a couple of tests where cut the spaces for the letters out of the background and then cut the letters themselves out of red acryilc and set them in the white acrylic. I compensated for kerf on both. The resulting fit is not that great.
I’m wondering if anyone has done this and if you have any tips for getting a good fit and finish?
Also I want to engrave a logo on the background and just color it in with black. Something like using sharpie on engraved tile. Is there a paint like product that you recommend for filling engraves on plastic?
To do the inset lettering, try making a mirror image of the red lettering, and cutting that. Then when you flip the letter back over to set it into the background, the slight angles of the cuts will mate and create a tighter fit.
I’ve used water based acrylic paints to fill engraves on acrylic plastic. You can use toothpicks to apply tiny amounts of paint into smaller areas and the paint will wick itself across the engrave fairly well. If any paint gets on the top surface it can be easily wiped away with a damp towel.
For reference, the acrylic I used for this test is Medium ProofGrade red and yellow.
I adjusted for .008" kerf. It’s a pretty close fit but I’d probably want to experiment again with .007" (or smaller if needed) or solvent weld these together with SciGrip 3 if I wanted to make sure it stayed together over time.
Here’s a trick to make it easier. Type out your text, remove the fill color then assign it a stroke width equal to the kerf you wish to use, in your case .145mm. Go to “Path>Stroke To Path” and that will change the stroke to both the “inside” and “outside” paths you need for the laser to follow. Go to “View>Display Mode>Outline” so Inkscape shows just the outlines of the paths. From there you break the paths apart then carefully separate them as needed.
You might try using Sharpie paint pens or at least oil based pens to do the engraved logo. I’ve used them several times on acrylic. Just color the engraving before removing the masking.
That is the way I did the kerf adjustments but I never changed to outline mode so it was very hard to see what I was doing. Thanks for that tip it makes a big difference.
Do you or @mpipes know of a site or thread on the basics of kerf adjustment? I presume I have the idea but just was wondering if maybe there was a best practices process laying around.
Never tried reversing a piece but I have found that sometimes you are better off pressing the piece in from the back than the front. Kerf does sometimes vary across many copies of an object, I don’t think there is one perfect setting.