I recently curated an art exhibit titled “Tactile Vision” at the Graphite Arts Center in Edmonds, WA. This exhibit is created especially for people with vision impairments or are blind. Every object in the show is meant to be touched. Often an exhibit will necessarily have signs that state “Please do not touch the artwork.” This show reverses that notion.
The exhibit includes stone and bronze sculptures as well as art made of glass, wood, clay, and paper. Each object is identified with a text and braille label.
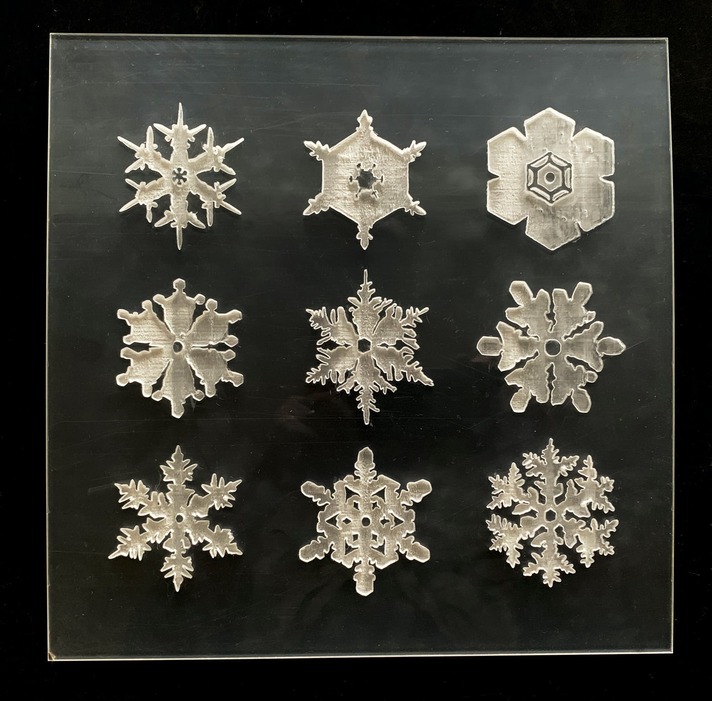
I specifically make nine paper snowflake embossments on a 12" x 12" panel for the exhibit. Using my GF Pro, I engraved the snowflake patterns into an 1/8" acrylic panel purchased on the internet. I used a speed of 1,000, full power and 270 lines per inch. I first made 3 passes but added another pass in order to get a depth of about 1/8". The process took my machine about 4 hours and 15 minutes.
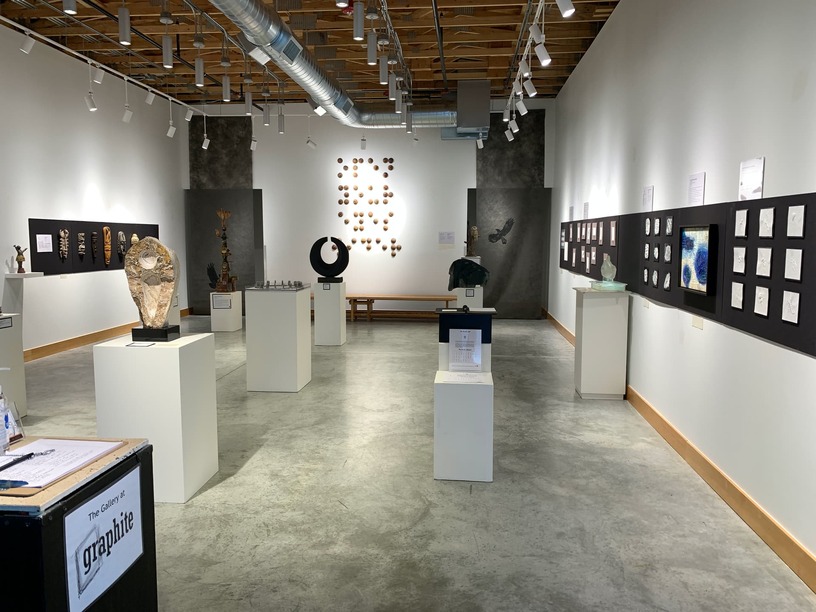
This is an image showing the exhibit space at Graphite. Many people who have visual impairments or are blind have visited this show. It’s free to the public and runs through June 17th.
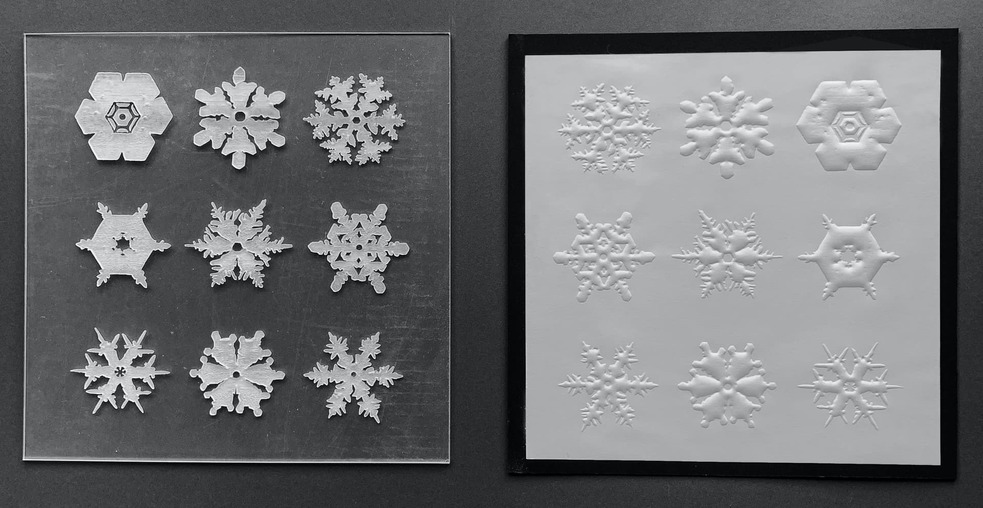
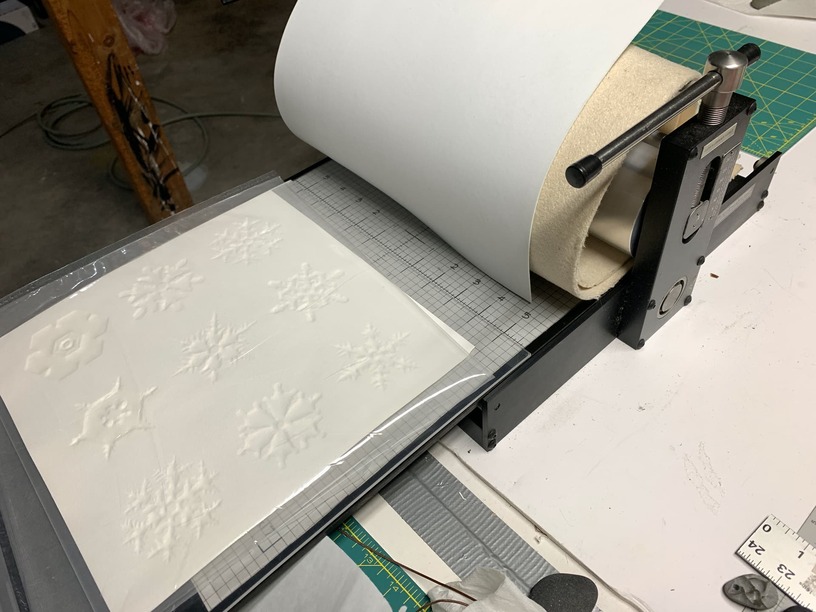
For this project, I used my etching press to make the 12" x 12" snowflake embossment. In the photo below, which shows the paper already pressed,
I first place the negative acrylic mold and a sheet of dry printmaking paper inside of a plastic bag that has been cut open. This allows me to use more pressure from the roller without tearing or cracking the paper. The plastic absorbs some of the pressure and preserves the smoothness of the paper.
Above the plastic is a sheet of foam paper, an 1/8" sheet that can be found in the children’s art section of craft stores. Above that are two thin blankets that also put pressure into the foam sheet, the plastic cover and the paper.
For smaller paper embossments, I use a vacuum system, like a FoodSaver, but this snowflake acrylic panel is too large to use this system. For a detailed explanation of how I make embossments this way, you can watch my YouTube video “Make Detailed Paper Embossments Using a FoodSaver.”
This is a metaphor for exploring new ideas, new ways of presenting things. Those are clay half-spheres on the wall. The artist who make this is Mary Ann Tokars-King.
Yes, you can create a file for the braille to be shown on the embossed paper. I use a braille transcriptionist person because braille, done correctly, is pretty complicated. You have to know how to modify uncontracted braille (each braille cell represents a letter or symbol) to contracted braille (combinations of letters like “ing”, “sh”, and others) because most braille readers use contracted braille. But, you have a good idea: I have made braille output using my Glowforge. My braille transcriptionist couldn’t find any difference between my Glowforge braille and her output from a professional braille-making machine which is called an embosser.
Wow, that’s really interesting regarding the braille beads. I didn’t know about this at all. I was able to create braille by experimenting with different diameter holes that the GF drilled into 1/8" plywood. I had to create the braille holes backwards (left to right reversed) so that when paper was pushed into the holes and turned over, the braille read correctly. With the bead system, you could position the braille beads in the correct reading position, not reversed. Thanks for bringing this method to our attention!