Hello,
I’m new to the glowforge and hoping to get some insight…
I engraved one black anodized aluminum license plate and it turned out great. Now my brothers want matching ones! Lol
I am going to attempt to do all three at the same time. I’ve got them in place and the vectors placed where I want them [ ||| ]… But when I manually tried to set the focus, the fisheye camera moved the placement on the outer two… Should I leave everything where it is and go ahead and press start or should I adjust the vector location on the screen so that it looks right?
Thanks in advance!
2 Likes
I would suggest doing one at a time.
Put some thick blue painter’s tape or masking tape over the part of the plate you want to engrave. Put the plate in the machine and tape or pin it down so it can’t move.
Click “set focus” then on your plate, and make sure the red dot lands on your plate. Set the engrave power to 1 and start the job. See if it’s engraving exactly where you want it to be on the tape. That will give you confidence in the location the engrave will occur regardless of accuracy of the camera.
You can then pause, cancel the job, and remove the tape without moving the design or the plate. Set the settings back to what you normally use to engrave anodized aluminum, “set focus” again, and run the engrave. So long as you don’t move the design on your screen, it’ll engrave in the same location in the real world the second time, regardless of what the camera shows.
The camera image is going to be less accurate the further you get from the center of the picture. It’s not worth messing up two license plates in order to save a few minutes of setup time between them, IMO.
Good luck!
P.S. Someone will come and move this thread out of the Problems and Support forum. Posting here opens a support ticket with Glowforge staff, and they can’t provide help for non-proofgrade materials and settings.
7 Likes
@dan84 suggests what i usually do. You could also cut ‘3’ of the shape of the license plate and cut it out of paper or cardstock. Then put the license plates EXACTLY where you remove the cut out portion and DON’T move anything on your view. You can edit inside the plate, but don’t move it. It usually doesn’t look right on the screen because of the fisheye camera, but it will be right.
Do a search on ‘jigs’…
6 Likes
I’m adding to this because I’m not seeing it in the prior responses. What was said before is 100% accurate - but I want you to be aware of a 3rd option 
Set Focus is solely for placing your art so you would Set Focus on Plate 1, and place your art; then Set Focus on Plate 2, then place your art; then Set Focus on Plate 3, then place your art.
1 will look off when you set 2, and 1 and 2 will look off when you set 3 - but you know you placed your art correctly so you ignore that. The fisheye will only look correct for the last place you Set Focus. I do this all the time when using up scraps
5 Likes
why did I never even think you could set the focus to multiple spots!!! *face palm
2 Likes

I’ve tried this a couple times and found it actually didn’t work, only the last set focus item came out correctly.
2 Likes
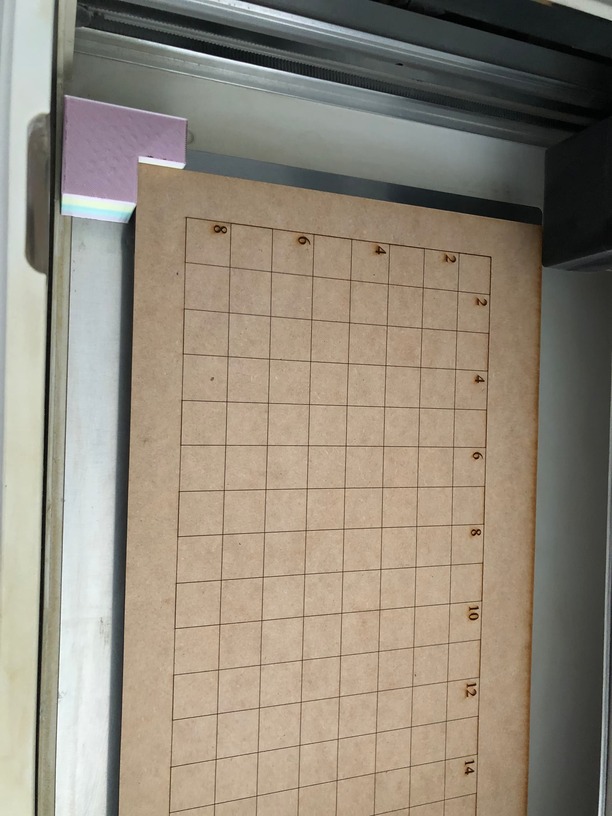
![]() Looks like my CNC wasteboard.
Looks like my CNC wasteboard.
2 Likes
I am not familiar with that one but would certainly be interested in learning what that is. Is it a design you posted to the forums for reinserting a grid?
The things I am using are just what I 3D printed to line up to the edges in the base. My 3D printers primary purpose is to make Disney ears and so that’s why everything that comes out of it is some magical concoction of colors ![]()
1 Like
A wasteboard on a CNC router is placed on top of the machine’s mounting surface so material can be held down using mechanical fasteners (brads, screws, double-sided tape,CA glue tape, etc). When you’re cutting, if you haven’t set things up correctly, the router bit may cut below the bottom of the material. If it does and you’ve got a wasteboard, it gets chewed up but the table is fine. Without one, the bit can cut into whatever you have the machine mounted on.
Typically they’re just plain MDF sheets because it’s cheap and relatively soft so it’s not too expensive to replace and if a bit does go rogue on you, it probably won’t break the bit (which can be expensive - average about $50 each).
A handy technique in the CNC community is to lightly engrave (typically using a 60 or 90 degree v-bit) a grid spaced evenly along the x & y axis. Because the router is doing the engrave the grid is precisely aligned with the machine’s x & y axis rails.
Often the grid is enhanced by adding measurements to make finding specific locations on the board easier or instructions like “1. turn dust collector on”, “2. boot controller”, “3. turn router on” etc or even a table with router settings & their corresponding speeds. My wasteboard setup is 48" x 33" which is the limit of the directly addressable design positions - longer than that & I have to use tiling in the software and sliding the material up.
When the surface gets janked up enough, you use a special but to shave off a tenth of an inch or so and then you run the wasteboard engraving project again. Super handy until the board is too thin to use and then you just replace it with a fresh sheet of MDF.
2 Likes
I don’t know what to say, I use this almost every time. The only issue I’ve ever run across is if I tried multiple items that were different thicknesses - it will still do all of them at a single focus - but for placement it works 100% of the time.
1 Like
 I wish it worked here, would save so much time! I don’t think I’ve ever tried to GF different height items in the same job. Old reliable jigs it is for me.
1 Like
This topic was automatically closed 30 days after the last reply. New replies are no longer allowed.