I had a lot of fun with this one! After making one for a friend using someone else’s pattern I didn’t like how most of it came out, so I sat down and using some graph paper I designed this pattern from scratch, adjusted for using a smaller stich and went to town.
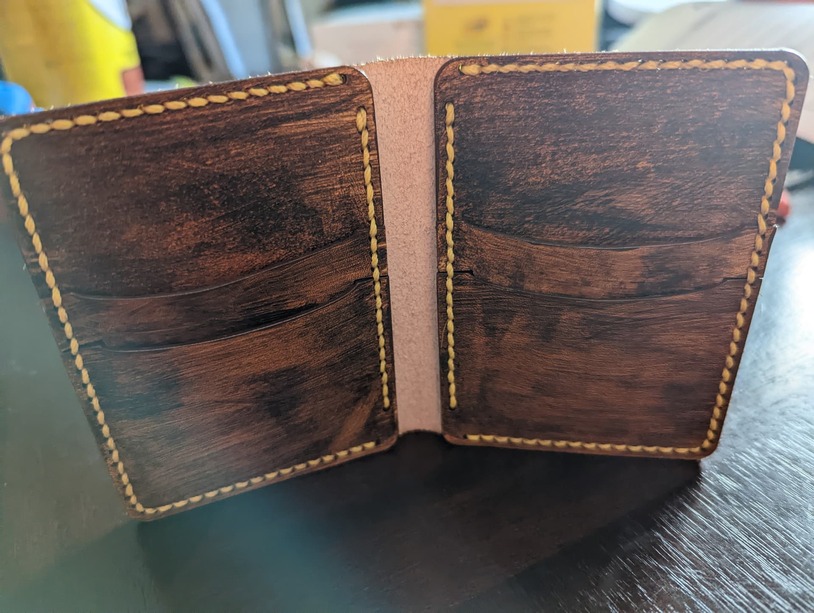
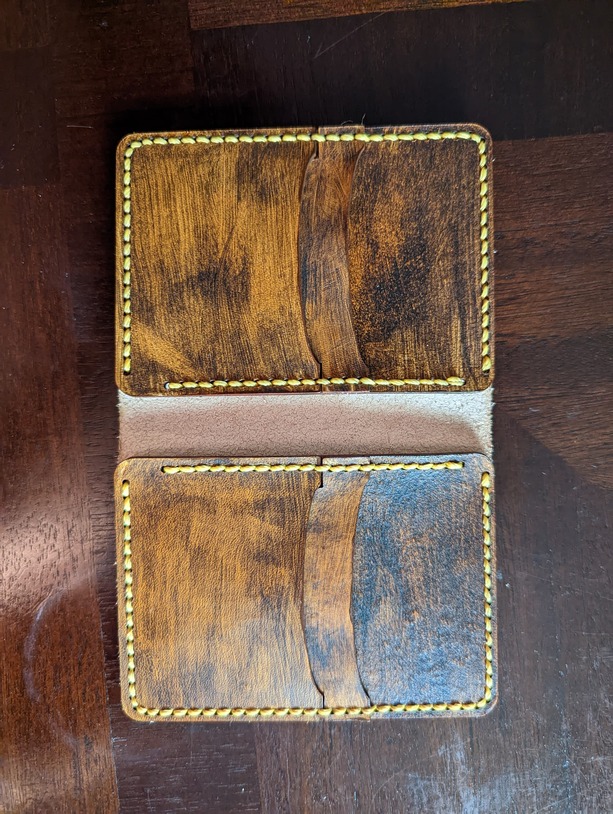
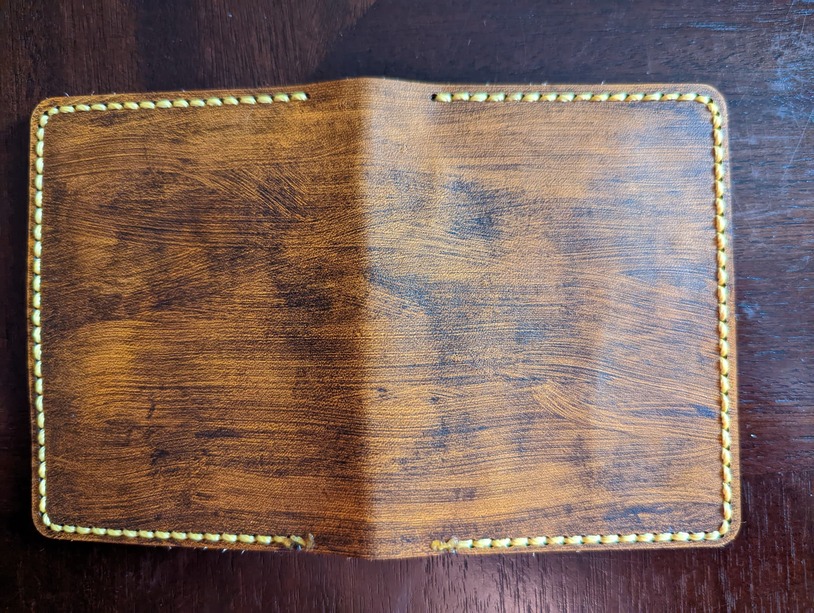
This was my first time dying proof grade leather so I wanted to try a “Streaking” method I had seen online before. Basically instead of using a cloth to wipe it clean you use a foam brush with a bit of excess dye, leaving the pattern slightly streaky looking. After playing with the pattern for a bit it looked like a wood grain that I was aiming for so I let it dry, and the rest is history!
I also found that using toothpicks as a hole cleaner for soot left over by the laser can be very convenient, albeit tiring on the hands.
The stitching is always the first thing I look at in a leather piece, and yours is very nice indeed! Love the wood grain effect as well.
For cleaning the holes, I usually thread some Pearl cotton onto a needle and run it through each hole. Sometimes I’ll soak the thread in alcohol first. But it’s probably not any easier on your hands.
Thanks for the tip, I don’t have any of that cotton so I worked with what I had and it actually didn’t turn out badly. My wife loves how clean my stitches are
Yep! I wanted to graph it all out because I wanted to make it my own, and I didn’t want to be accused of stealing someone else’s designs. Over all I’m really thankful for the Glowforge skills I’ve acquired over the last year because templating it out in ink scape was a breeze!
I bought one of those little gadgets that are supposed to make paint look wood grain years and years ago. I have yet to use it. I may have to woodgrain a board and then engrave it on the GF. Hmm…