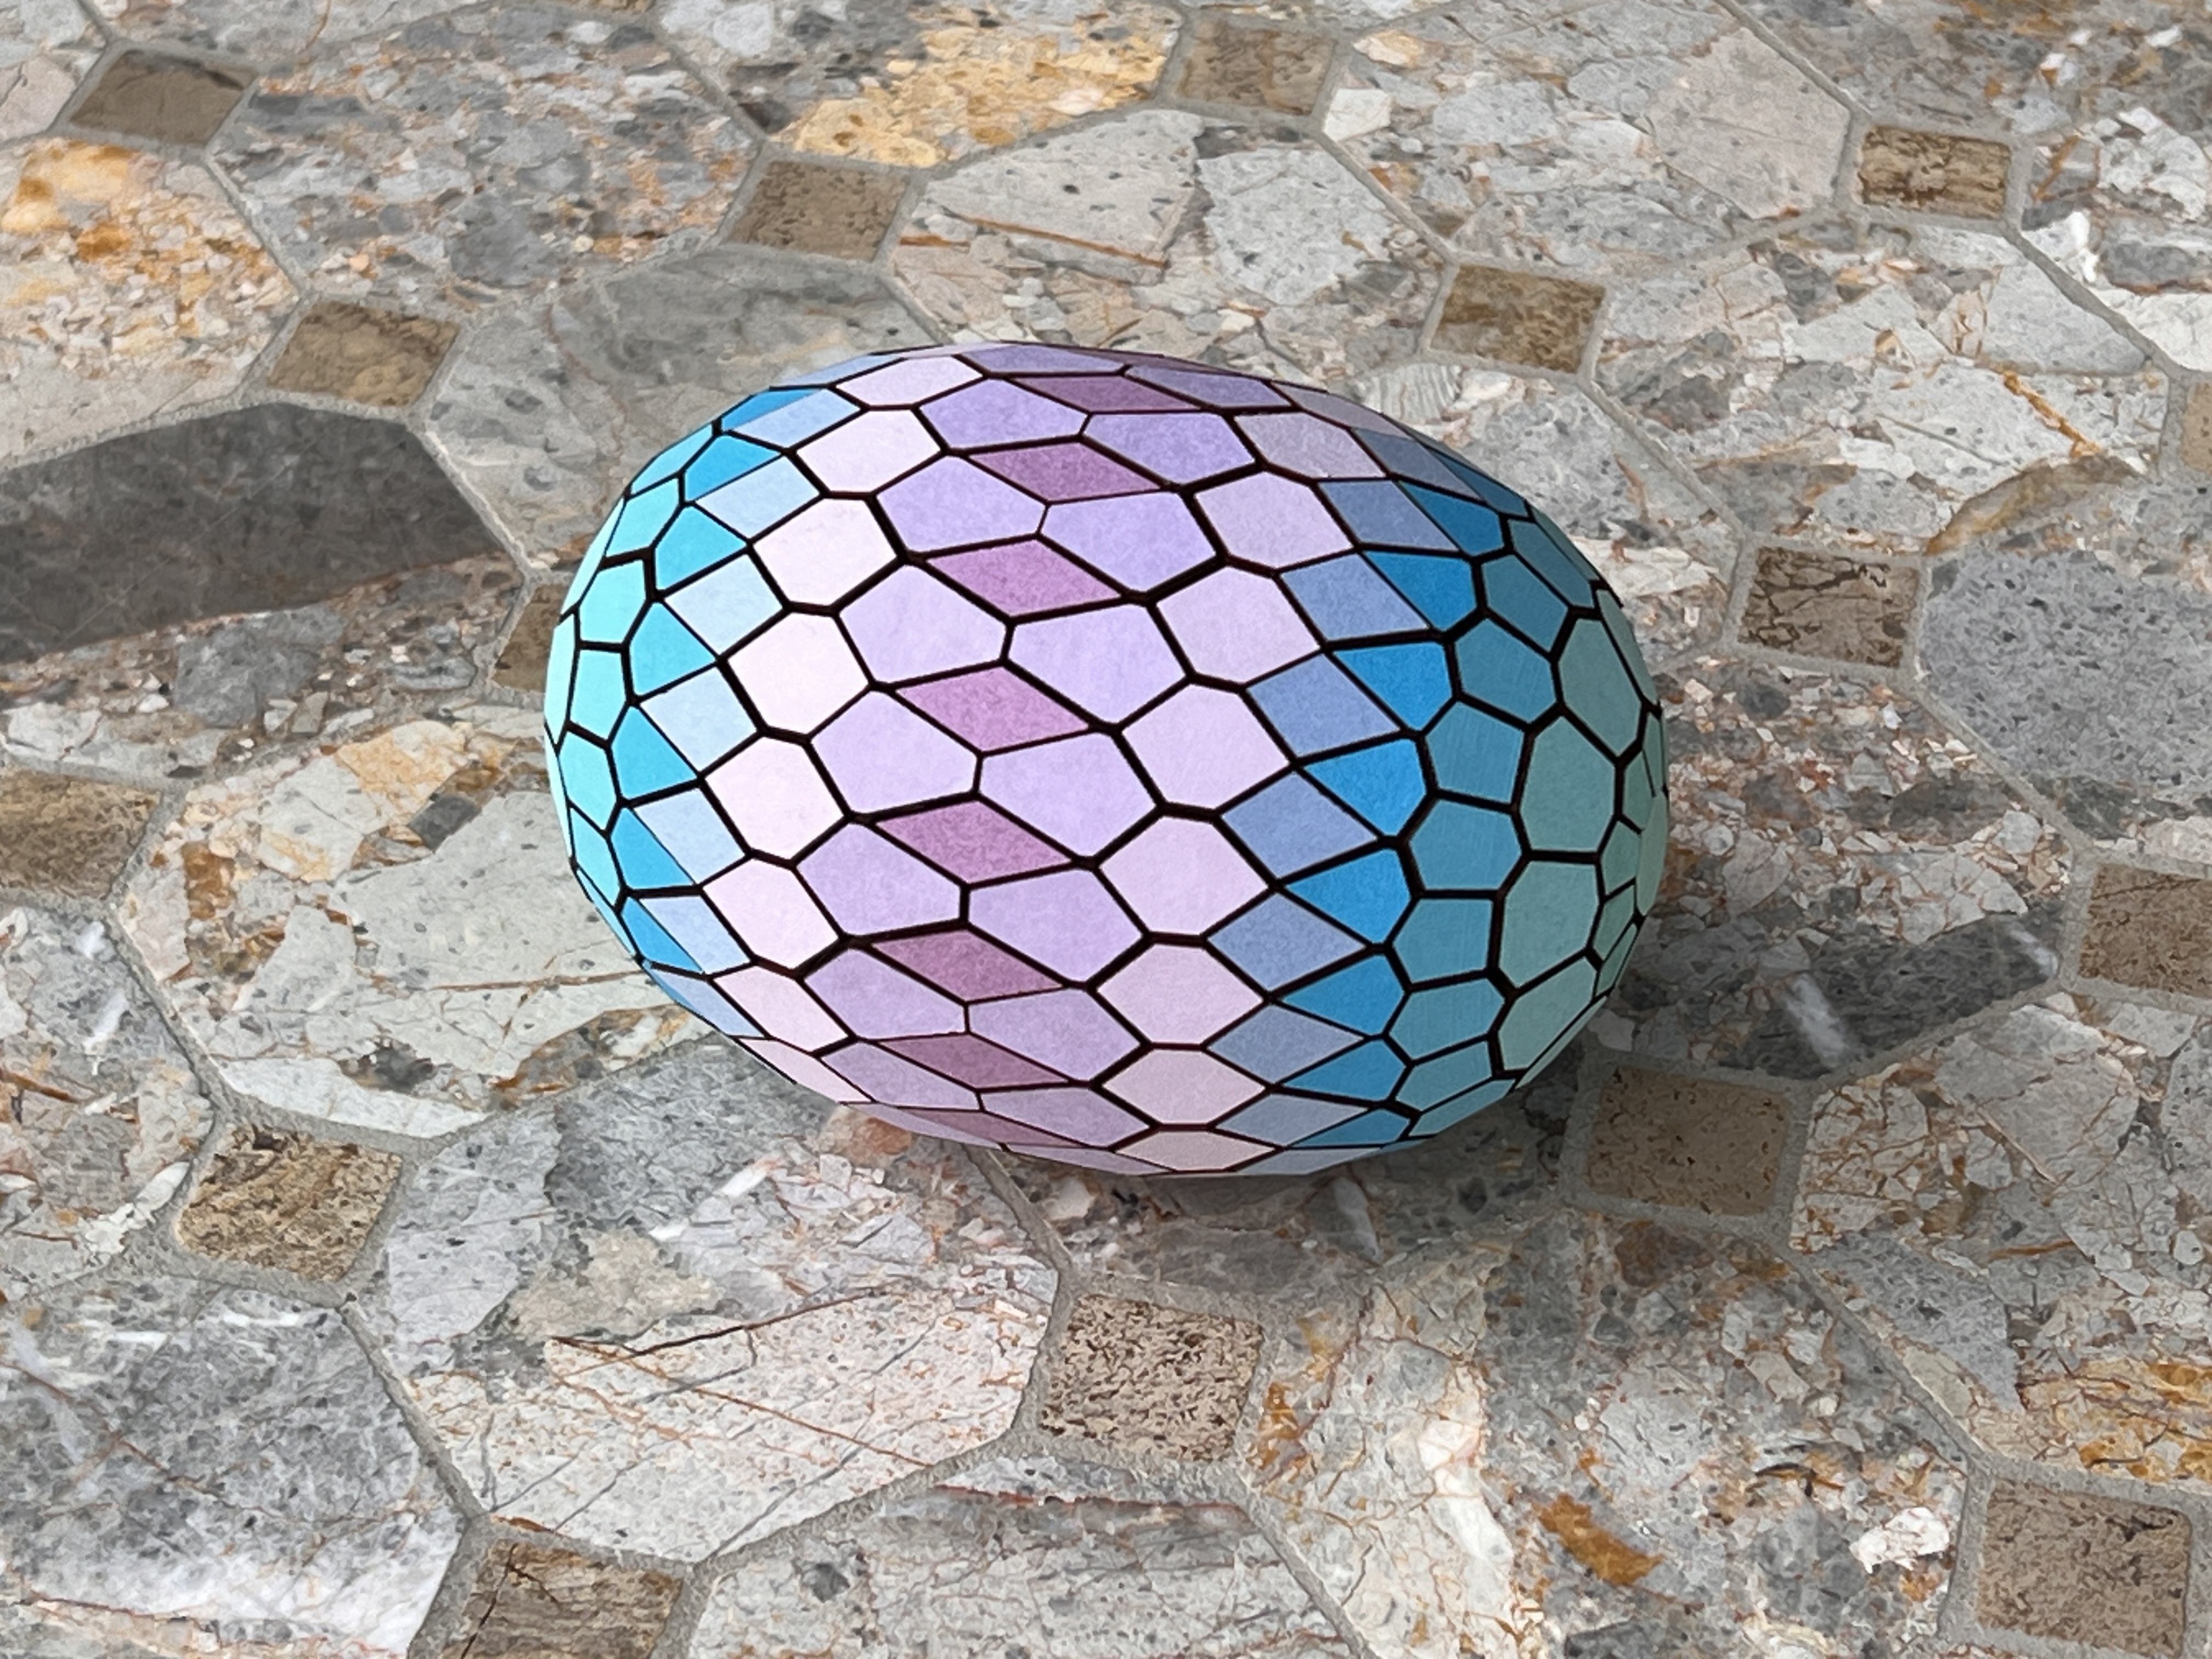
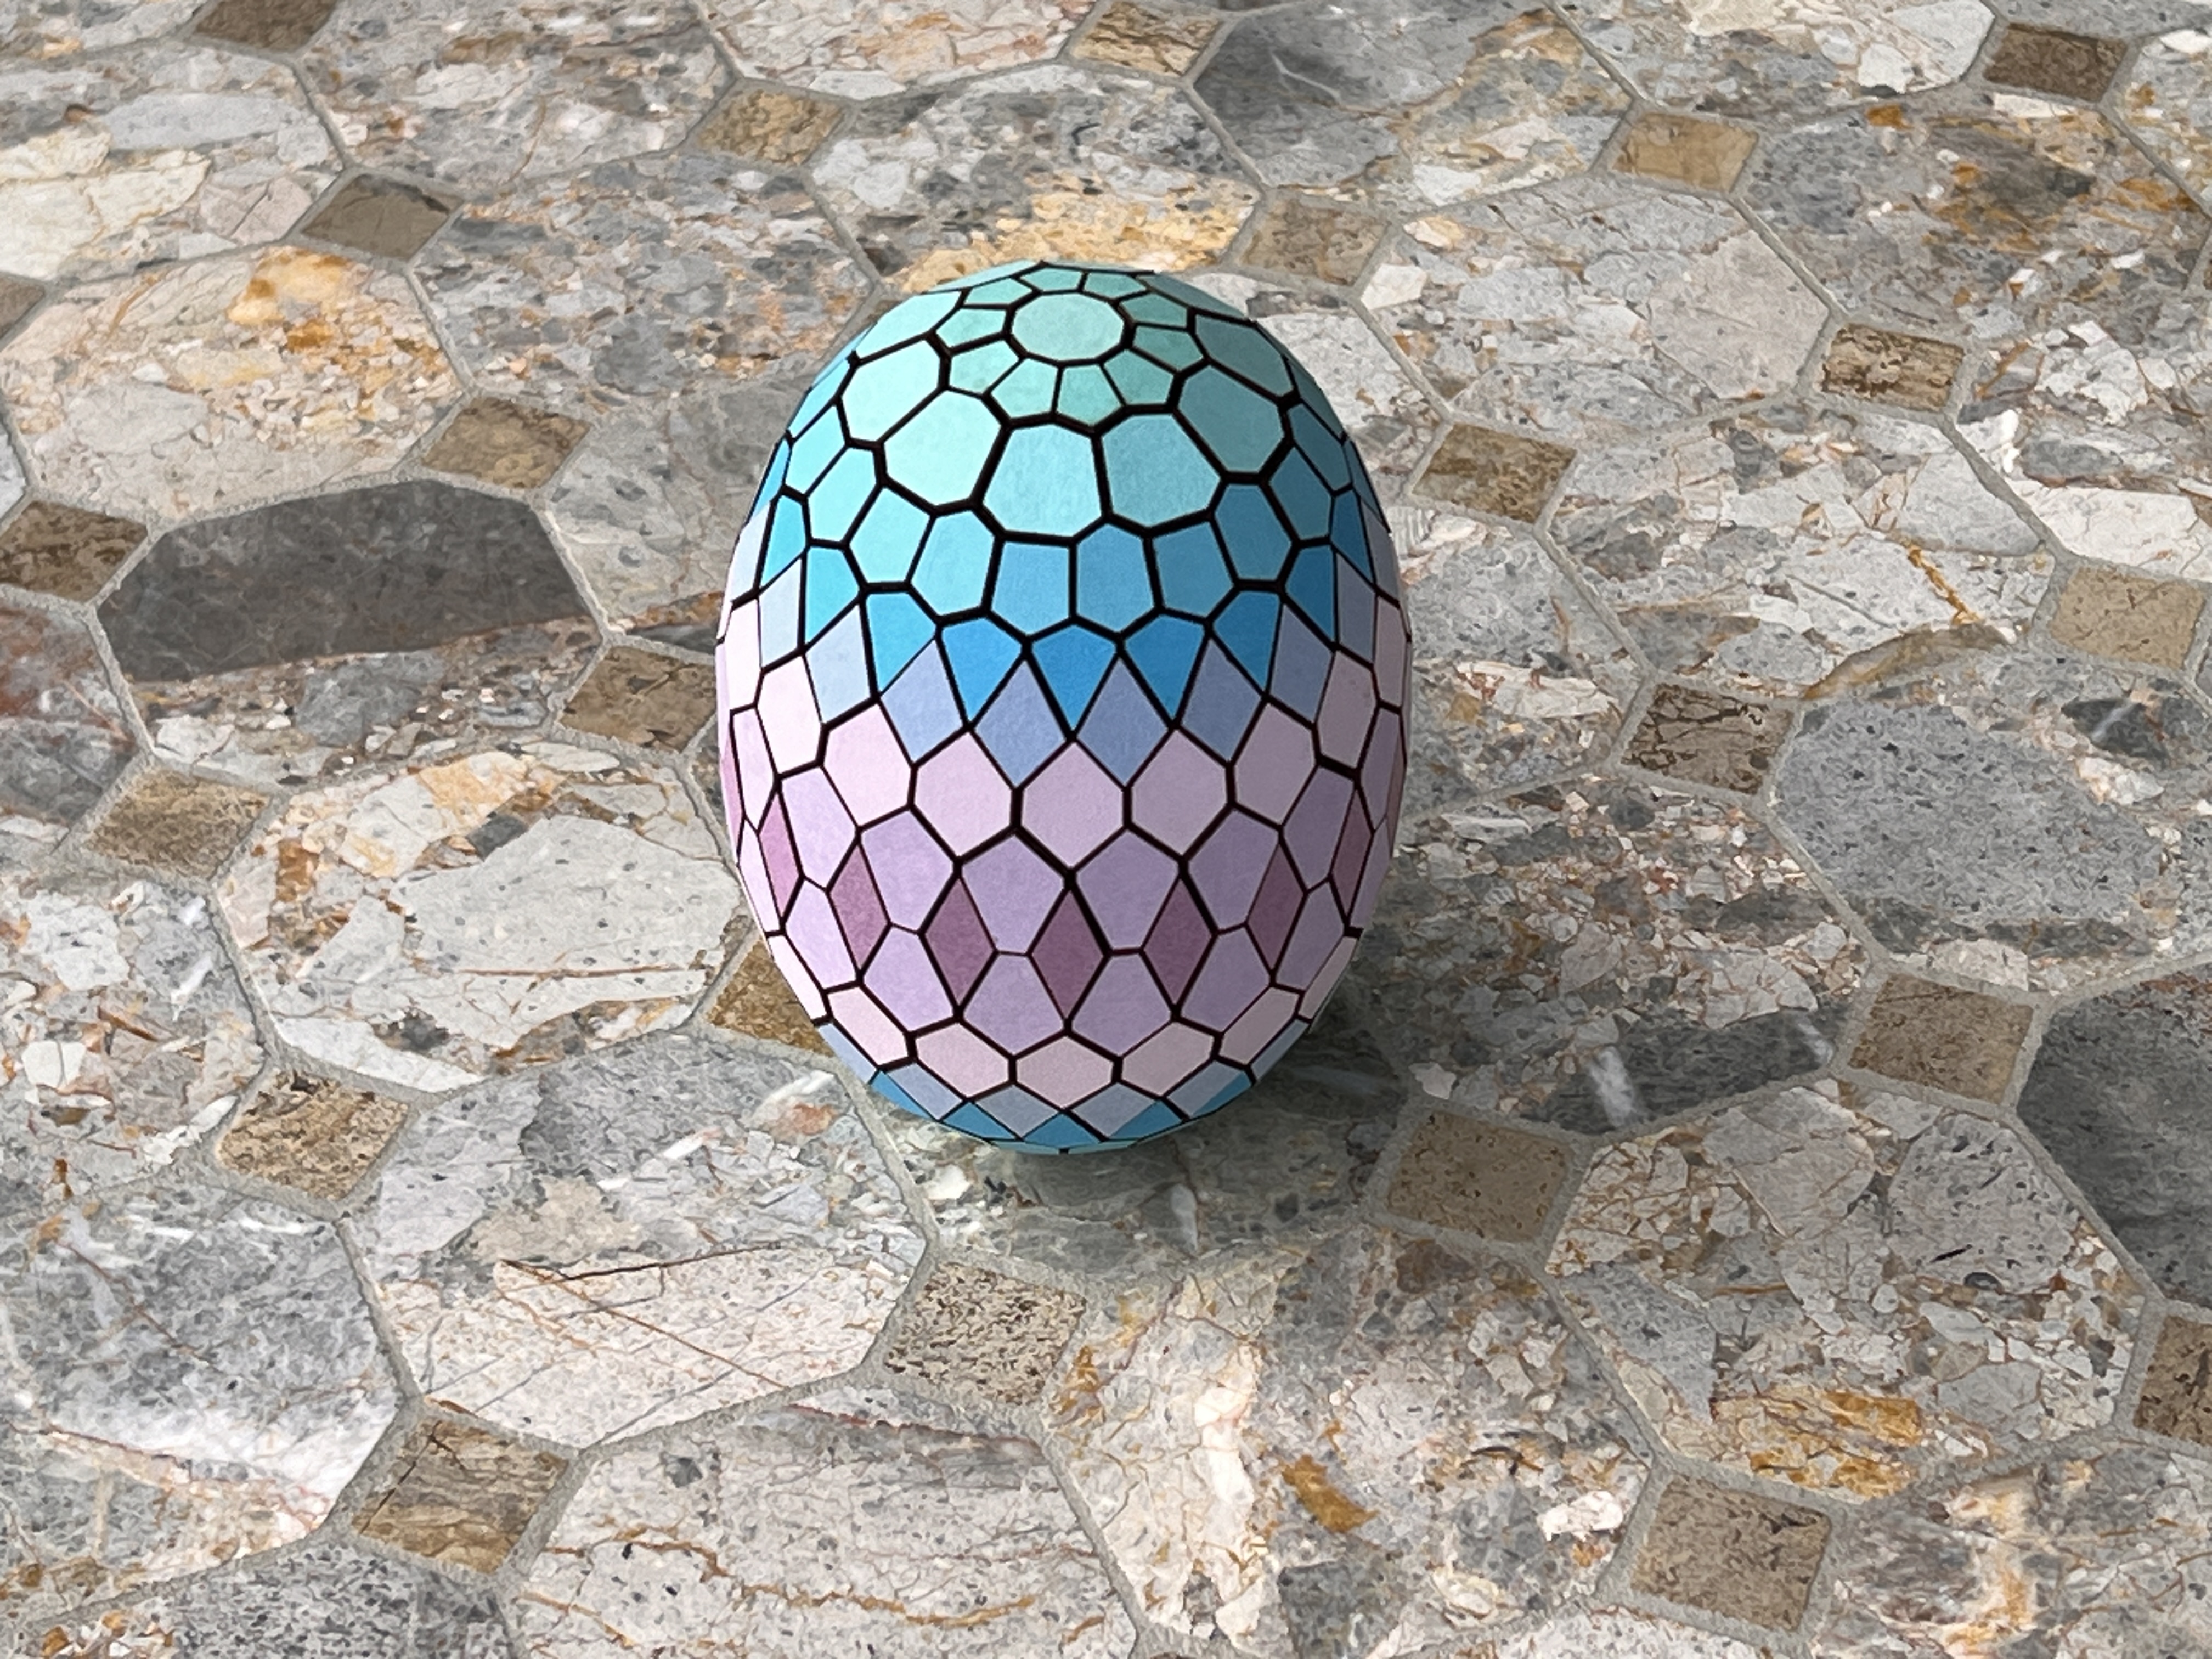
So I’ve been making lots of polyhedrals lately and the main theme has been to make them small. Maybe not as small as absolutely possible but approaching the practical limit in 1/8” material.
Anyway I got to the point where I realized I’m not likely to post a separate MOAG for each one, so here they are.
Pretty sure they’re not plotting an uprising, but I may need to separate them just in case. Let’s just say it’s quiet on the mantel… maybe too quiet.
You’d be surprised how easy they are. I have instructions scored on the internal faces, I have given many of them away as gifts and challenge people to build them with no instruction. Nobody’s failed yet.
Aww shucks, you’re @Purplie, I can’t keep things from you…
It works exact same way.
Make grids of face parts in design, one for each “layer” on the egg.
Enclose each grid in a rectangle.
Cut slots and surrounding rectangle.
Remove (now heavily perforated) rectangles.
Glue appropriately-colored cardstock to the back of the rectangles.
Mask cardstock.
Trim cardstock and masking to the rectangle shape with a sharp blade.
Replace rectangles in existing cut holes, cardstock face down. Use bits of paper towel to compensate for kerf and hold the piece exactly in the correct spot. [1]
Score and cut the grid of part outlines.
Unmask the cardstock and enjoy your smooth colorful faces with slot holes hidden.
Assemble as normal.
Why go through the trouble? To impress Purplie, of course. Also because you’re relying on friction here [2][3][4][5][6][7][8][9][10][11][12] and you’re banking on the keystone effect to both ease assembly and also to get properly tight fit of tab and slot.
For the record this is also the tricky part when cutting and assembling these guys. Material thickness matters. I have to run test cuts per sheet of material — I have about +/- 0.002” before I have to compensate. It’s a pain but when you get the slot widths just right it’s so satisfying.
this neatly sidesteps skew issues, which you know all to well. ↩︎
did I mention it’s all friction fit? I can hear the oohs and ahhs↩︎
again this is because I think to myself “WWPD?” ↩︎
also because there are a lot of faces. Adding a fiddly glue step to each face during assembly is a labor nightmare and also hundreds of tiny spots where you might get glue on your cardstock. This all takes a minute, you don’t want to blow the whole thing at this stage. But mostly to impress Purplie. ↩︎
ok not really, I do these things because I got the dumb idea, knew it’d work and look cool and just had to. ↩︎
this is a lie. I did it to impress Purplie. I’m still furious about the dome puzzles, how dare someone (not me) make something that good? How very dare he? Rude ↩︎
this must be some nested (foreshadowing) footnote record but I’m committed to the bit here soo… for real, the dome puzzles were astounding. The next obvious (and laborious) step here is to make a higher-order polyhedral globe using some of the principles of your dome puzzle image warping - printing - cutting. We’ll see if I get to it at some future point but tbh I probably won’t. It’s hella work and I really only do these things for my amusement. I’m not sure it’s amusing enough to me to warrant the effort. ↩︎
does this make me lazy? Oh no I think this makes me lazy. Oh God, time for yet another existential crisis. Welp, glad we had this talk. See you next time, if I can be bothered to post something! (See above re:laziness) ↩︎
btw if you made it this far, I’m not sure if I’m impressed by or scared of you. ↩︎
also it turns out the you can’t nest footnotes? Ugh. My whole gag is ruined. Also now I have to restructure this post, and I’m writing it on my iPhone. This is a more painful prospect than I’d like to admit. I wonder if it’s because it’s inside a details block. ↩︎
nope. Restructuring here I come. I suffer for my art. And so do you because who wants to click on all that? ↩︎
Been there, didn’t publish. I made an excellent set of d&d dice this way and got like 90% through submitting to the catalog (the instructions were long and annoying to write) and then decided not to.
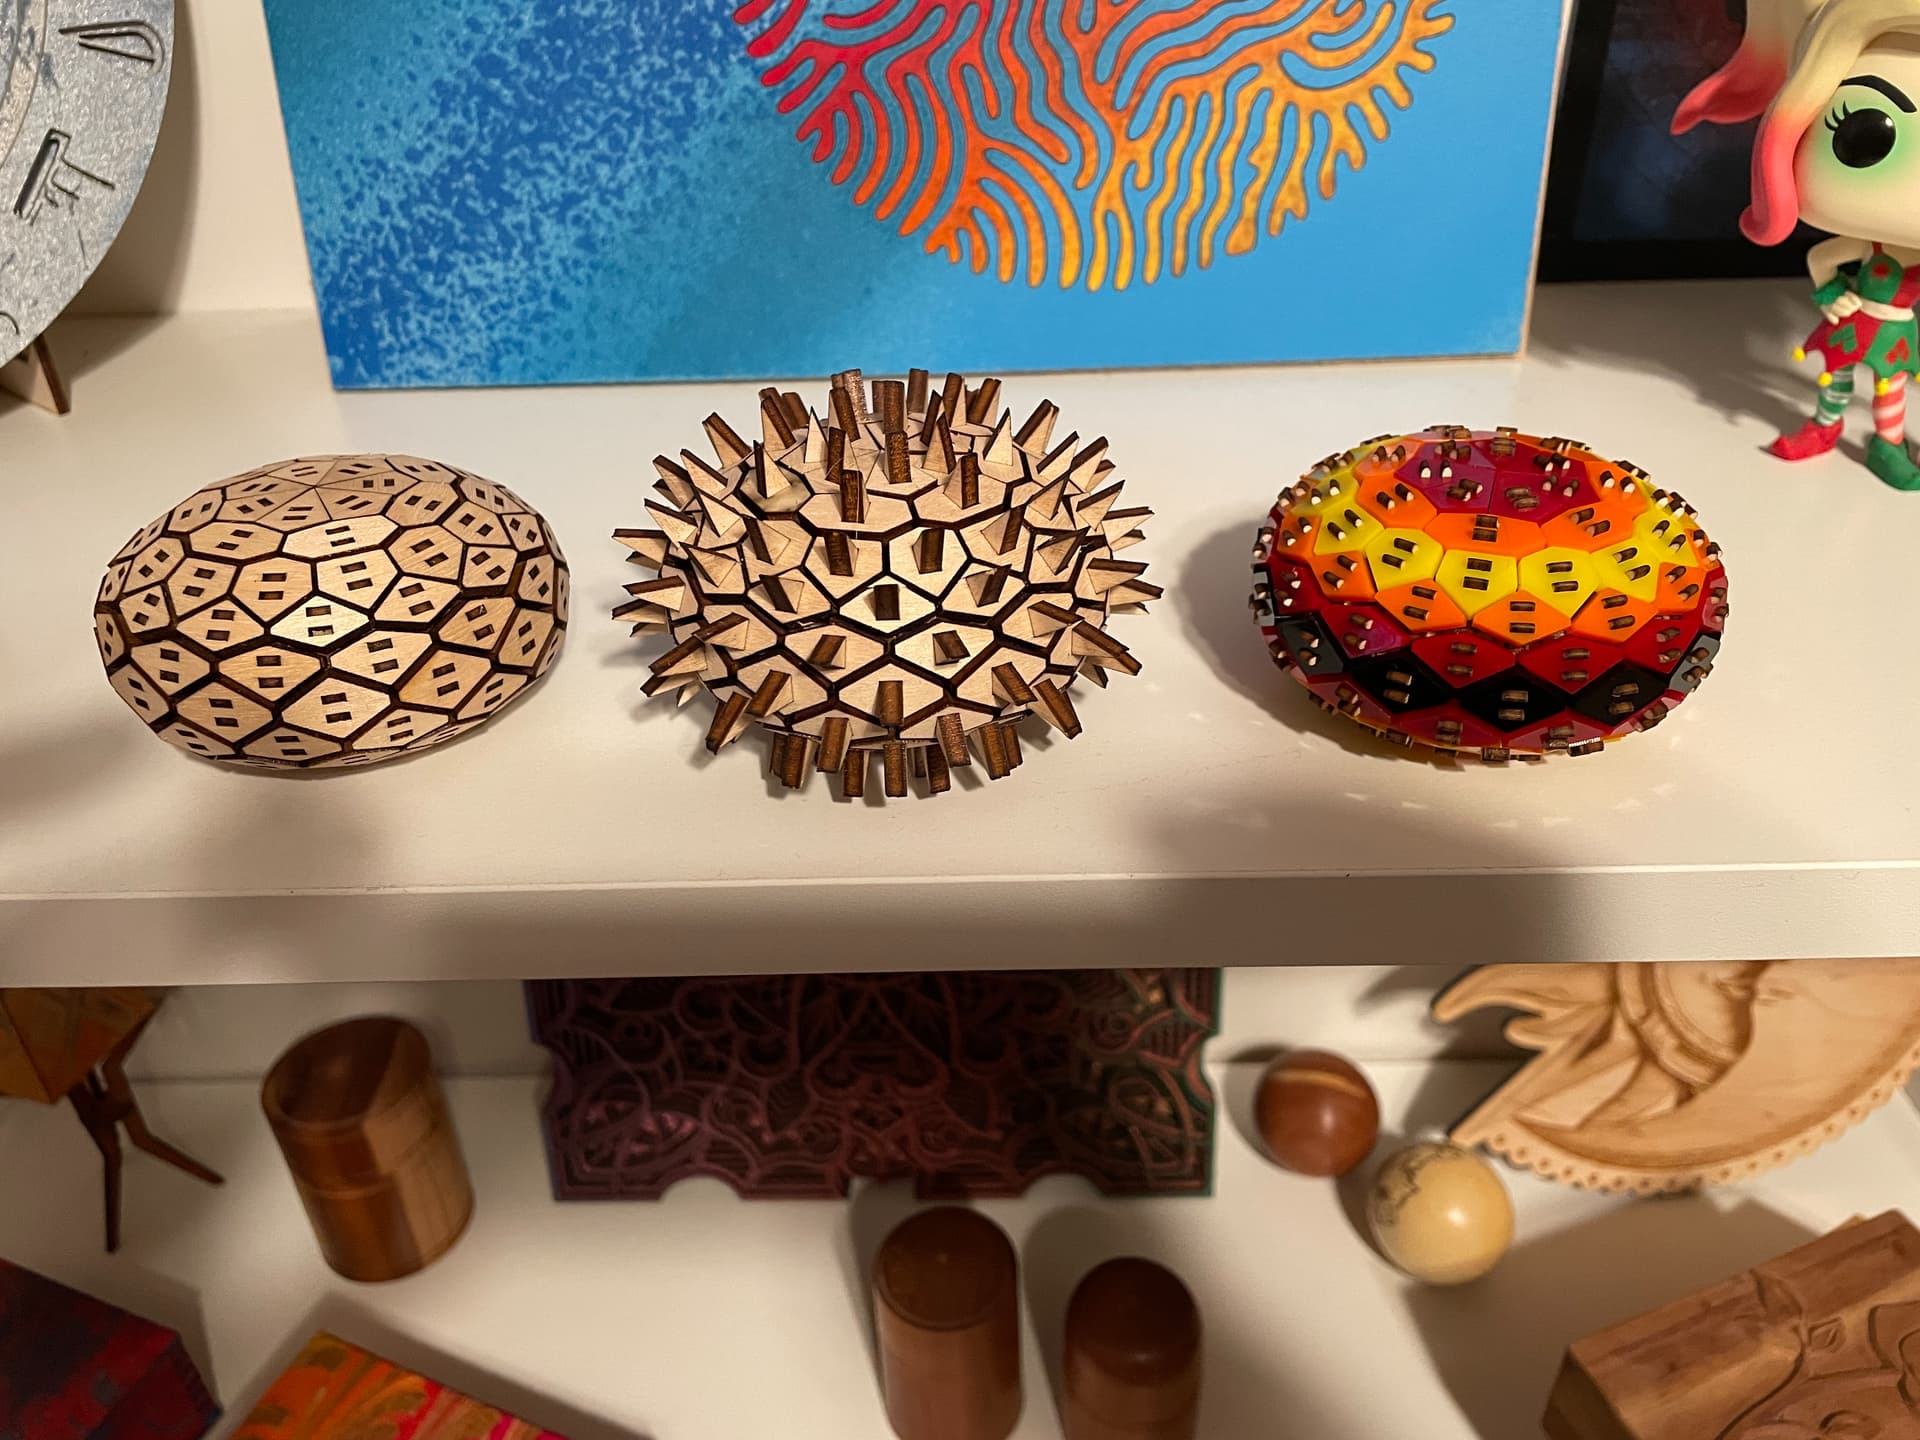
From left to right:
The original @evansd2 design
The spiky version (I had to wear a glove when assembling this guy. He is very pointy)
A version with wooden innards and acrylic outards