Hi,
I am trying to create a delrin stamp for a leather badge. I have drawn this in Illustrator and made a negative, then saved it as an SVG. When I upload it to the glowfoge, it looks pretty muddy with no real detail. I am not sure why it looks devoid of detail. If anyone can point me in the right direction, I would appreciate it.
JSM
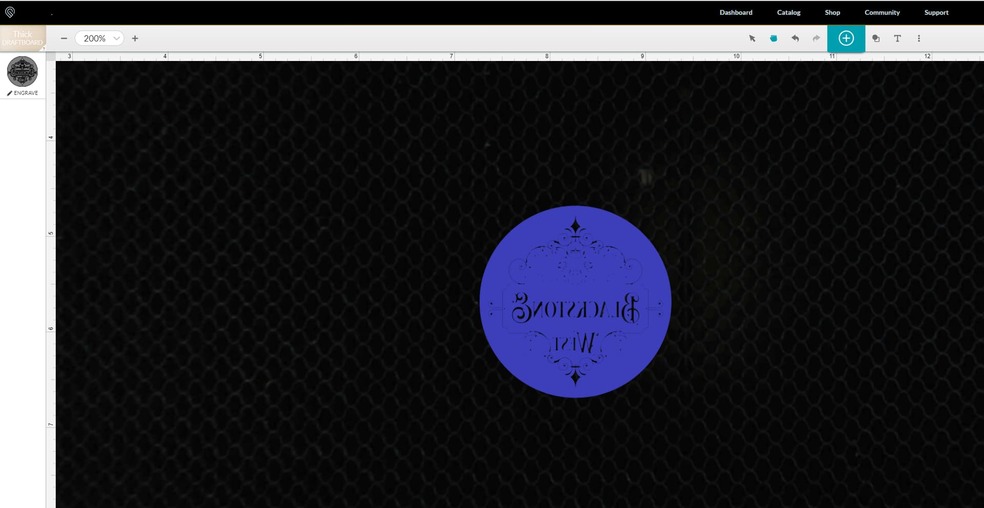

I’m not familiar with Illustrator so I’m not sure why it is appearing like that in the GF.
I tried to do it with inkscape and it appears to load correctly.
Will this one work?

2 Likes
How large is this stamp going to be? If rasterizing, shoot for at least 300 dpi, I usually go for 600. Also if rasterizing, I would make it black and white first, you’ll get the best results in your engrave that way.
Since you made it in illustrator, it may be a filled vector shape? If so, then carry on, it should engrave at a nice high resolution, dependent on your LPI setting.
The UI’s preview isn’t really representative of your final result, it’s more for alignment purposes. If you have any doubts do a quick engrave on some scrap material and be sure it looks how you wanted it to look.
4 Likes
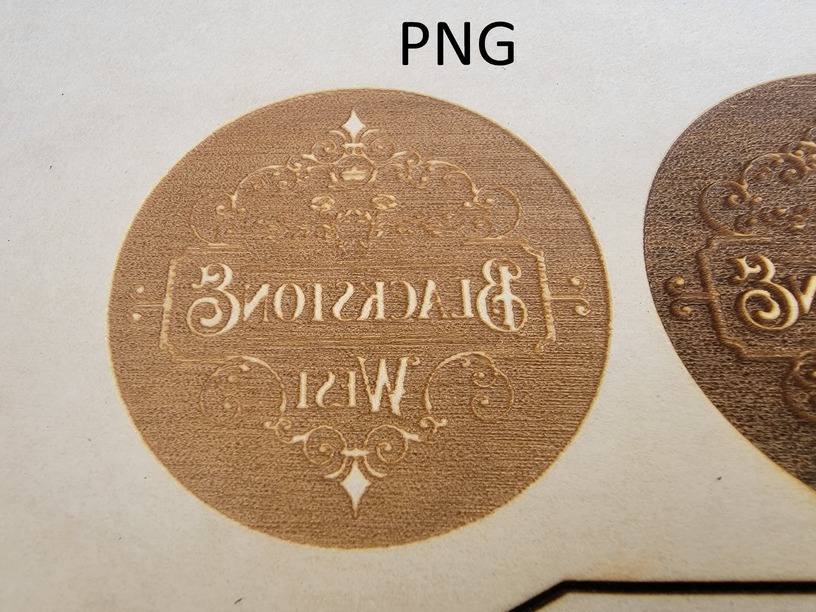
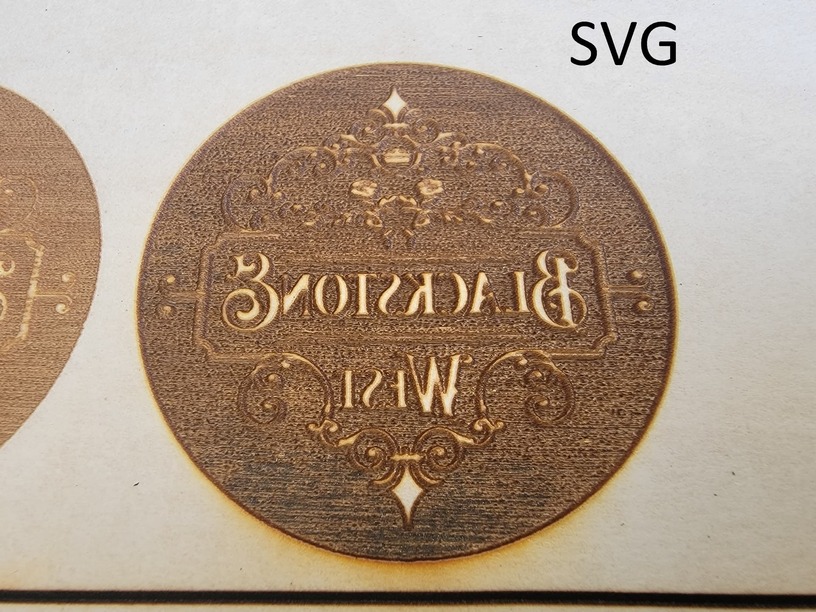
That does look better. You choose to export as a PNG file. Mine was an SVG. That along with what evansd2 just said makes me wonder if what I saw mattered at all. I am going to try and engrave both on some scrap and see what comes of it. Thanks for the input.
JSM
2 Likes
Thanks for your input as well. The original file was an SVG file and I gured it would give me the best resolution as is which is why it shocked me to see the display in the glowforge window. I am going to try my file and the PNG that Beerfaced offered me to see what both look like on some scrap. Thanks for the help.
JSM
1 Like
i think that could just be a rendering issue in the GFUI, with that much detail at that size. that doesn’t necessarily mean it won’t engrave properly. it’s just a lot of nodes being represented for placement purposes.
@beerfaced isn’t showing you the GFUI rendering (unless he did a whole lot of PS work on the image).
2 Likes
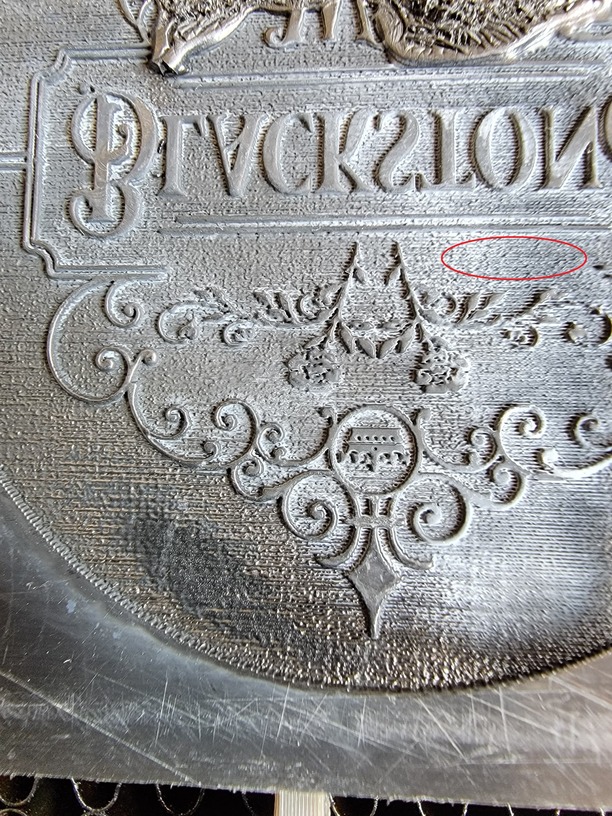
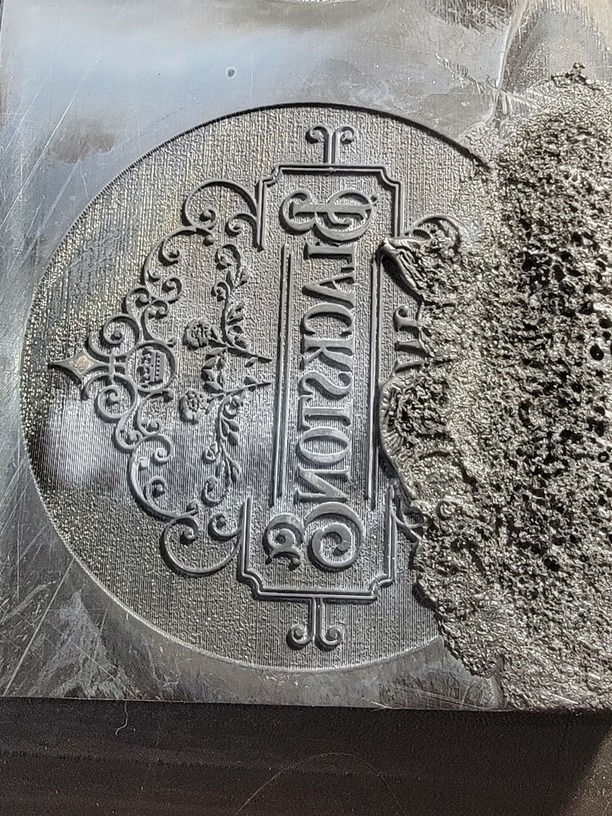
Well my test on scrap went well. My original SVG was the cleaner engrave. So at least i know not to trust the GUI with what I see. I ran the image onto the delrin and the first pass was good. The second pass was too hot and I cancelled the print as it started to boil the edge of the plastic.
the only problem i have with the settings for the first pass is that there is a bit of texture left to my engrave on the deep area. Not sure how I should adjust a single pass to smooth that out a little. Thoughts?
JSM
1 Like
the preview in the GFUI is really for positioning. it’s not necessarily going to show extra fine detail.
1 Like
Didn’t do any work on it other than to clear the image background and lighten the graphic.
i meant that you didn’t post the screen capture of the graphic after processing from inside the the GFUI (unless you’d done crazy PS editing to hide the crumb tray). i presumed that you’d just converted the original graphic to a PNG.
1 Like
Oh yes, you are correct. I should have done that.
1 Like
Ok thanks.
Well I ran a couple of tests. The first pass on each of these was 500 at 95% LPI 225. Those turned out well except I was hoping for a slightly smoother recessed area. My second pass on the image where it looks severely bubbled I had the settings at 300 and full LPI 225.
On the other image where it looks good half way through and then gets a little blobby, my settings were 750 at 95% but I changed the lines per inch to 450. It just looks like it was too hot still.

I should mention these initial settings are all based off of my research here on the forums. The only thing I adjusted was lines per inch and I never even made it to the third pass being spoken of.
That leads me to a final question. Normally one would set up the number of passes with the same settings and click print. If each pass has to have a different setting, I do not think Glowforge accommodates that, so one would have to make a pass, change the settings and make another pass until complete. With that said, the deeper the engraving goes would affect the focus height of the laser, right? The laser still thinks it’s focus height is at 1/2 inch unless you take that into account each time, right?
Thanks,
JSM
1 Like
You could make the multiple passes without doing it that way I think…
In the design software, create three exact copies. Three different colors. Each should import as a different step. Then you just change the settings in each step and make sure you have the steps in the order you want.
I say I think that will work because GF does tend to negate overlaps, but with it being different steps I think you are safe there.
1 Like
That pattern is an artifact/result of the way the laser operates. It’s not a constant beam, it’s modulated (flashes on/off at a high frequency) and, of course, the line-per-inch setting. That results in a regular pattern in engraved areas, it varies based on the settings and in most cases, the material. Plastics are most “honest” in showing it.
It can be “softened” or “smoothed” by setting the focus height to be different than the actual surface. Tons of posts on this but when you make multiple passes using the same settings, that can happen “by accident” (or “happy coincidence”.)
You can experiment with settings to minimize the effect. Suggest small areas of your artwork on that exact material, and keep playing with it.
HOWEVER - in this case, you’re making a stamp. First - does that pattern transfer over? Second - can you just carefully flood-fill the engraved areas with resin or acrylic? I’ve literally submerged pieces into a can of poly-u, then used a paper towel to mop up the excess.
1 Like
The only way I know of to smooth out the engrave is to defocus the laser making the focus distance about 1/4" off. However since your making a stamp you shouldn’t have to worry about the background.
2 Likes
Thank you.
Yeah I think I am going to not worry so much about the background and give it a press (as soon as I cut a new one). Though I am wondering what you all think my recessed depth ought to be for a good stamp? Does anyone have any thoughts on that?
JSM
1 Like
Understood
Interesting idea about flooding it to smooth it. I am going to try an stamp once without adjusting the background though.