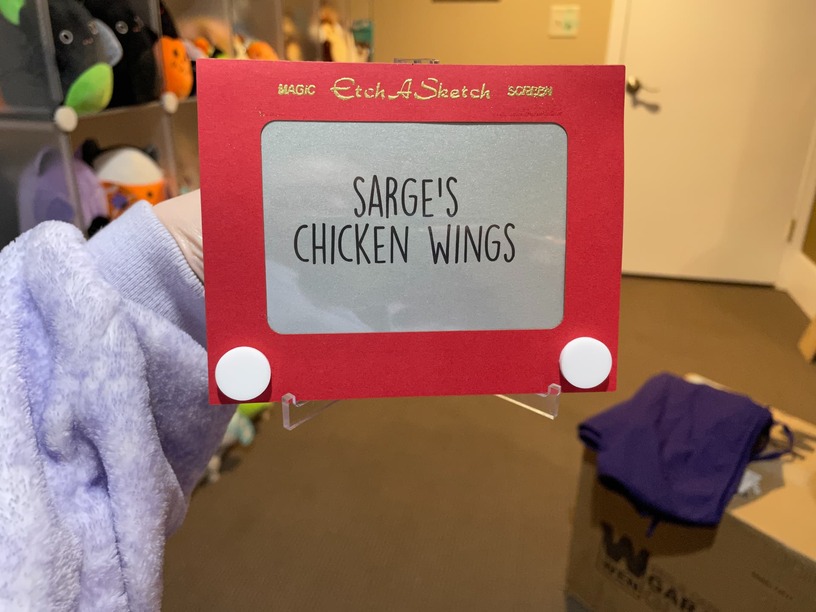
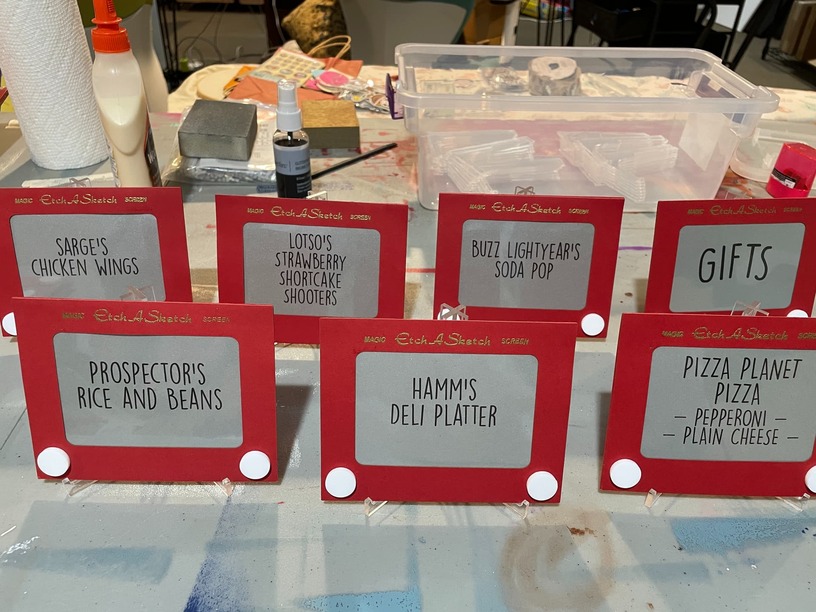
My younger cousin is having a baby and we don’t live in the same state so I can’t go to the shower. I like to contribute when I can’t attend things like this so I offered to make some decorations for her. Her theme was “Toy Story” which is more birthday than baby shower, but whatever. She asked for the food labels, and originally I had the idea to make just the characters on a cute background. I only had two weeks to make whatever I was going to make, so I decided making 15 individual characters was going to be really difficult or really low quality. She needed 15 that she told me about but I knew her MIL was going to be tacking on more food so I wanted to include some blanks.
I came across “Etch a Sketch” table cards and thought they were cute but could of course be done BETTER than what was out there. So I Glowforged them.
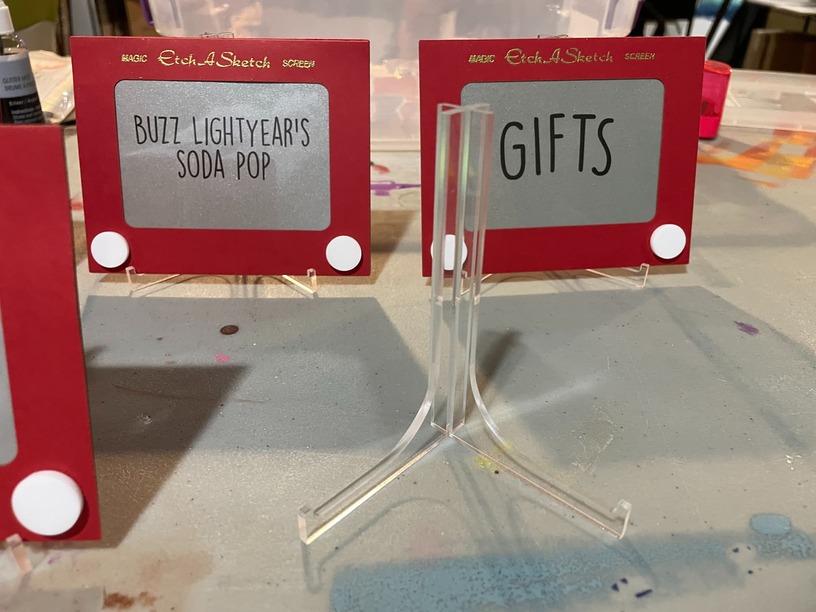
First, I made the shapes by overlaying on a photo of an Etch a Sketch to keep all the ratios right. Somehow the other two I saw out there they kind of forgot this step. Then I cut the outsides out of red cardstock. I scored for the fold and for the placement of the knobs. I then printed the screens on this shiny silver paper I had from my wedding 8 years ago. I Glowforged them, using a magnet to hold each center so it wouldn’t fly away when cutting 4 at a time. The precision for the screens wasn’t needed as they were bigger than the opening. Then I cut the knobs out of matte white acrylic and pre-applied 3M to the back before cutting.
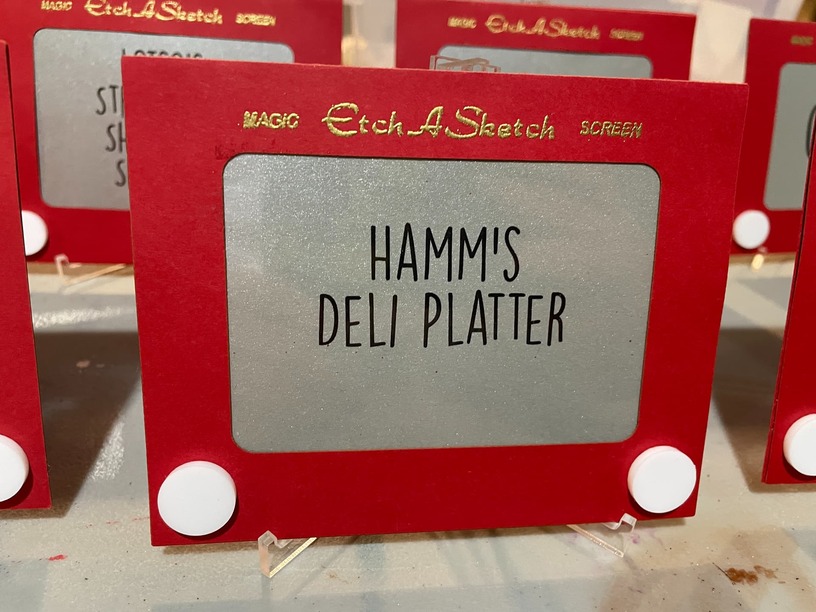
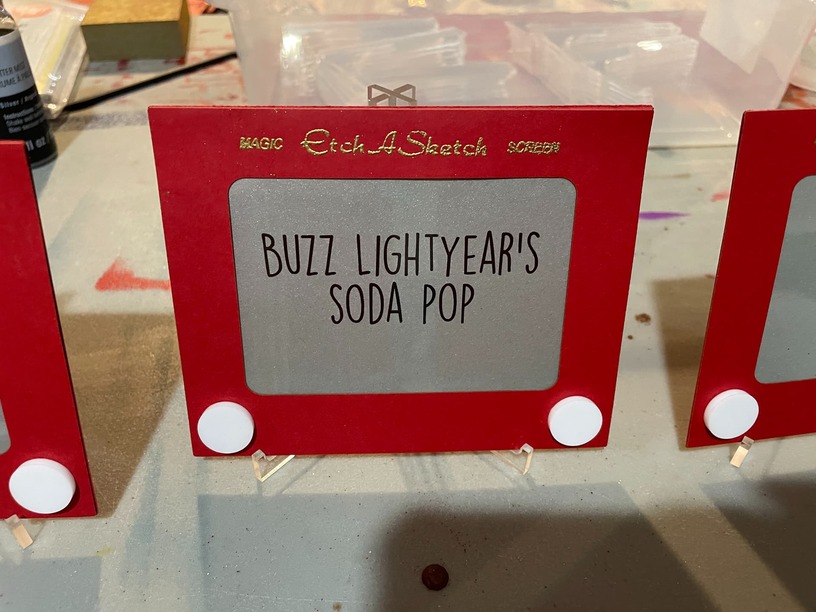
The next two things are what brings this to crazy level. I made a rubber stamp of the logo/Magic Screen using the forge. First time making a rubber stamp, It was awesome. I made a handle for it (I should have made a wide handle not a tall one). Then I used the stamper to apply clear VersaInk and put gold embossing powder on top. This gave the Etch a Sketch its painted, raised logo. I think this is what sets it apart from the other ones I’ve seen.
The second thing is that I used my Silhouette Cameo to cut clear transparencies to go in front of the silver screen but behind the red frame. This made it glossy in a way that mimics the actual glass used in the toy.
Then, I made a clear acrylic stand for it because making it stand up was beyond my capabilities at that time.
Assembly was with double stick scrapbook tape. Transparency onto frame, screen onto transparency, fold then seal up the back so you can’t see that stuff, apply the knobs.
I made almost 30 of these and it took more hours than I can count. But they made my cousin happy and hopefully her guests like them to. I am super proud of how they came out and I hope you like them too!