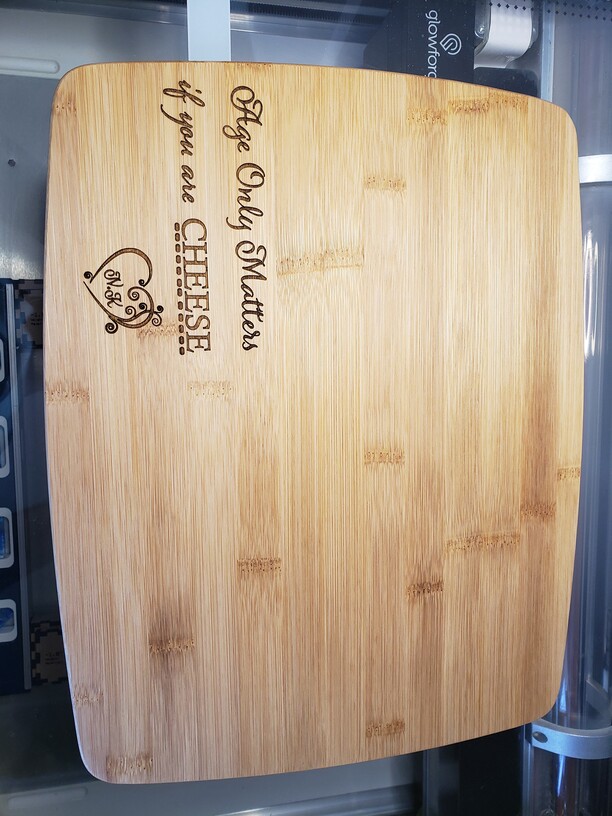
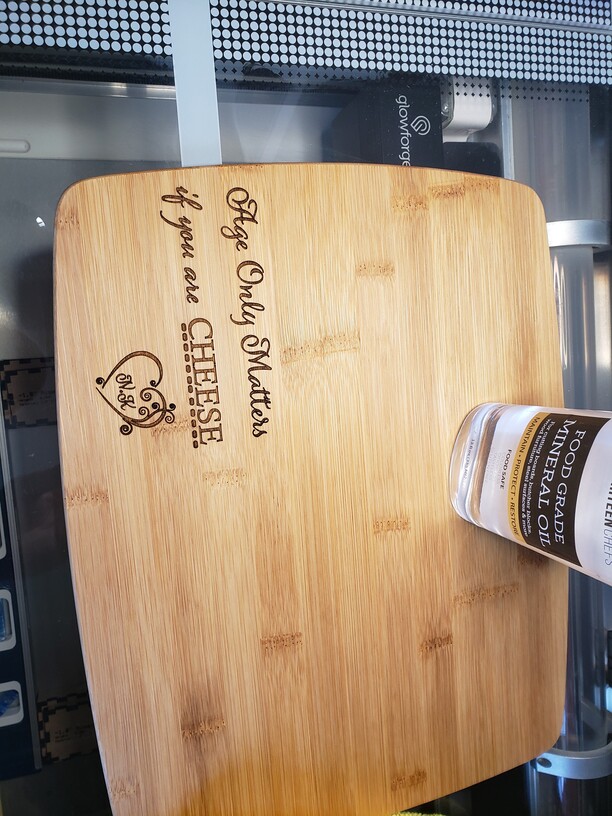
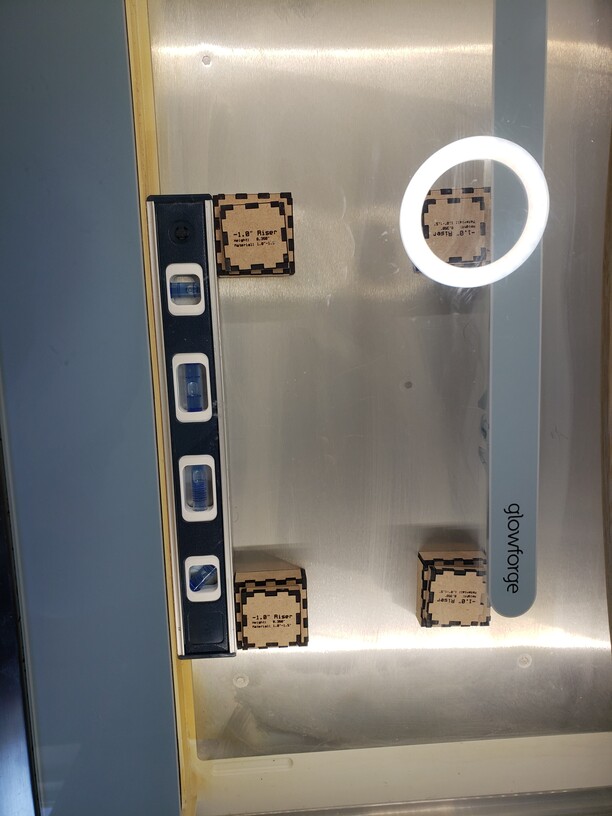
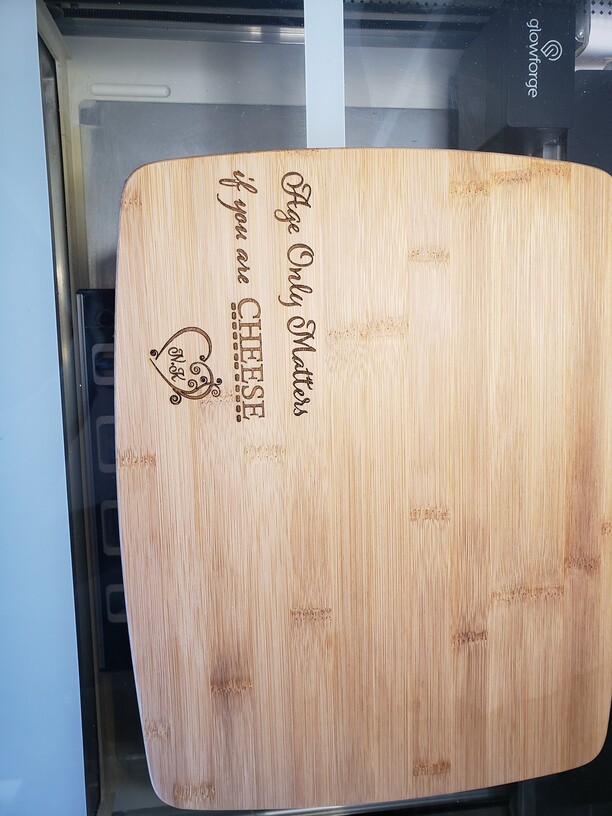
I made a bamboo cheese board as a gift for a friend. Bamboo cutting board was purchased from Amazon https://www.amazon.com/Farberware-5070344-Bamboo-Cutting-Board/dp/B004GJXE0E. Thickness of the large board is 10.6 mm. Had to remove the crumb tray and use risers. Masking was not used as the masking sheet didn’t stick to the board. Most likely due to the surface treatment with food grade mineral oil. I sanded a small corner but wasn’t satisfied with the adhesion of the masking tape so decided to skip masking altogether for engraving and scoring and go with multiple passes to reduce charring.
GF Basic
No masking/no sandpaper
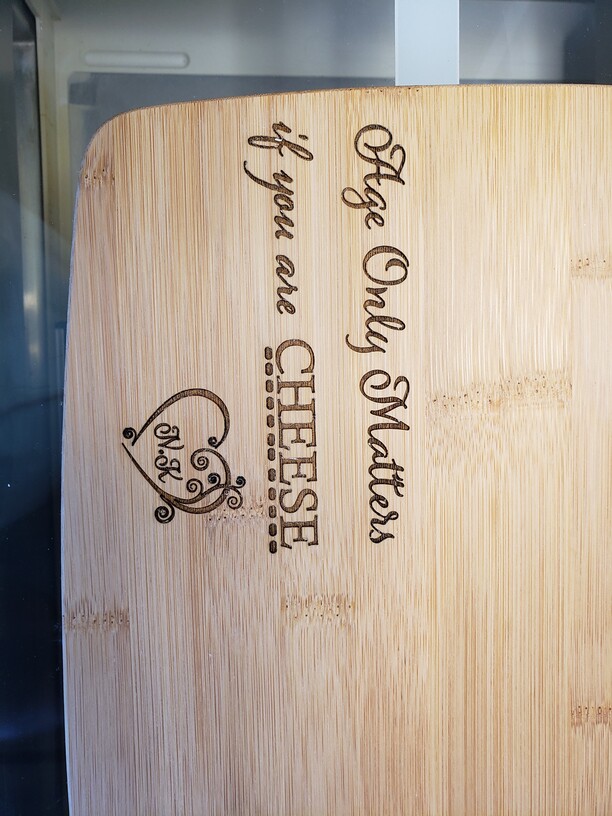
Scoring: 300/40/2 passes (~ 4min., GF Basic)
Engraving: First run: 1000/40/1 pass/340 lpi (~ 10min. each run)
Second run: 1000/80/1 pass/340 lpi
Autofocus was used between each scoring and engraving run.
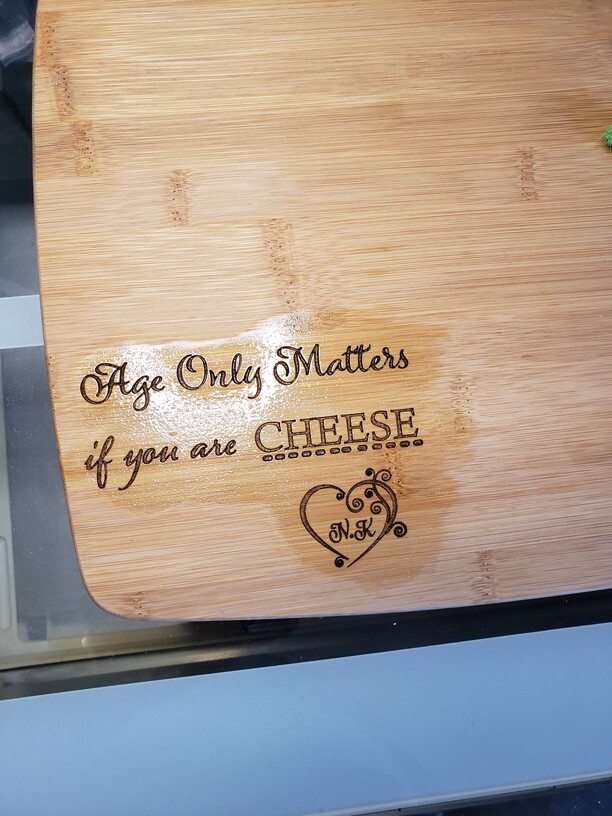
Board was then dry scrubbed with a tooth brush and wet scrubbed with dish washing soap (needed to be careful that water is not being absorbed into the board, a quick wash was sufficient). Dried completely using compressed air to get droplets out of the cervices and then coated with 3 coats of food grade mineral oil, 5 minutes between each coat. Tooth brush was used to scrub the oil into the engraved parts.
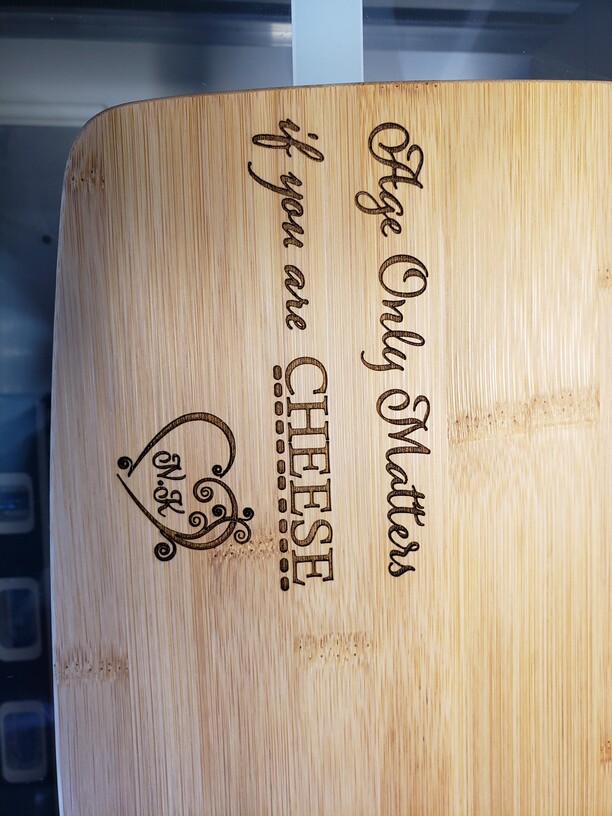
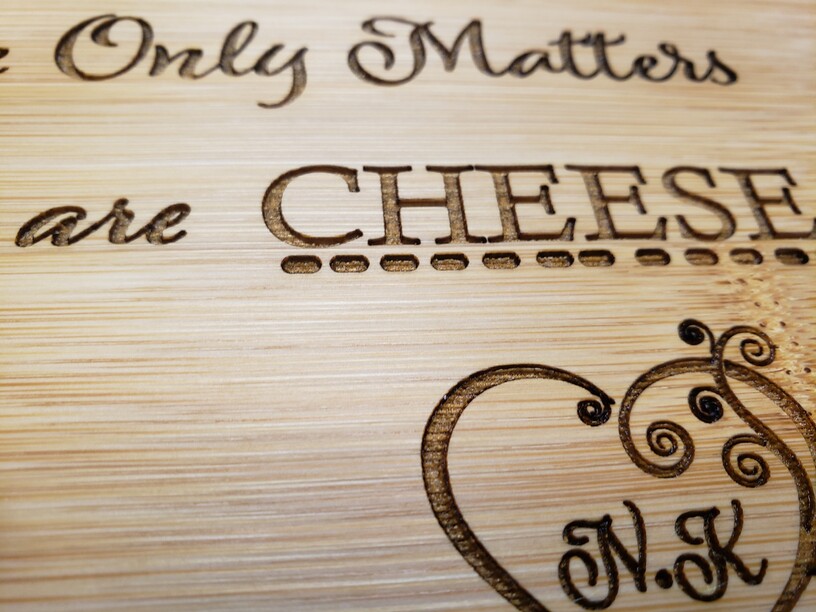
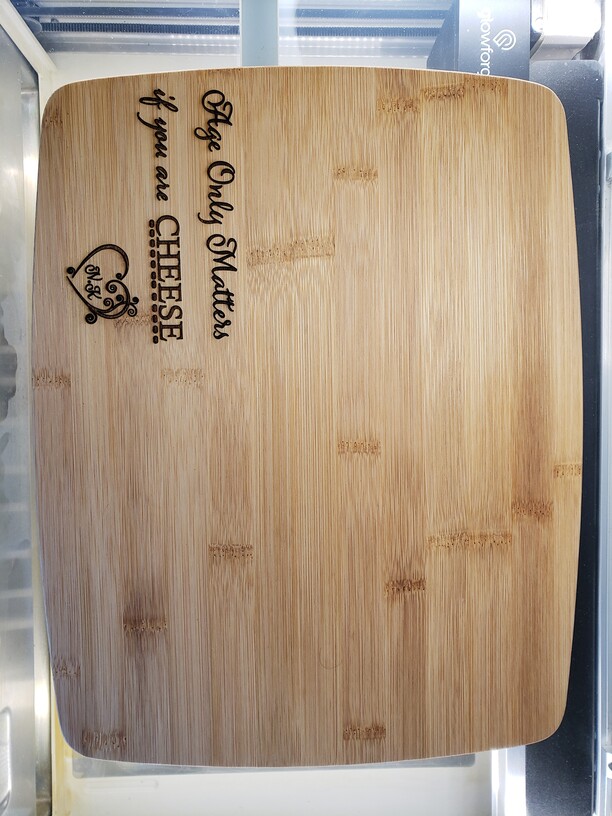
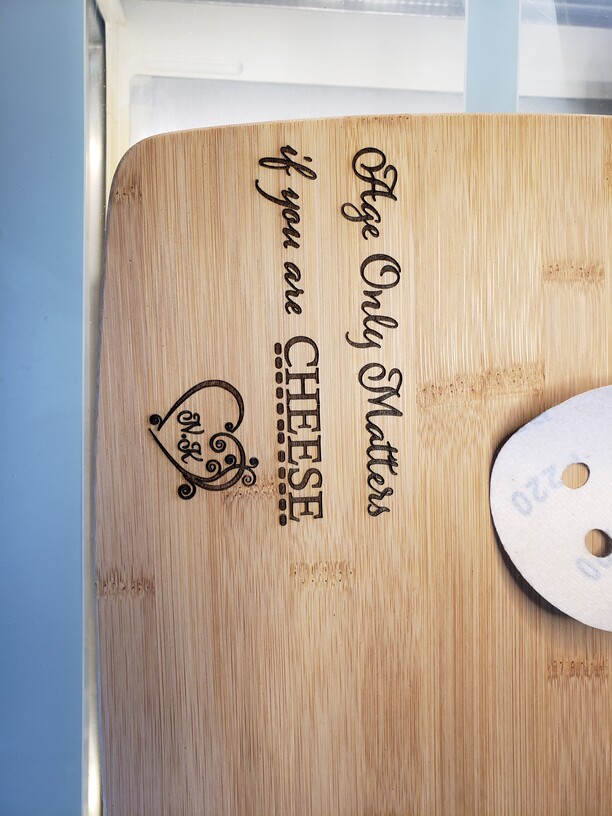
This protocol gives an engraved depth of ~1mm. Attached pics are at various stages of the process.
(Thank you for moving it to the correct forum)

 . I avoided using the top and bottom right corner because the grain color was “off”. I figured engraving there would result in more variability in the burn. Also positioned the text to avoid the knots as much as possible.